 When we first heard about it a few weeks ago, we knew the ESP8266 UART to WiFi module was a special beast. It was cheap, gave every microcontroller the ability to connect to a WiFi network, and could – possibly – be programmed itself, turning this little module into a complete Internet of Things solution. The only thing preventing the last feature from being realized was the lack of compiler support. This has now changed. The officially unofficial ESP8266 community forums now has a working GCC for the ESP8266.
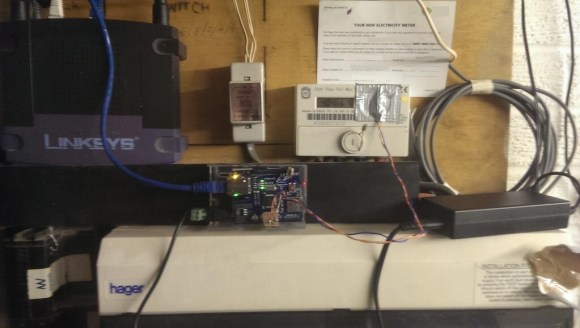
The ESP8266 most people are getting from China features a Tensilica Xtensa LX3 32-bit SOC clocked at 80 MHz. There’s an SPI flash on the board, containing a few dozen kilobytes of data. Most of this, of course, is the code to run the TCP/IP stack and manage the radio. There are a few k left over – and a few pins – for anyone to add some code and some extended functionality to this module. With the work on GCC for this module, it’ll be just a few days until someone manages to get the most basic project running on this module. By next week, someone will have a video of this module connected to a battery, with a web-enabled blinking LED.
Of course that’s not the only thing this module can do; at less than $5, it will only be a matter of time until sensors are wired in, code written, and a truly affordable IoT sensor platform is created.
If you have a few of these modules sitting around and you’d like to give the new compiler a go, the git is right here.

 The project featured in this post is