Cordless soldering irons are, as a rule, terrible. A few months ago, you could pick up a cordless soldering iron from Radio Shack that was powered by AAA batteries. You can guess how well those worked. There are butane-fueled soldering irons out there that will heat up, but then you’re left without the requisite degree of temperature control.
[Xavier] didn’t want to compromise on a mobile soldering iron, so he made a desktop version portable. His mobile temperature controlled soldering iron uses the same electronics that are found in inexpensive Hakko clones, and is powered by a LiPo battery.
The soldering station controller comes directly from eBay, and a DC/DC boost converter accepts just about any DC power supply – including an XT60 connector for LiPo cells. A standard Hakko 907 iron plugs into the front, and a laser cut MDF enclosure makes everything look great. There were a few modifications to the soldering station controller that involved moving the buttons and temperature display, but this build really is as simple as wiring a few modules together.
With an off-the-shelf LiPo battery, the iron heats up fast, and it doesn’t have a long extension cord to trip over. With the right adapter, [Xavier] can use this soldering station directly from a car’s cigarette power port, a great feature that will be welcomed by anyone who has ever worked on the wiring in a car.
Continue reading “A DIY Mobile Soldering Iron” →


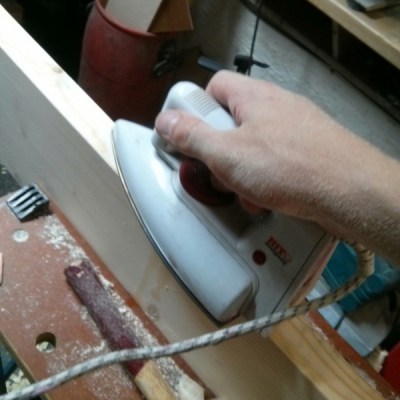
 The Technique itself is dead simple and takes only a few minutes to perform. Simply apply a small amount of water, let it seep into the wood, and then bring a hot iron down onto the soaked wood to evaporate off the soaked water–instantly inflating the wood back into its original form!
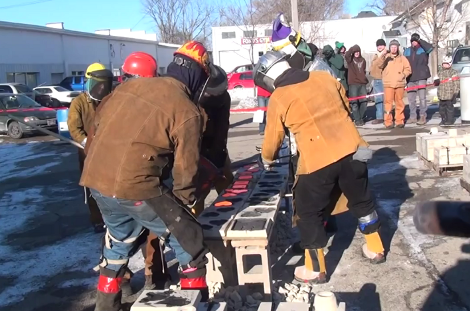
 More importantly, [Bessemer]’s process resulted in steel that was ten times stronger than that made with the crucible-steel method. Basically, oxygen is blown through molten iron to burn out the impurities. The silicon and manganese burn first, adding more heat on top of what the oxygen brings. As the temperature rises to 1600°C, the converter gently rocks back and forth. From its mouth come showers of sparks and a flame that burns with an “eye-searing intensity”. Once the blow stage is complete, the steel is poured into ingot molds. The average ingot weighs four tons, although the largest mold holds six tons. The ingots are kept warm until they are made into rail.


