We mourn the loss of the physical keyboard with the advent of tablets. After all, we do a bit of typing getting all of these features posted throughout the week. And we kind of blame tablets for the decline of the netbook industry (we still use a Dell Vostro A90 when not at home). But we’re trying to keep an open mind that we may not need a physical keyboard anymore. If someone can come up with an innovative alternative to the Qwerty layout that we are able to learn and can use with speed and without physical strain we’ll be on board. Our question is, do you think we are close to a screen typing breakthrough?
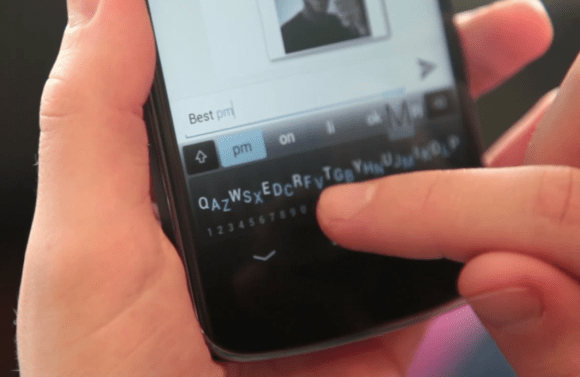
This question came to mind after seeing the Minuum keyboard shown above. It compresses all of the rows of a Qwerty into a single row, monopolizing less screen space than conventional smartphone input methods. The demo video (embedded after the break) even shows them hacking the concept into a distance sensor and using a graphite-on-paper resistor. Pretty cool. But what happens when you type a word not in the dictionary, like this author’s last name?
You can actually try out the Minuum style thanks to [Zack’s] in-browser demo hack. He’s not affiliated with Minuum, but has done quite a bit of alternative keyboard input work already with his ASETNIOP chorded typing project. It’s another contender for changing how we do things.
Continue reading “Ask Hackaday: Are We Close To Reinventing The Keyboard For Touchscreens?”