Creating A Laser Cutter From A 3D Printer

The average FDM 3D printer is not so different from your garden variety laser cutter. They’re often both Cartesian-coordinate based machines, but with different numbers of axes and mounting different tools. As [Gosse Adema] shows, turning a 3D printer into a laser cutter can actually be a remarkably easy job.

The build starts with an Anet A8 3D printer. It’s an affordable model at the lower end of the FDM printer market, making it accessible to a broad range of makers. With the help of some 3D printed brackets, it’s possible to replace the extruder assembly with a laser instead, allowing the device to cut and engrave various materials.

[Gosse] went with a 5500 mW diode laser, which allows for the cutting and engraving of wood, some plastics and even fabrics. Unlike a dedicated laser cutter there are no safety interlocks and no enclosure, so it’s important to wear goggles when the device is operating. Some tinkering with G-Code is required to get things up and running, but it’s a small price to pay to get a laser cutter on your workbench.

We’ve seen [Gosse]’s 3D printer experiments before, with the Anet A8 serving well as a PCB milling machine.

Spring-Loaded Bed For K40 Laser Acts As An Auto-Focus

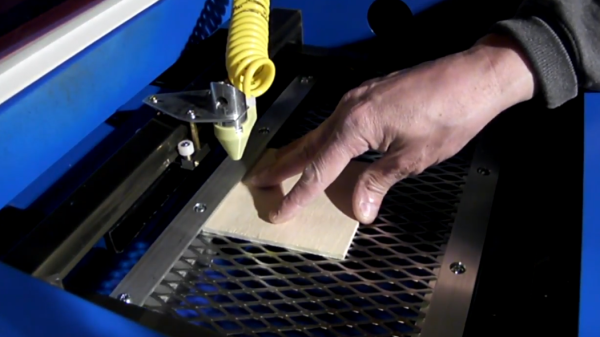
Laser engraving and cutting has something in common with focusing the sun’s rays with a magnifying glass: good focus is critical to results. If materials of varying thicknesses are used, focus needs to be re-set every time the material changes, and manual focusing quickly becomes a chore. [Scorch Works] has a clever solution to avoid constant re-focusing that doesn’t involve sensors or motors of any sort. The result is a self-adjusting bed that compensates for material height changes, ensuring that the top surface of the material is always a fixed distance from the laser’s head.

The way [Scorch Works] has done this is to make two spring-loaded clamps from angle aluminum and a few pieces of hardware. When a sheet of material is placed into the machine, the edges get tucked underneath the aluminum “lips” while being pushed upward from beneath. By fixing the height of the top layer of angle aluminum, any sheet stock always ends up the same distance from the laser head regardless of the material’s thickness.

[Scorch Works] shows the assembly in action in the video embedded below, along with a few different ways to accommodate different materials and special cases, so be sure to check it out.

Continue reading “Spring-Loaded Bed For K40 Laser Acts As An Auto-Focus”

Gorgeous NickelBot Serves Up Lasered Wooden Nickels

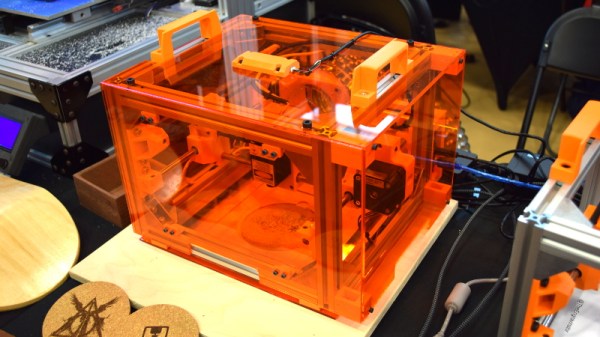
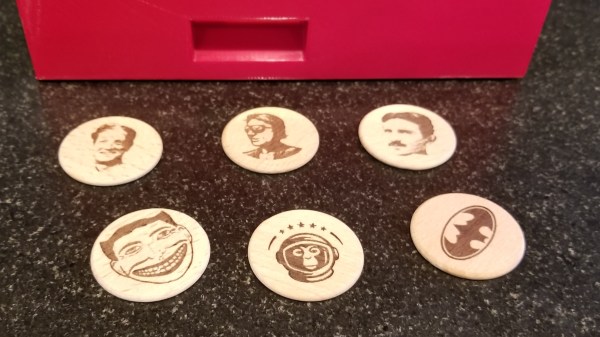
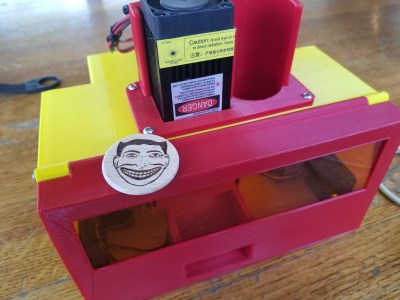
[bdring] just recently completed his absolutely fantastic NickelBot, which is a beautifully made unit that engraves small wooden discs with a laser like some kind of on demand vending machine, and it’s wonderful. NickelBot is small, but a lot is going on inside. For example, there’s a custom-designed combination engraving platform and hopper that takes care of loading a wooden nickel from a stack, holding it firm while it gets engraved by a laser, then ejects it out a slot once it’s done.

NickelBot is portable and can crank out an engraved nickel within a couple of minutes, nicely fulfilling its role of being able to dish out the small items on demand at events while looking great at the same time. NickelBot’s guts are built around a PSoC5 development board, and LaserGRBL is used on the software side to generate G-code for the engraving itself. Watch it work in the video embedded below.

Continue reading “Gorgeous NickelBot Serves Up Lasered Wooden Nickels”

Review: NEJE DK-8-KZ Laser Engraver

When I got my first 3D printer I was excited, but now that I’m contemplating adding a forth to my collection, I have to come to the terms with the fact that these machines have all the novelty of a screwdriver at this point. Which is fine; getting the cost down and availability up is the key to turning a niche piece of technology into a mainstream tool, and the more people with 3D printers at home or in their workshop the better, as far as I’m concerned. But still, there’s a certain thrill in exploring the cutting edge, and I’ve been looking for something new to get excited about as of late.

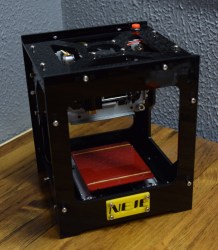
NEJE DK-8-KZ

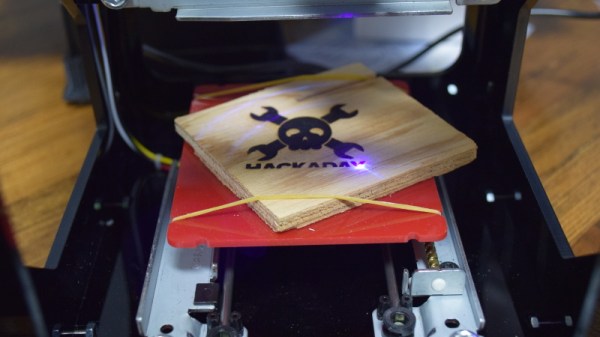
Lasers seem like an interesting next step in my quest towards complete in-house fabrication capability, so I started researching cheap setups to get my feet wet. In the course of looking up diode-powered laser cutters, I came across the NEJE DK-8-KZ. At only 1W, there’s no question this device isn’t going to be cutting a whole lot. In fact, it’s specifically sold as an engraver. But given the fact that you can get one of these little guys for around $70 USD shipped, it’s hard to complain.

Now I wasn’t 100% sure what I would do with a laser engraver, but I thought it would be a good way to test the waters before putting serious money (and time) into something more powerful. Plus, if I’m being totally honest, I wanted to start on something on the lower end of the power spectrum because I’m terrified of blinding myself.

So what kind of laser do you get for $70? Let’s find out… Continue reading “Review: NEJE DK-8-KZ Laser Engraver”

Review: LinkSprite Mini CNC

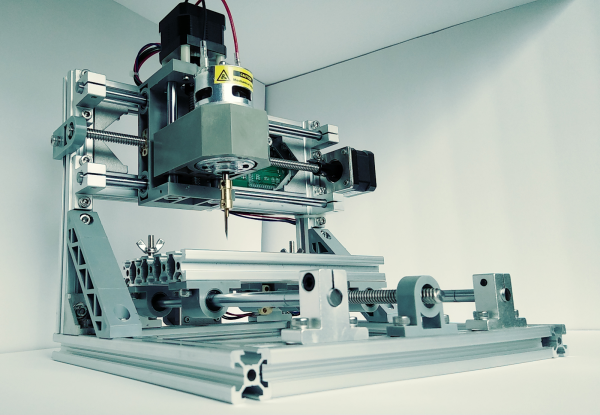
It’s a great time to be a hobbyist. No matter how you feel about the Arduino/Raspberry Pi effect, the influx of general enthusiasm and demand it has created translates to better availability of components, a broader community, and loads of freely available knowledge. When people have access to knowledge and ideas, great things can happen. Tools that were once restricted to industrial use become open source, and the price of entry-level versions goes into a nosedive.

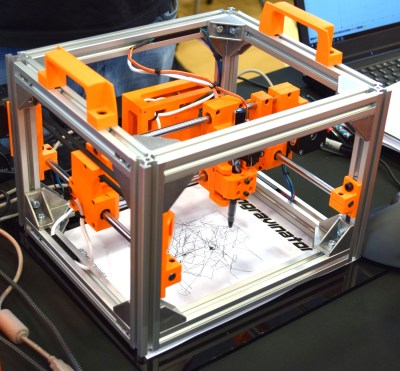
As we’ve seen over the last several years, the price of cheap 3D printers keeps falling while the bar of quality keeps rising. It’s happening with laser cutters and carving tools, too. Strolling through Microcenter a few weeks ago, I spotted a new toy on the back wall next to the 3D printers. It was LinkSprite’s desktop mini CNC. They didn’t have one out on display, but there were two of them in boxes on the shelf. And boy, those boxes were small. Laughably small. I wondered, could this adorable machine really be any good? To some, the $200 price tag suggests otherwise. To me, the price tag made it justifiable, especially considering that the next price point for a hobby CNC mill is at least twice as much. I took my phone out and stood there frantically looking for reviews, documentation, anything that was available. It seemed that the general, if sparse consensus is that this thing isn’t a total waste of money. Oh, and there’s a wiki.

According to LinkSprite’s wiki, this little machine will engrave wood, plastic, acrylic, PVC, and PCBs. It will specifically not engrave metal (PCB copper notwithstanding). I’m a bit leery of the chemicals used in the PCB etching process, so the idea of engraving them instead was especially tempting. I pulled the trigger.

Continue reading “Review: LinkSprite Mini CNC”

Monoprice Mini Laser Engraver Hack

There’s an old saying, that in theory there’s no difference between theory and practice, but in practice there is. That sentiment could easily be applied to refitting a 3D printer to hold a laser. There shouldn’t be much to it, rig up a laser module to turn on under computer control, mount it to your hot end carriage and off you go. In practice, though there are other considerations to account for. If you have a Monoprice Mini Select, you can start with instructions from [drodrii] for adding a laser to your printer.

Although [drodrii] mentions that you need a second 3D printer to make a bracket for the laser, we think you should be able to print it on the Mini as long as you do it before the first step of removing the hot end. However, since your laser module might not exactly match the one used in this project, you’d have to get it right the first time if you don’t have another 3D printer. Of course, you could remove the laser gear, remount the hot end, print a new bracket and start over, but that’d be a drag.

Continue reading “Monoprice Mini Laser Engraver Hack”

Improving Cheap Laser Engravers For PCB Fabrication

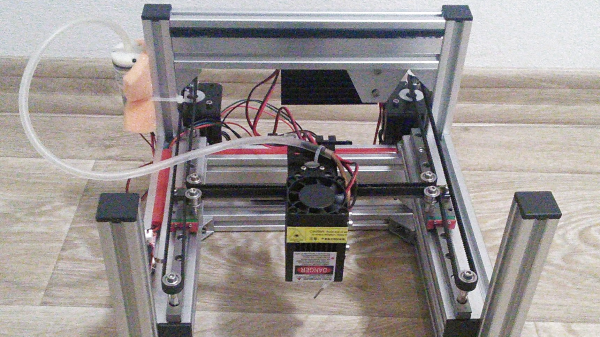
A few months ago, [Marco] picked up a cheap, cheap, cheap laser engraver from one of the familiar Chinese resellers. It’s a simple affair with aluminum extrusions, a diode laser, and a control board that seems like it was taken from a 3D printer controller designed five years ago. Now, [Marko] is building some upgrades for this engraver and his PCB production skills have gone through the roof.

The laser engraver [Marko] picked up is called the EleksMaker, and lucky for him there are quite a few upgrades available on Thingiverse. He found two 3D printable parts, one that keeps the belt parallel to the aluminum extrusion, and another that provides adjustable x-axis tightness on the belt. With these two mods combined, [Marko] actually has a nice, smooth motion platform that’s more precise and makes better engravings.

These upgrades weren’t all 3D-printable; [Marko] also got his hands on a few Trinamic TMC2130 stepper motor drivers. These stepper drivers are the new hotness in 3D printing and other desktop CNC machines, and looking at the waveform in an oscilloscope, it’s easy to see why. These drivers produce a perfectly smooth waveform via interpreted microstepping, and they’re almost silent in operation. That’s terrible if you want to build a CNC chiptune player, but great if you want smooth engraving on a piece of copper clad board.

This project has come a long way since the last time we took a look at it a few months ago, and the results just keep getting better. [Marko] is making real PCBs with a laser engraver that cost less than $200, and the upgrades he’s already put into it don’t add up to much, either. You can take a look at [Marko]’s progress in the video below.

Thanks [dechemist] for the tip.

Continue reading “Improving Cheap Laser Engravers For PCB Fabrication”