Although the tides in the ocean are caused by the motion of the Sun and the Moon, both of which are easy to observe, accurately predicting the tide more than a few days in advance turns out to be rather difficult. The math behind the tidal movement is so complex that some of the earliest analog computers were built specifically to perform tide calculations. Sir William Thomson (better known as Lord Kelvin) designed one such “tide-predicting machine”, an impressive arrangement of gears and pulleys, back in the late 19th century.
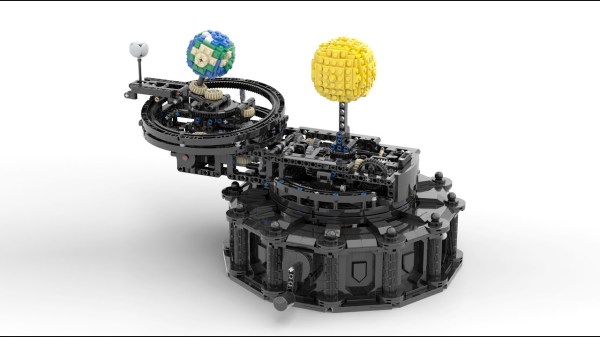
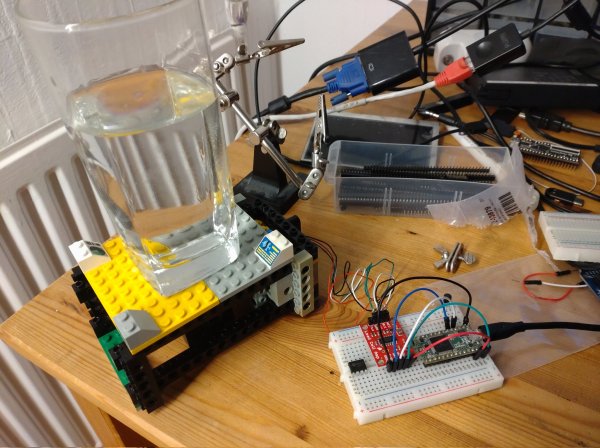
[Pepijn de Vos] built a modern interpretation of Thomson’s machine out of LEGO parts, and it’s no less impressive than the original. A total of 96 LEGO gears move perfectly in sync to the ocean’s natural rhythms, while a set of pulleys connect four banks of gears together to create the sum of the constituent frequencies. An ultrasonic sensor reads the output value and sends the result back to a PC.
One interesting problem that [Pepijn] ran into, and which he explains in great detail on his blog, is that LEGO gears can only provide a very limited set of gear ratios. In order to match the tide calculations to any kind of precision, he needed to connect many gears in series without creating too much friction and backlash in the mechanism. Optimizing this setup was a non-trivial task that required a significant amount of computing power by itself.
As you can see in the video embedded below, the machine makes beautifully smooth movements, which correspond quite accurately to the actual motion of tides. If you’re interested in the science behind analog tide predictors, we’ve got an in-depth article about just that.
Continue reading “Analog Computer Made From LEGO Predicts Tides”