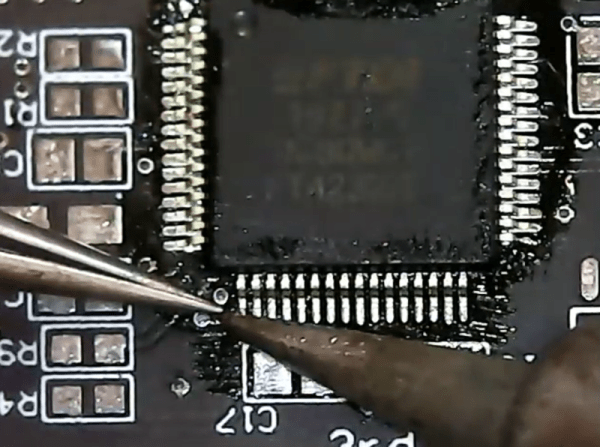
Oregon State University must be a pretty good place to go to school if you want to hack on robots. Their robotics club, which looks active and impressive, has a multi-part video series on how to solder surface mount components that is worth watching. [Anthony] is the team lead for their Mars Rover team and he does the job with some pretty standard-looking tools.
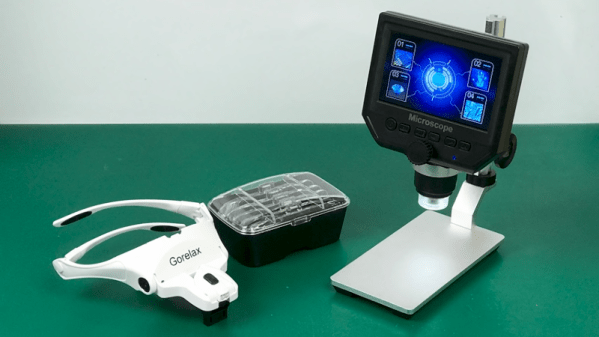
The soldering station in use is a sub-$100 Aoyue with both a regular iron and hot air. There’s also a cheap USB microscope that looks like it has a screen, but is covered in blue tape to hold it to an optical microscope. So no exotic tools that you’d need a university affiliation to match.
I loved my science courses when I was in Junior High School; we leaned to make batteries, how molecules combine to form the world we see around us, and basically I got a picture of where we stood in the scheme of things, though Quarks had yet to be discovered at the time.
In talking with my son I found out that there wasn’t much budget for Science learning materials in his school system like we had back in my day, he had done very little practical hands-on experiments that I remember so fondly. One of those experiments was to look and draw the stages of mitosis as seen under a Microscope. This was amazing to me back in the day, and cemented the wonder of seeing cell division into my memory to this day, much like when I saw the shadow of one of Jupiter’s moons with my own eyes!
Now I have to stop and tell you that I am not normal, or at least was not considered to be a typical young’un growing up near a river in rural Indiana in the 60’s. I had my own microscope; it quite simply was my pride and joy. I had gotten it while I was in the first or second grade as a present and I loved the thing. It was just horrible to use in its later years as lens displaced, the focus rack became looser if that was possible, and dirt accumulated on the internal lens; and yet I loved it and still have it to this day! As I write this, I realize that it’s the oldest thing that I own. (that and the book that came with it).
We’ve seen a lot of practical machines built using Lego. Why not? The bricks are cheap and plentiful, so if they can get the job done, who cares if they look like a child’s toy? Apparently, not [Yuksel Temiz]. He’s an engineer for IBM whose job involves taking pictures of microscopic fluidic circuits. When he wasn’t satisfied with the high-power $10,000 microscopes he had, he built his own. Using Lego. How are the pictures? Good enough to appear in many scientific journals.
Clearly, the microscope doesn’t just contain Lego, but it still came in at under $300. According to an interview from Futurism, the target devices are reflective which makes photographing them straight-on difficult. After experimenting with cameras on tripods, [Yuksel] decided he could build his own specialized device. You can see a video of the devices in question and some of the photographs below.
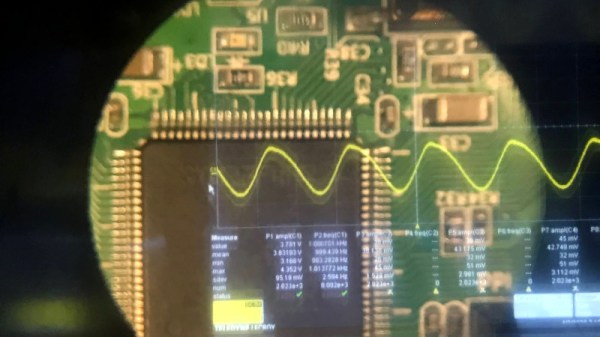
Augmented reality saw a huge boom a few years ago, where an image of the real world has some virtual element layer displayed on top of it. To get this effect to work, however, you don’t need a suite of software and smart devices. [elad] was able to augment a microscope with the output from an oscilloscope, allowing him to see waveforms while working on small printed circuit boards with the microscope.
The build relies on a simplified version of the Pepper’s Ghost illusion. This works by separating two images with a semi-transparent material such as glass, placed at an angle. When looking through the material, the two images appear to blend together. [elad] was able to build a box that attaches to the microscope with a projection of the oscilloscope image augmented on the view of the microscope.
This looks like it would be incredibly useful for PCBs, especially when dealing with small SMD components. The project is split across two entries, the second of which is here. In one demonstration the oscilloscope image is replaced with a visual of a computer monitor, so it could be used for a lot more applications than just the oscilloscope, too. There aren’t a lot of details on the project page though, but with an understanding of Pepper’s Ghost this should be easily repeatable. If you need more examples, there are plenty of other builds that use this technique.
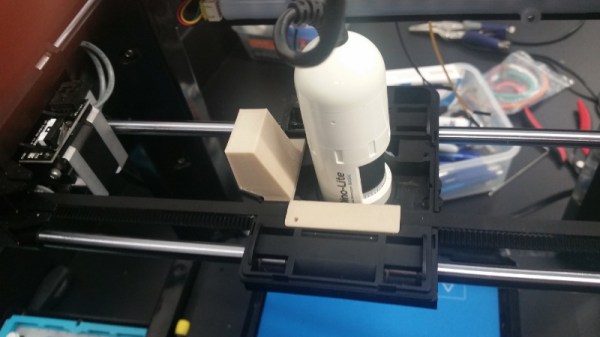
A few years ago, [Wayne] managed to blow out the main board of his Flashforge Finder attempting to change the fan. But the death of one tool ended up being the birth of another, as he ended up using its mechanical components and a Raspberry Pi to create an impressive scanning microscope.
Scan of Ulysses S. Grant from a US $50 bill
As you might have guessed from the name, the idea here is to scan across the object with a digital microscope to create an enlarged image of the entire thing. This requires some very precise control over the microscope, which just so happens to be exactly what 3D printers are good at. All [Wayne] had to do was remove the hotend, and print some adapter pieces which let him mount a USB microscope in its place.
The rest is in the software. The Raspberry Pi directs the stepper motors to move the camera across the object to be scanned in the X and Y dimensions, collecting thousands of individual images along the way. Since the focus of the microscope is fixed and there might be height variations in the object, the Z stage is then lifted up a few microns and the scan is done again. Once the software has collected tens of thousands of images in this manner, it sorts through them to find the ones that are in focus and stitch them all together.
The process is slow, and [Wayne] admits its not the most efficient approach to the problem. But judging by the sample images on the Hackaday.io page, we’d say it gets the job done. In fact, looking at these high resolution scans of 3D objects has us wondering if we might need a similar gadget here at the Hackaday Command Bunker.
Those of us who trawl the world of cheap imported goods will most often stay in our own comfortable zones as we search for new items to amaze and entertain us. We’ll have listings of electronic goods or tools, and so perhaps miss out on the scores of other wonders that can be ours for only a few dollars and a week or two’s wait for postage.
Just occasionally though something will burst out of another of those zones and unexpectedly catch our eye, and we are sent down an entirely new avenue in the global online supermarket.
Thus it was that when a few weeks ago I was looking for an inspection camera I had a listing appear from the world of personal grooming products. It seems that aural hygiene is a big market, and among the many other products devoted to it is an entire category of ear wax removal tools equipped with cameras. These can get you up close and personal with your ear canal, presumably so you can have a satisfying scoop at any accumulated bodily goop. I have a ton of electronics-related uses for a cheap USB close-up camera so I bought one of these so I could — if you’ll excuse the expression — get a closer look.
There’s plenty of different methods to build a 3D scanner, with photogrammetry being a particularly accessible way to do it. This involves taking a series of photos from different angles to build up the geometry of the model. If you want to do this with something small, instead of a camera, just substitute a microscope! [NoseLace’s] LadyBug does just that.
It’s a 3D scanner built in a very hacker fashion. The X-Y stage that moves the sample is from a KES-400a Blu-Ray drive, salvged from the original “fat” Playstation 3. The Z axis is then created using the linear stepper motor from the optical pickup of the same drive. A rotary stepper motor is added on to the Z-axis to allow the sample to be rotated. It’s all combined with a basic USB microscope to take the images, and a Raspberry Pi which handles running all the stepper motors with some add-on driver boards.