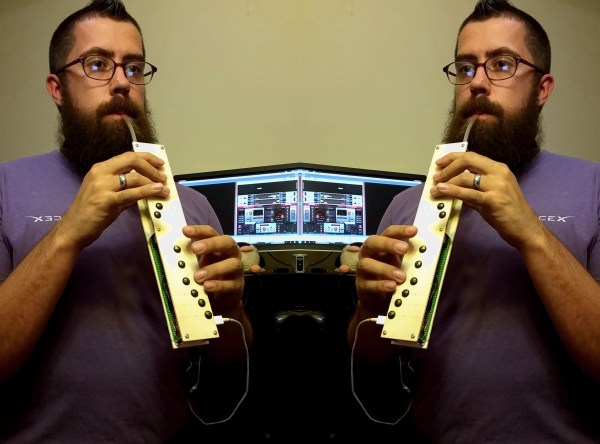
If you’ve never heard a hurdy-gurdy before, you’re in for a treat. Not many people have, since they’re instruments which are uncommon outside of some eastern European communities. Think of a violin that replaces the bow with a hand-cranked wheel, and adds some extra strings that function similar to drones on a bagpipe. The instrument has been around for hundreds of years, but now it’s been given an upgrade via the magic of MIDI.
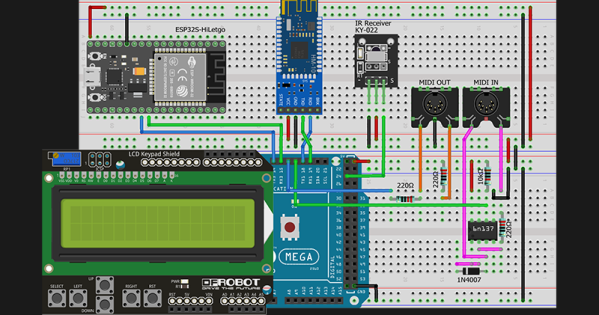
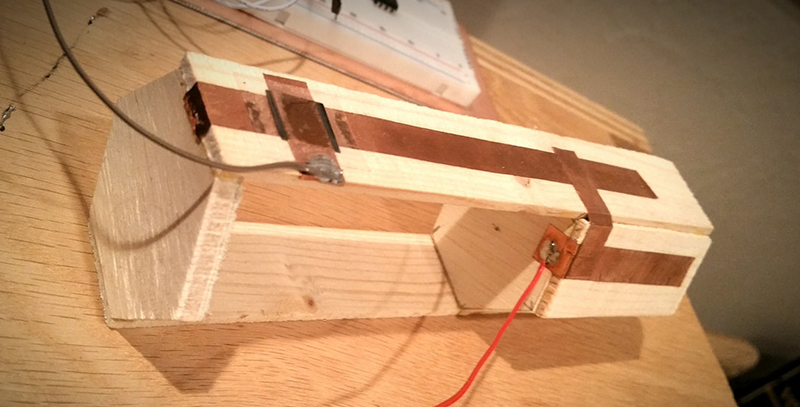
All of these new features come from [Barnaby Walters] who builds hurdy-gurdys by hand but has recently been focusing on his MIDI interface. The interface can do pitch-shifting polyphony, which allows the instrument to make its own chords and harmonies. It also has a hybrid poly synthesizer, which plays completely different sounds, and can layer them on top of one another. It can also split the keyboard into two instruments, where the top half plays one sound and the bottom half another. It’s an interesting take on an interesting instrument, and the video is definitely worth a look.
The hurdy-gurdy isn’t a commonly used instrument for hacking compared to something like drums or the violin, of course. In fact we had to go back over ten years to find any other articles featuring the hurdy-gurdy, the Furby Gurdy. It was an appropriately named instrument.
Thanks to [baldpower] for the tip!
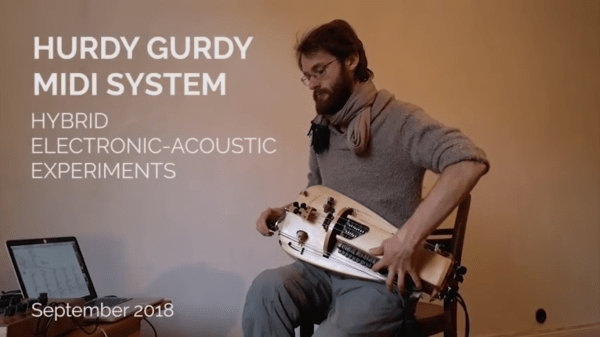
Continue reading “Hurdy-Gurdy Gets Modernized With MIDI Upgrades”