We’ve got to say it… these tubular bells sound awful! They don’t really have a tight pitch center so they sound really out of tune to us. But we think that’s the failing of the instrument itself and not the work which [Tolaemon] did to automate the instrument.
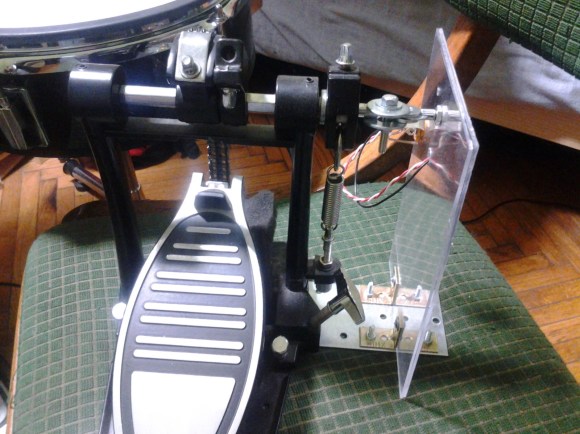
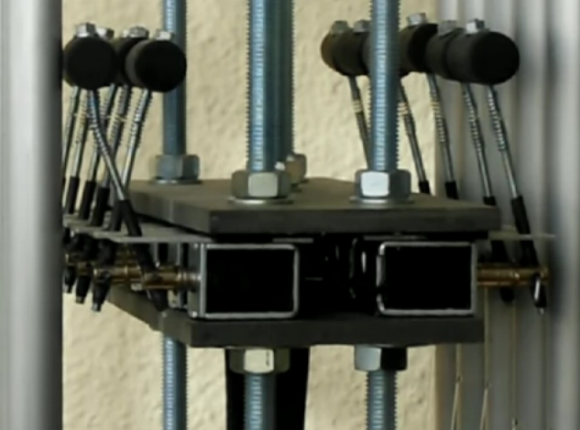
There are three main parts to his project. The first, which is shown above, adds a hammer for each bell. The hammers are hinged, with one side being pulled by a solenoid in order to strike the bell. The second part of the hack also uses solenoids, dampening the bell’s ability to ring by pressing a felt pad up against the bottom of the tube. The final portion of the project brings it all home by adding MIDI control to the hardware.
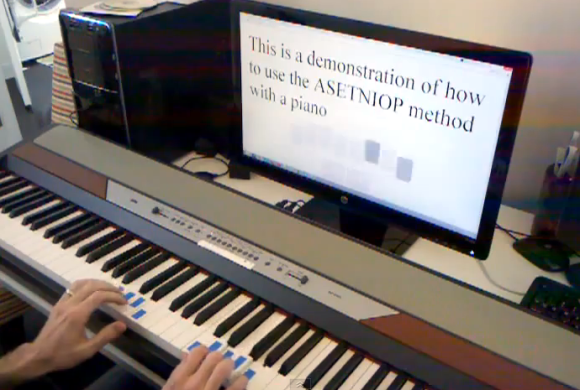
The clip after the break gives a good overview of the different features including some preprogrammed playback as well as direct control of the instrument using an electric keyboard. This reminds us of that scratch-built solenoid xylophone.
Continue reading “Automatic Tubular Bells Given A MIDI Interface Too”