90’s kids think that the Power Glove was the coolest game peripheral of the epoch. We might have thought so too, until we heard about Don’t Touch: The Story of the U-Force from [The Gaming Historian].
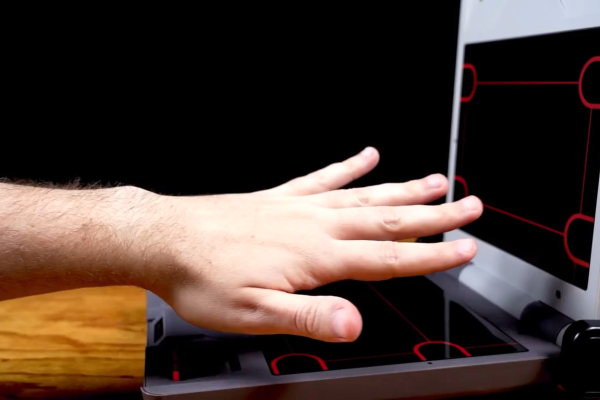
The device itself folded up like a laptop, and on the two surfaces had four IR LED/sensor pairs. All of these combined would localize your fist in space for playing Mike Tyson’s Punch Out, or would work with various other passive controller add-ons like a flight yoke for playing Top Gun. (One of the coolest bits is the flip-out IR reflectors triggered by the buttons in the yoke.)
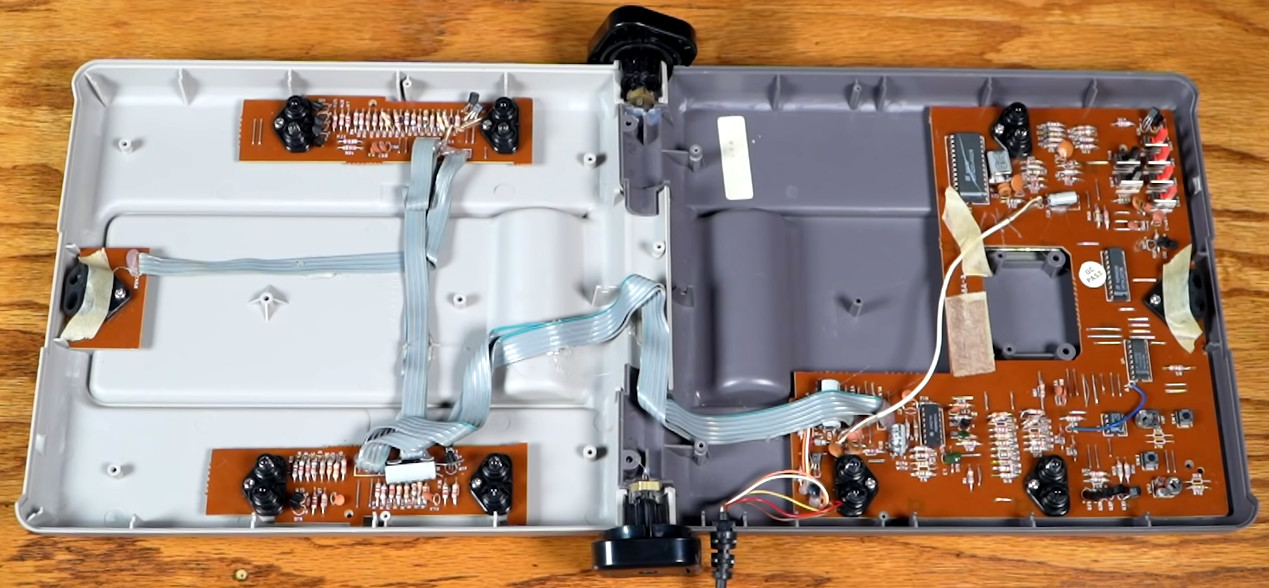
All-in-all, the video’s take is that a number of factors doomed the U-Force to play second fiddle to the Power Glove. Battling Mattel’s marketing prowess is obvious, but other things like manufacturing problems due to bad hinges and inconsistent IR sensors delayed release and added cost. In the end, though, [Dave Capper], the U-Force’s inventor, puts it down simply to non-convincing gameplay. There were no blockbuster games that used it to its full potential.
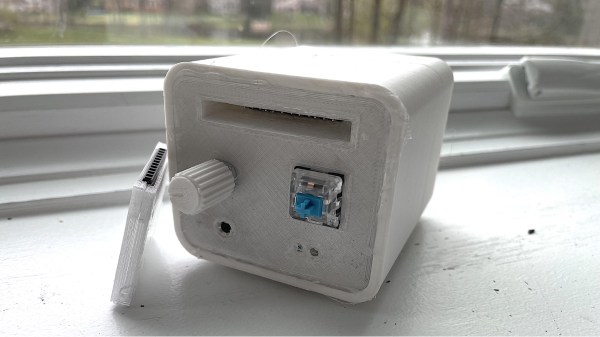
We think there’s interesting hacker potential in a simple interface like this. Perhaps its biggest Achilles heel outside of the lack of a killer application was the fact that it required calibration. We can imagine all sorts of awesome interactions, and we’re not afraid of a little tweaking. Or maybe we would update the sensors to something more modern, like those inexpensive time-of-flight distance units.
Thanks [Karl Koscher] for bringing this documentary to our attention in the comments about the very similarly interesting laser theremin project we featured last year. It’s definitely opened our eyes to an old interaction of the past that would seem no less magical today.
Continue reading “Why You’ve Never Heard About Nintendo’s U-Force”