There are a million and one cheap OLED display modules out there. The only problem is, they’re all assembled on bare PCBs with slight differences, and that frustrates efforts to mount them in a clean and tidy manner. [Galopago] decided to build a small OLED module that solved this frustrating problem.
The idea to pursue this came from off-the-shelf panel displays commonly used for power supply builds and other such equipment. These come in relatively standard sizes and are designed from the outset to slot neatly into a panel with a bezel that covers any ugly edges or awkward gaps.
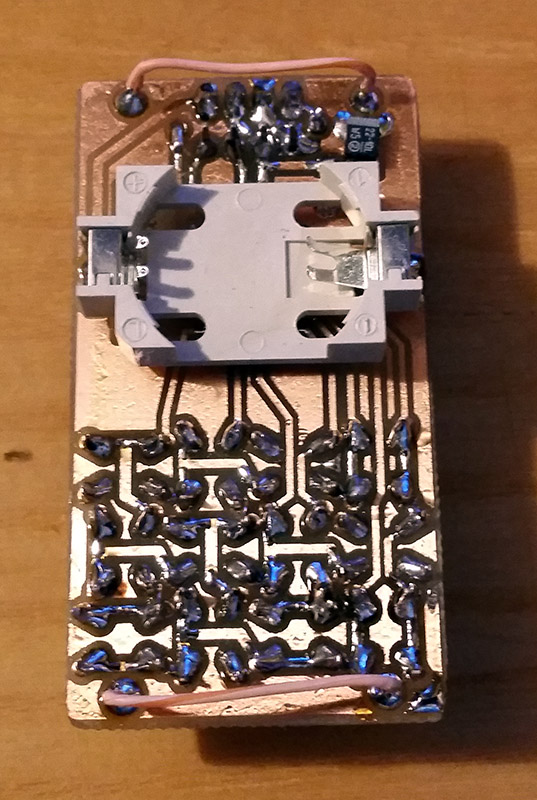
The build began with a 48 x 29 mm enclosure grabbed from an off-the-shelf power panel meter. There are two PCBs—one holding the regulator and other equipment to run the display, the other carrying a set of screw terminals that make it easy to wire up the display to a piece of equipment. The SSD1306-compatible OLED screen itself connects to the first board with a flat flex cable, as is the norm.
If you find yourself often wanting to pop a small display into a piece of custom test equipment, this might be relevant to your interests. Files are on GitHub for the curious.
We’ve featured some other fun OLED hacks over the years, like this interesting effort to whip up displays from scratch in a home lab. If you’ve got nifty usability hacks of your own in the works, don’t hesitate to let us know.