Polyurethane, Meet 3D Printing

3D printing makes prototyping wonderful. But what do you do when your plastics of choice just aren’t strong enough? For [Michael Memeteau], the answer was to combine the strength of a vacuum-poured polyurethane part with the ease of 3D-printed molds. The write-up is a fantastic walk through of a particular problem and all of the false steps along the way to a solution.

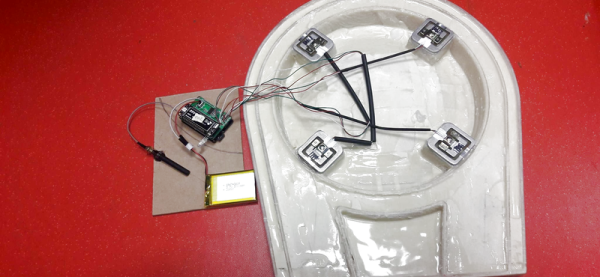
The prototype is a connected scale for LPG canisters, so the frame would have to support 80 kg and survive an outdoor environment. Lego or MDF lattice were considered and abandoned as options early on. 3D printing at 100% infill might have worked, but because of the frame’s size, it would have to be assembled in pieces and took far too long anyway.

The next approach was to make a mold with the 3D printer and pour the chosen polyurethane resin in, but a simple hollow mold didn’t work because the polyurethane heats as it cures. The combined weight and heat deformed the PLA mold. Worse, their polyurethane of choice was viscous and cured too quickly.

The solution, in the end, was a PET filament that deforms less with heat, clever choice of internal support structures to hold the stress in while being permeable, and finally pouring the polyurethane in a vacuum bag to help it fill and degas. The 3D-printed hull is part of the final product, but the strength comes from the polyurethane.

Mold-making is one of the killer apps of 3D printing. We’ve seen 3D prints used as molds for spin-casting hollow parts, and used as a sacrificial shell for otherwise epoxy parts. But for really complex shapes, strength, and ease of fabrication, we have to say that [Michael]’s approach looks promising.

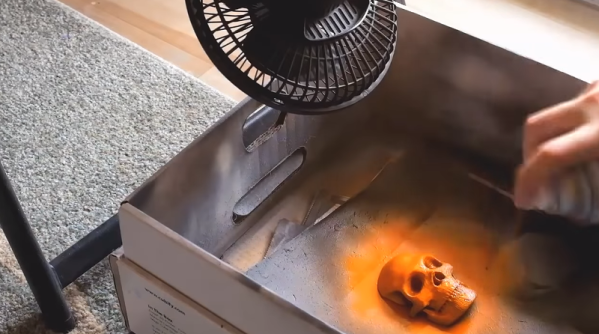
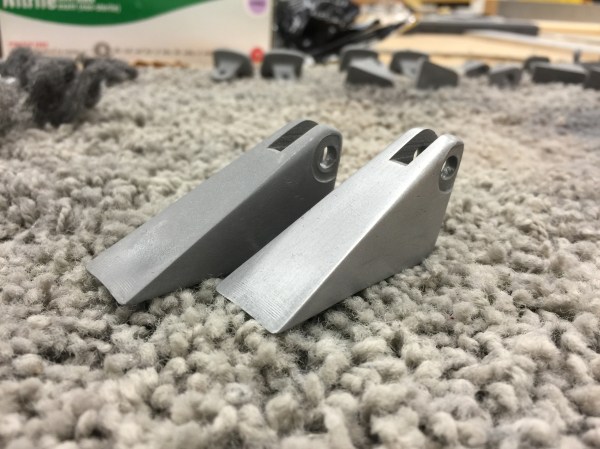
A quick brush over the part with some sand paper and it quickly transforms from obviously plastic to metallic.

Learn Resin Casting Techniques: Cold Casting

Sometimes we need the look, feel, and weight of a metal part in a project, but not the metal itself. Maybe you’re going for that retro look. Maybe you’re restoring an old radio and you have one brass piece but not another. It’s possible to get a very metal like part without all of the expense and heat required in casting or the long hours in the metal fabrication shop.

Before investing in the materials for cold casting, it’s best to have practical expectations. A cold cast part will not take a high polish very well, but for brushed and satin it can be nearly indistinguishable from a cast part. The cold cast part will have a metal weight to it, but it clinks like ceramic. It will feel cool and transfers heat fairly well, but I don’t have numbers for you. Parts made with brass, copper, and iron dust will patina accordingly. If you want them to hold a bright shine they will need to be treated with shellac or an equivalent coating afterward; luckily the thermoset resins are usually pretty inert so any coating used on metal for the same purpose will do.

It is best to think of the material as behaving more or less like a glass filled nylon such as the kind used for the casing of a power tool. It will be stiff. It will flex a relatively short distance before crazing and then cracking at the stress points. It will be significantly stronger than a 3D printed part, weaker than a pure resin part, and depending on the metal; weaker than the metal it is meant to imitate.

Continue reading “Learn Resin Casting Techniques: Cold Casting”

Learn Resin Casting Techniques: Duplicating Plastic Parts

Resin casting lets you produce parts that would be otherwise impossible to make without a full CNC and injection molding set-up. It costs about as much as a 3d printer, 300 to 600 US dollars, to get a good set-up going. This is for raw material, resin, dye, pressure chamber, and an optional vacuum degassing set-up. A good resin casting set-up will let you produce parts which are stronger than injection molding, and with phenomenal accuracy, temperature resistance, and strength. I will be covering various techniques from the simple to advanced for using resin casting from a hacker’s perspective.

Continue reading “Learn Resin Casting Techniques: Duplicating Plastic Parts”

Polyurethane Protecting PCBs

PCB

What you see above is a home-made PCB. No, this isn’t an example of a terrible toner transfer job, but rather evidence of the ravages of time. This board is seven years old, and the corrosion and broken traces show it. Luckily, [George] already has seven years of environmental data for a cheap DIY soldermask.

Seven years ago, [George] took a piece of copper clad board, masked half of it off, and sprayed it with fast drying polyurethane. After drying, he put it on a shelf in his garage. The results were fairly surprising – the uncovered portion is covered in verdigris, while the coated half is still shiny and new.

[George] took this a bit further and experimented with other spray can coverings. He found Testors spray enable worked just like the polyurethane, burning off when the heat of a soldering iron was applied, and also passed for a professional PCB.