[Will] had a cheap power supply sitting around, and decided to turn it into a full-featured benchtop PSU. Inspired by some of the other benchtop supplies we have featured in the past, he decided that he wanted his PSU to be more than just a simple-looking box sitting on his work bench. Taking some cues from PC case modding, he put together a unit that is not only very useful, but also quite sharp looking.
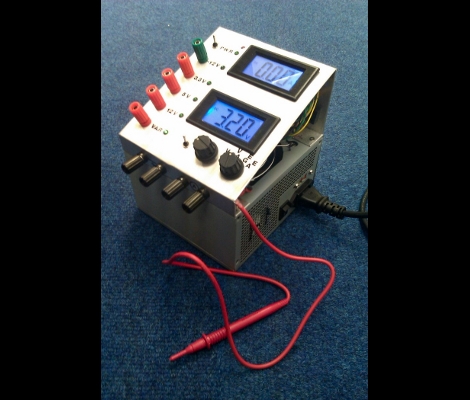
The frame of the case was crafted from aluminum angle, while all of the other flat surfaces were made using black polycarbonate. He installed the standard 12v, 3.3v, and 5v terminals you would expect from any benchtop PSU, complete with an LCD display showing the voltages provided by each rail as measured by an Arduino stationed inside the case. Additionally, he installed a variable terminal capable of providing 1.3v-30v, along with its own LCD display. The most unique feature is the multimeter embedded in the front of the case, which makes it virtually impossible to lose.
The case is finished off as you might expect, if you have seen any of his previous work. It features LED lighting on the inside, large fans on either side of the case for optimal air flow, and a pair of machined aluminum handles.
Be sure to check out the quick video below of the PSU being powered on.