Back in the 1980s I was a budding electronics geek working in a TV repair shop. I spent most of my time lugging TVs to and from customers, but I did get a little bench time in. By then new TVs were entirely solid-state and built on single PC boards, but every once in a while we’d get an old-timer in with a classic hand-wired tube chassis. I recall turning them over, seeing all the caps and resistors soldered between terminal strips bolted to the aluminum chassis and wondering how it could all possibly work. It all looked so chaotic and unkempt compared to the sleek traces and neat machine-inserted components on a spanking new 19″ Zenith with the System 3 chassis. In a word, the old chassis was just – ugly.
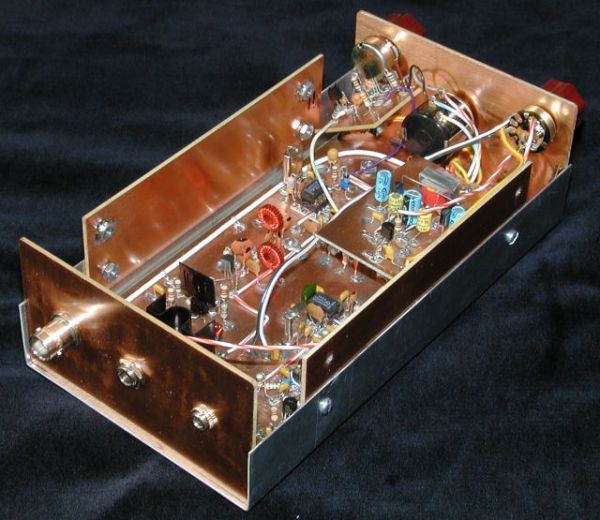
Looking back, I probably shouldn’t have been so judgmental. Despite the decades of progress in PCB design and the democratization of board production thanks to KiCad, OSH Park, and the like, it turns out there’s a lot to be said for ugly methods of circuit construction.
Continue reading “Getting Ugly, Dead Bugs, And Going To Manhattan”