If it were sixty years ago, and you were trying to keep a secret, you’d be justifiably glad that [Ben North] hadn’t traveled back in time with his Raspberry-Pi-and-FPGA code-breaking machine.
We’ve seen a lot of Enigma builds here at Hackaday — the World War II era encryption machine captured our readers’ imaginations. But perhaps the more important machines to come out of cryptanalysis during that era were Turing’s electromechanical Bombe, because it cracked Enigma, and the vacuum-tube-based Colossus, because it is one of the first programmable electronic digital computers.
[Ben]’s build combines his explorations into old-school cryptanalysis with a practical learning project for FPGAs. If you’re interested in either of the above, give it a look. You can start out with his Python implementations of Colossus to get your foot in the door, and then move on to his GitHub repository for the FPGA nitty-gritty.
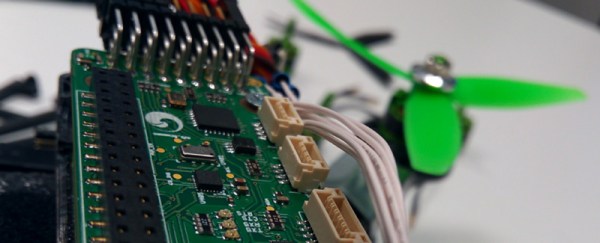
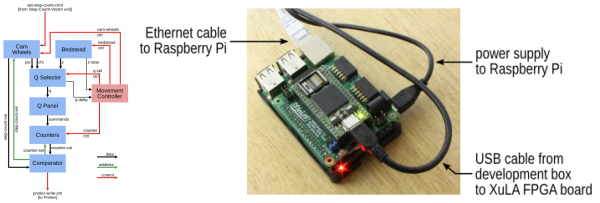
It’s also a cool example of a use for the XuLA2 FPGA board and its companion StickIt board that plug straight into a Raspberry Pi for programming and support. We haven’t seen many projects using these since we first heard about them in 2012. This VirtualBoy hack jumped out at us, however. It looks like a nice platform. Anyone else out there using one?