[Ronald] has been improving his audio set-up for a while now, his latest revision culminating in this WiFi enabled center channel speaker. It all started with feature creep as you can see in this direct quote, “Being an engineer, I couldn’t stop here, not now that I had a way of adding more features…”
He had purchased a new amplifier for his system, but was irritated that the loudness setting would re-enable itself every time he switched inputs. First he thought he might just have a little board that intercepted the signals from his remote and tacked on the loudness off signal. It occurred to him that it would be even cooler if he could control it from his computer or phone. So he opened the case on his new amp and discovered an i2c break-out. We can guess how it went after that.
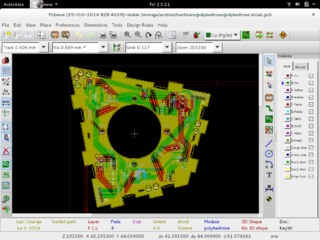
In version 2.0 he kept most of his work from 1.0, but wanted to simplify the set-up and build it all into a center speaker unit since an amplifier and two speaker cabinets takes up too much room. He fit a similar set-up as before in the center speaker casing, but added a touch screen and a few other improvements. Though, strangely, he ran into some problems upgrading to the Raspberry Pi 2.0 and had to revert.
The final result is very nice, though obviously not done. As the engineer’s mantra goes, “If it ain’t broke, it doesn’t have enough features yet.”


 A
A 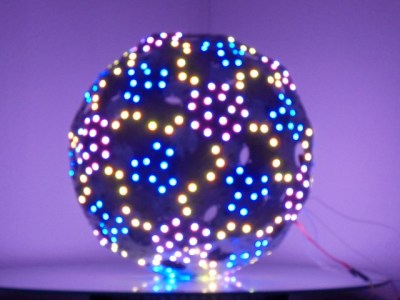 The results are simply stunning. If the mathematics and construction of a polyhedron were not enough to make this project worth a second look, then the