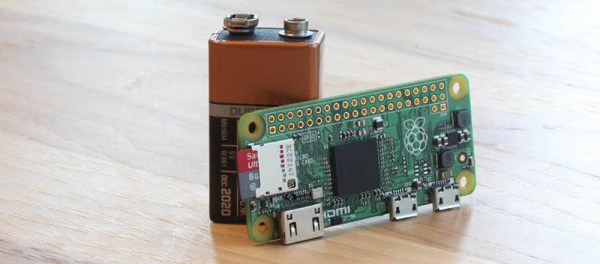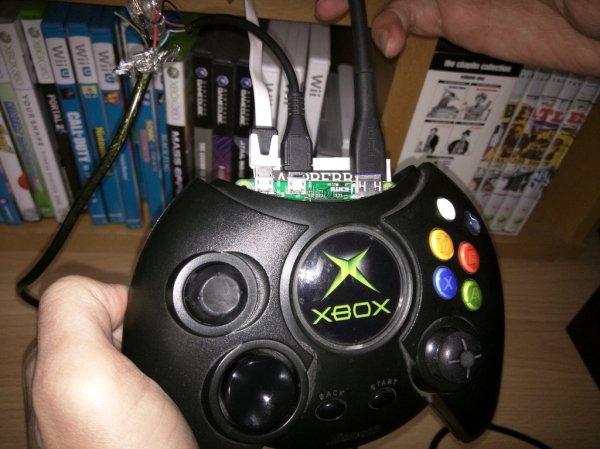
With the release of the Raspberry Pi Zero last month, we’ve been waiting in excitement to see the first creative hacks to come out, making use of its tiny size; which if you didn’t know, is smaller than a business card. [Terence Eden] hopped to it and made what might be the first Raspberry Pi Zero emulator: inside an Xbox controller.
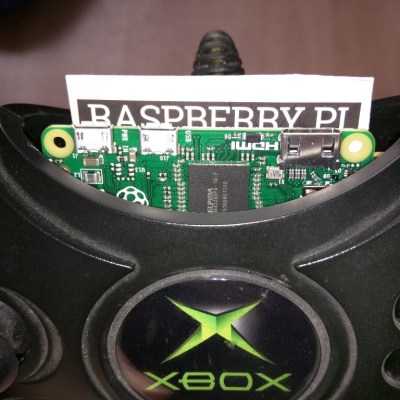 Thanks to its small size it’s actually a fairly straight forward hack with minimal modification to the controller in order to make it fit. In fact, you only need to remove the memory card holder from the controller and snip one bit of plastic in order to make it fit right in the middle — awesome.
Now it does stick out a bit as you can see in the pictures, but we’re sure it won’t take someone long to make a 3D printed part that snaps into the controller giving it a more stock appearance. Unfortunately since HDMI can’t carry a power source to the Pi, [Terence] is using a micro-USB to power it — but there is enough space inside the controller for a battery pack if you wanted to make it truly portable.
Continue reading “Shoving A Raspberry Pi Zero Into An Xbox Controller”