We all have one. Maybe you’re sitting at it now, or just wishing you were — that perfect desk. You know the one — a place for everything and everything in its place, ample acreage, specialized storage, and top-notch looks. Oh, and blinkenlights. Can’t forget those.
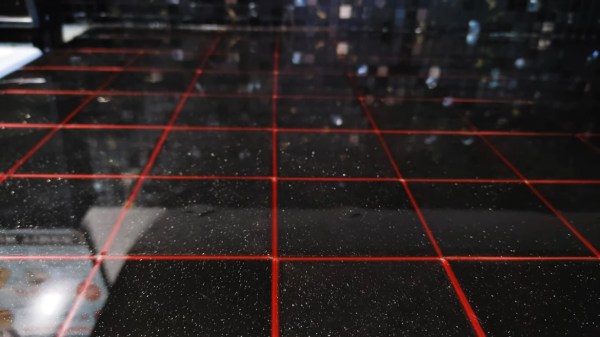
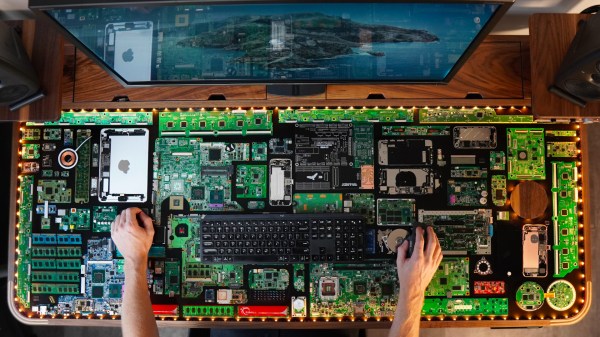
It took four months of hard work, but [Build XYZ]’s dream desk has been finely fabricated into fruition. There’s a lot to unpack with this build, which you can appreciate after the break, but it all started with a donated up/down desk from Progressive Desk. After building the base and putting it through its body weight-driven paces, [Build XYZ] set about making the perfect top, which, as you can see, highlights an assortment of PCBs by encasing them for eternity in resin.
But don’t let your admiration stop there, because the woodworking is just as much a part of the show. In addition to the functional blinkenlights that notify [BuildXYZ] when it’s time to stop working for the day or just take a break, there’s a working wireless charger hiding among the FR4. We can’t wait to look back on this desk in 20 years or so and we also can’t wait to see how PCBs will change over the next 20 years.
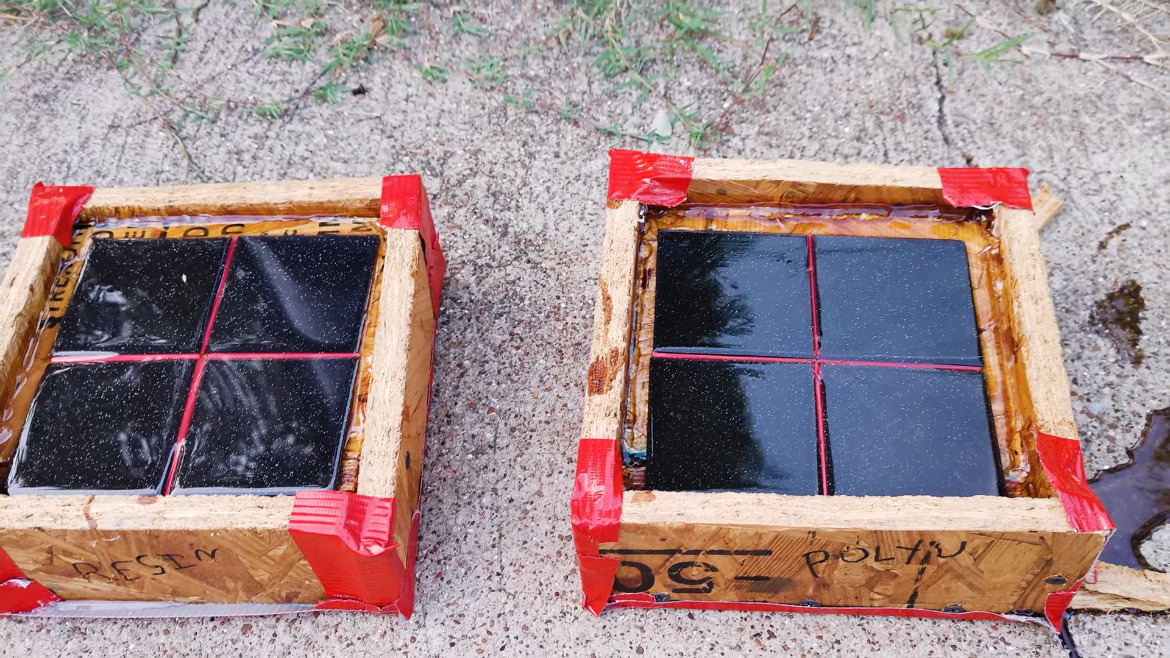
This tightly-produced video is a fascinating look into the process of forever immortalizing things in resin. So much resin, in fact, that [Build XYZ] came up a gallon short during the pour and had to wait an excruciatingly long time before more resin showed up. Seeing as how you totally can’t tell at all in the final build, we have maximum respect for [Build XYZ]’s inclusion of this part in the first place, which serves as a warning to the rest of us.
Continue reading “PCB-Filled Dream Desk Will Only Get Cooler With Age”