Reverse Engineering The Furby

Furby

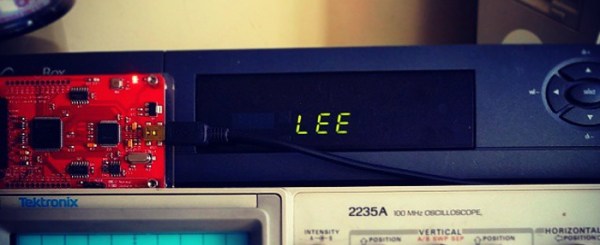
Furby teardowns are a favorite of ours, and there’s nothing quite like flaying open a creepy talking deformed animatronic owl/hell beast. There’s a lot you can do with a set of screwdrivers and a pair of scissors, but it takes a real clever person to reverse engineer a Furby without any disassembly (Russian, here’s the translation).

The new Furby comes with an iOS and Android app that allows children to interact with the Furby by feeding it, giving it commands, and even translating the Furbish into English. These apps work by playing a WAV file encoded with commands that give the Furby something to eat, or tell it to dance a merry jig.

Commands are delivered with these WAV files by means of a 4-digit, 4-bit code, complete with checksums. There are ten bits the Furby actually responds on, meaning there are potentially 1024 different commands the Furby can accept.

[iafan] wrote a Perl script to listen in on the audio generated by the Android Furby app and correlated all the possible commands with actions taken by the Furby. Everything is up on a git, allowing anyone to play an audio file and control the Furby’s mood and actions.

With this it should be possible to remotely control a Furby, letting it dance whenever you receive an email, or making it angry whenever someone retweets you. It’s a lot more clever than just putting a Furby through a wood chipper, but considering how creepy these things are, we’re not going to say it’s better.

How The 8085 ALU Is Structured

8085-alu-reverse-engineering

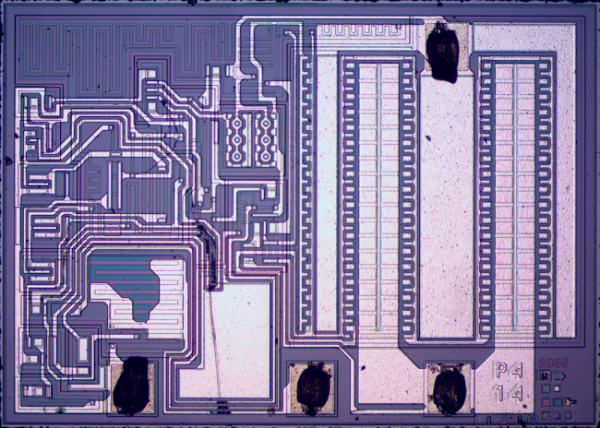
This is a microscopic photograph of an 8085 processor die. [Ken Shirriff] uses the image in his explanation of how the ALU works. It is only capable of five basic operations: ADD, OR, XOR, AND, and SHIFT-RIGHT. [Ken] mentions that the lack of SHIFT-LEFT is made up for by adding the number to itself which has the effect of multiplying a number by two; the same mathematical function performed by a shift operation.

His post details the gate arrangement for each ALU operation. This is clear and easy to follow, and was based on reverse engineering work already done by a team who meticulously decapped and photographed the dies.

Not long ago this explanation would have been voodoo to us. But we worked our way through The Elements of Computing Systems text-book by following the online Nand to Tetris course. It really demystifies the inner working of a chip like the 8085.

Now if you really want to understand this ALU you’ll build it for yourself inside of Minecraft.

[Thanks Ed]

Communication Protocol For An Indoor Helicopter

propel-execuheli-ir-protocol-revealed

There’s a special type of satisfaction that comes from really understanding how something works at the end of a reverse engineering project. This grid above is the culmination of [Spencer’s] effort to reverse engineer the IR protocol of a Propel ExecuHeli indoor helicopter toy.

The first thing he looked at was the three different controller channels which can be selected to allow multiple helicopters to be used in the same area. [Spencer] was surprised that they all used the same carrier frequency. The secret must be in the coded packets so his next challenge was to figure out how the data was being transmitted via the Infrared signal. It turns out the packets are using pulse-length coding (we were unfamiliar with this protocol but you can read a bit more about it here). The last piece of the puzzle was to capture packets produced by each unique change of the control module. With each bit (except for bit 11) accounted for he can now format his own codes for a controller replacement. Perhaps he’s looking to make the helicopter autonomous?

In-depth Look At An LVCD Board From A Saturn V Rocket

saturn-v-lvdc-board

Join [Fran] as she dons the hat of an electronics archaeologist when looking at this vintage circuit board from the space race. As part of her personal collection she somehow acquired a Launch Vehicle Digital Computer board for a Saturn V rocket. This particular unit was never used. But it would have been had the Apollo program continued.

[Fran] is enamored with this particular board because she believes it is the forerunner of modern digital circuit design and layout. Since routing circuit boards is part of what she does for a living you can see why this is important to her. Also, who isn’t excited by actual hardware from the space program? We’ve embedded two of her videos after the break. In the first she shows off the component to the camera and speaks briefly about it. But the second video has her heading to the dentist’s office for X-rays. The image above is a rotating X-ray machine, but it looks like the best imagery comes when a handheld gun is used. They get some great images of the traces, as well as the TTL components on the board itself.

Continue reading “In-depth Look At An LVCD Board From A Saturn V Rocket”

Reverse Engineering ST-Link/V2 Firmware

reverse-engineering-stlink-v2

The chip seen just above the center of this image is an ARM Cortex-M3. It provides the ability to interface and program the main chip on the STM32F3 Discovery board. The protocol used is the ST-Link/V2 which has become the standard for ST Microelectronics development boards. The thing is, that big ARM chip near the bottom of the image has multiple UARTs and bridging a couple of solder points will connect it to the ST-Link hardware. [Taylor Killian] wanted to figure out if there is built-in firmware support to make this a USB-to-serial converter and his path to the solution involved reverse engineering the ST-Link/V2 firmware.

The first part of the challenge was to get his hands on a firmware image. When you download the firmware update package the image is not included as a discrete file. Instead he had to sniff the USB traffic during a firmware update. He managed to isolate the file and chase down the encryption technique which is being used. It’s a fun read to see how he did this, and we’re looking forward to learning what he can accomplish now that’s got the goods he was after.

Tamagotchi Hacking, In Depth

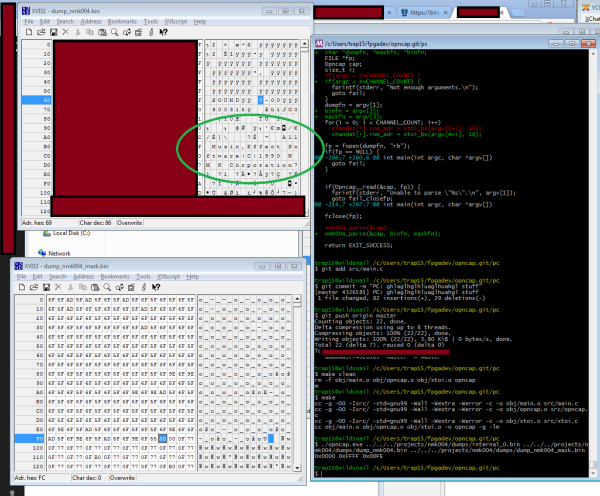
In this strangely fascinating talk, you can follow along as [Natalie Silvanovich] reverse engineers some Tamagotchi. Even if you have no interest whatsoever in digital pets, you’ll probably pick up a trick or two by listening to how she went about taking over the toy. She can now push her own images to the screen, and evolve her Tamagotchi at will.

Listening to her story you might be able to pick up a few tricks as she takes almost every angle possible. She uncovers the black blobs, she attempts to socially engineer her way into datasheets, decaps chips, she dumps and breaks down code. It is also worth noting that, in the beginning, internet electronics enthusiasts were adamant that it just had a PIC processor inside and they were wrong. Having an internet full of experts is a wonderful thing, except when it isn’t.

Then again, having that internet full of experts might be her savior in the end, she’s missing a piece of software and asking if anyone has it available.

Continue reading “Tamagotchi Hacking, In Depth”

Rooting Your AT&T U-verse Modem

Unhappy with the performance of his U-verse modem [Jordan] decided to dig in and see if a bit of hacking could improve the situation. Motorola makes this exclusively for AT&T and there are no other modems on the market which can used instead. Luckily he was able to fix almost everything that was causing him grief. This can be done in one of two ways. The first is a hardware hack that gains access to a shell though the UART. The second is a method of rooting the device from its stock web interface.

We think the biggest improvement gained by hacking this router is true bridge mode. The hardware is more than capable of behaving this way but AT&T has disabled the feature with no option for an unmodified device to use it. By enabling it the modem does what a modem is supposed to do: translate between WAN and LAN. This allows routing to be handled by a router (novel idea huh?).