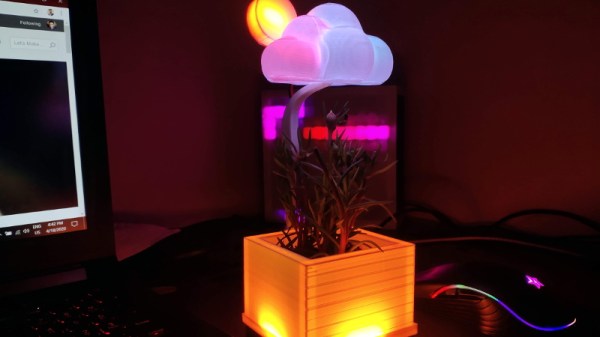
[Mukesh Sankhla] writes in to share this unique weather display that looks to be equal parts art and science. Rather than show the current conditions with something as pedestrian as numbers, this device communicates various weather conditions to the user with 25 WS2812B LEDs embedded into the 3D printed structure. It also doubles as a functional planter for your desk.
So how does this potted plant tell you if it’s time to get your umbrella? Using a NodeMCU ESP8266 development board, it connects to openweathermap.org and gets the current conditions for your location. Relative temperature is conveyed by changing the color of the pot itself; going from blue to red as things heat up. If there’s rain, the cloud over the plant will change color and flash to indicate thunder.
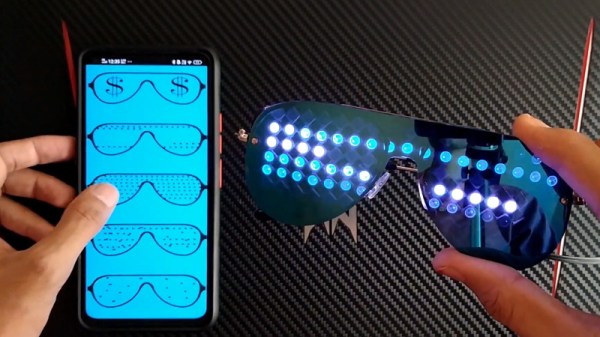
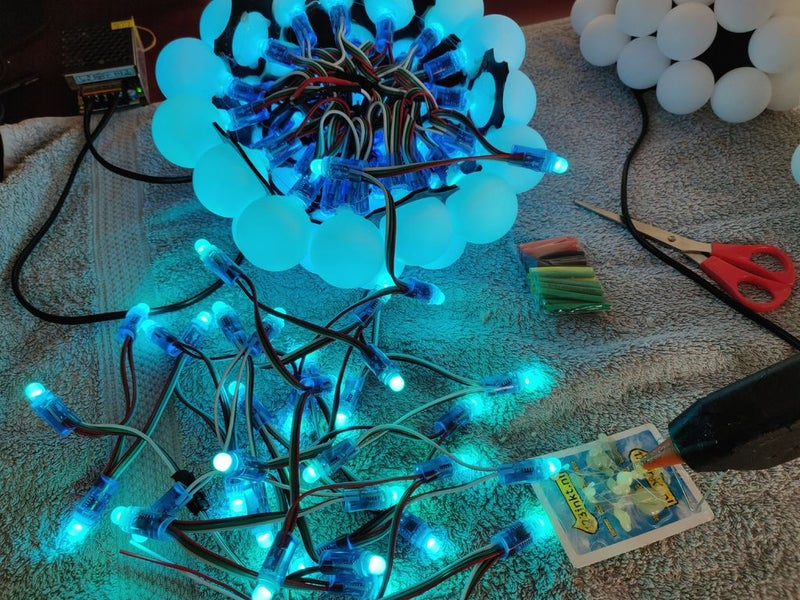
[Mukesh] has made all of the STL files for the printed components available, as well as the source code for the ESP8266. You’ll need to provide your own soil and plant though, there’s only so much you can send over the Internet. Incidentally, if the clever way he soldered these WS2812B modules together in the video catches your eye, you’ll really love his “RGB Goggles” project that we covered earlier.
Continue reading “Weather Display Is Cloudy With A Chance Of ESP8266”