Trampoline Bounce Counter Has Raspberry Pi Automate Away Your Parental Duties

If you have a toddler and a mini-tramp you know the rallying cry of “Mama, Count!”. If you don’t don’t have either of these things, become the hero uncle or aunt by building one for your family members who have been social distancing with a three-year-old monster bundle of joy for the last five weeks. This trampoline bounce counter uses a Raspberry Pi and a distance sensor to stream the bounce count to a nice little web GUI.

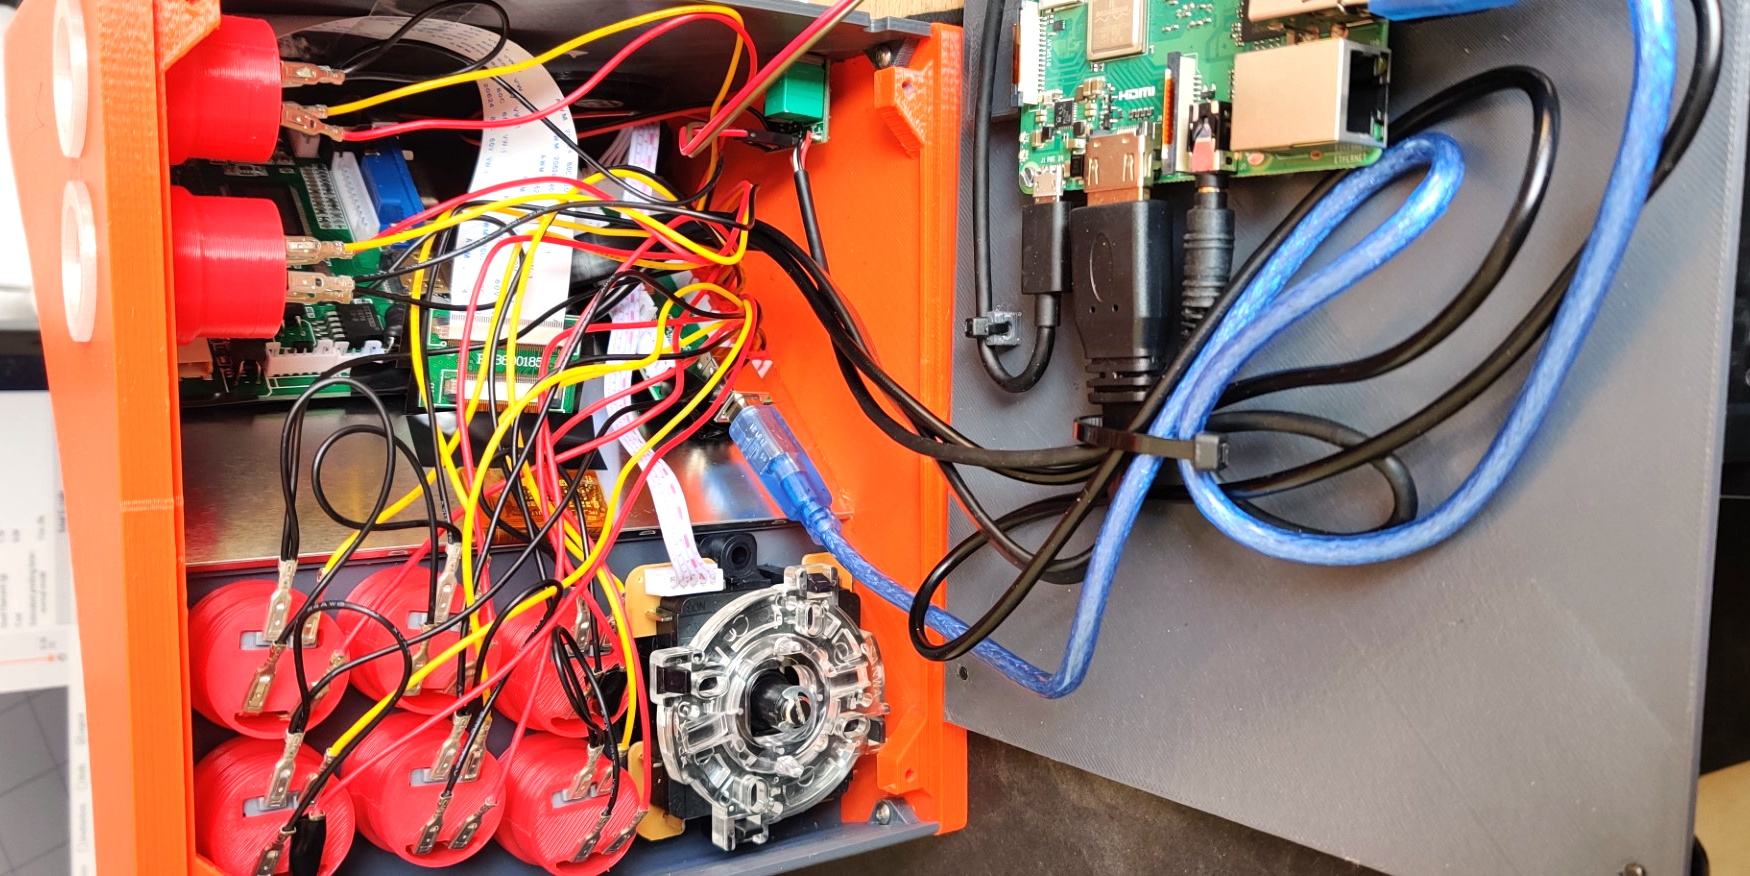
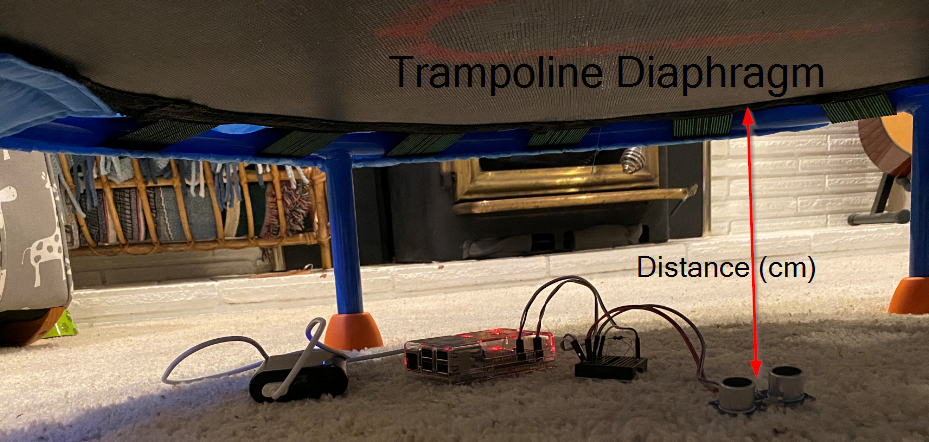
The hardware couldn’t be more simple, and there’s a good chance you already have everything on hand. The HC-SR04 ultrasonic distance sensor is a staple in beginner microcontroller kits. It simply lays on the floor pointed up at the bottom of the trampoline, connected to a Raspberry Pi via a resistor divider.

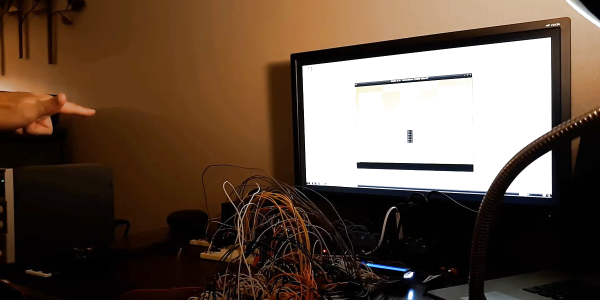
The software is where [Eric Escobar’s] project makes your life easy. He’s included a simple calibration routine that marks the low point of a bounce as you stand still on the tramp. There’s even a systemd service file included to ensure the software is always running, even after reboot. Cumulative bounce count can be seen on a webpage served from the Pi via an AJAX script.

Having a running count is a great first step, and surely a magical new feature of the trampoline that will be loved by the little ones. If that sense of wonder runs out, you could always gamify the system by adding in daily or hourly totals and a high-scores board.

It seems [Eric] is well practiced at automating his responsibilities away. We previously saw him use a Raspberry Pi to control the door of his chicken coop.

Continue reading “Trampoline Bounce Counter Has Raspberry Pi Automate Away Your Parental Duties”

Machine Learning Algorithm Runs On A Breadboard 6502

When it comes to machine learning algorithms, one’s thoughts do not naturally flow to the 6502, the processor that powered some of the machines in the first wave of the PC revolution. And one definitely does not think of gesture recognition running on a homebrew breadboard version of a 6502 machine, and yet that’s exactly what [Nick Bild] has accomplished.

Before anyone gets too worked up in the comments, we realize that [Nick]’s Vectron breadboard computer is getting a lot of help from other, more modern machines. He’s got a pair of Raspberry Pi 3s in the mix, one to capture and downscale images from a Pi cam, and one that interfaces to an Atari 2600 emulator and sends keypresses to control games based on the gestures seen by the camera. But the logic to convert gesture to control signals is all Vectron, and uses a k-nearest neighbor algorithm executed in 6502 assembly. Fifty gesture images are stored in ROM and act as references for the four known gesture classes: up, down, left, and right. When a match between the camera image and a gesture class is found, the corresponding keypress is sent to the game. The video below shows that the whole thing is pretty responsive.

In our original article on [Nick]’s Vectron breadboard computer, [Tom Nardi] said that “You won’t be playing Prince of Persia on it.” That may be true, but a machine learning system running on the Vectron is not too shabby either.

Continue reading “Machine Learning Algorithm Runs On A Breadboard 6502”

Millennium Falcon Docking Bay Doubles As Table

A glass table makes a perfect display case for showing off whatever’s important to you, but if you want keep the dust off of your treasures, closing up the sides is probably a wise move. It might not be a bad idea to put some lighting in there to make sure everything is easy to see. You might as well make the lights RGB and remote controlled, so you can fiddle with the look from across the room. Of course, you could go all in and just make the thing a diorama…

It’s not hard to imagine the line of thinking that convinced [Erv Plecter] he should turn a simple glass table into a docking bay for a model of the Millennium Falcon, and looking at the final results, we think it was the right move. With an incredible attention to detail, what started out a generic looking table and rather modest toy, have been combined into an interactive display that could woo even the staunchest of Trekkies.

If you’ve ever considered lighting a model, this project is an excellent example to follow. The Hasbro toy that [Erv] started with certainly wasn’t what you’d call studio quality; the little lighting it featured wasn’t even accurate to how the ship appears in the films. But with some reference material, fiber optic cables, and enough Arduinos to drive it all, the final lighting is truly a marvel. We’d say the engine is our favorite part, but those tiny lit panels in the cockpit are hard to beat.

While the Falcon is clearly the star of the show, the docking bay itself is certainly no afterthought. The back-lit panels, with their inscrutable Imperial design aesthetic, look fantastic. The addition of small details like crates and barrels, plus the glossy black PVC sheet used for the floor, really brings the whole scene to life. It’s almost a shame that the ship itself is so big, as a smaller model would have left more room to toss in a few Stormtroopers and droids out on patrol.

This isn’t the first time we’ve seen somebody augment a “toy” grade model with additional lighting effects. While the scale miniature aficionados in the audience might turn their nose up at some of the artistic liberties taken on these low fidelity models, we think any normal person would be blown away if they saw them in person.

Continue reading Millennium Falcon Docking Bay Doubles As Table”

Servo-Powered 7-Segments Choreograph This Chronograph

Good clocks are generally those that keep time well. But we think the mark of a great clock is one that can lure the observer into watching time pass. It doesn’t really matter how technical a timepiece is — watching sand shimmy through an hourglass has its merits, too. But just when we were sure that there was nothing new to be done in the realm of 7-segment clocks, [thediylife] said ‘hold my beer’ and produced this beauty.

A total of 28 servos are used to independently control four displays’ worth of 3D-printed segments. The servos pivot each segment back and forth 90° between two points: upward and flat-faced to display the time when called upon, and then down on its side to rest while its not needed.

Circuit-wise, the clock’s not all that complicated, though it certainly looks like a time-consuming build. The servos are controlled by an Arduino through a pair of 16-channel servo drivers, divided up by HH and MM segments. The Arduino fetches the time from a DS1302 RTC module and splits the result up into four-digit time. Code-wise, each digit gets its own array, which stores the active and inactive positions for each servo. Demo and full explanation of the build and code are waiting after the break.

When it comes to 7-segment displays, we say the more the merrier. Here’s a clock that uses pretty much all of them.

Continue reading “Servo-Powered 7-Segments Choreograph This Chronograph”

Lock Your Keys In The Car On Purpose With Aluminum Foil

[TJ] is a surfer, and drives his car to get to the beach. But when he gets there he’s faced with a dilemma that most surfers have: either put his key in your baggies (shorts) or wetsuit and hope it doesn’t get lost during a wipeout, or stash it on the rear wheel of his car. Hiding the keyfob by the car isn’t an option because it can open the car doors just by being in proximity to the car. He didn’t want to risk losing it to the ocean either, so he built a waveguide of sorts for his key out of aluminum foil that lets him lock the key in the car without locking himself out.

Over a series of trials, [TJ] found out that his car, a 2017 Chevy Cruze, has a series of sensors in it which can determine the location of the keyfob based on triangulation. If it thinks the keyfob is outside of the car, it allows the door to be locked or unlocked with a button on the door handle. If the keyfob is inside the car, though, it prevents the car from locking via the door handles so you don’t accidentally lock yourself out. He found out that he could “focus” the signals of the specific sensors that make the car think the keyfob is outside by building an open Faraday cage.

The only problem now is that while the doors can be locked, they could also can be unlocked. To solve that problem he rigged up an ESP32 to a servo to open and close the opening in the Faraday cage. This still means there’s a hidden device used to activate the ESP32, but odds are that it’s a cheaper device to replace than a modern car key and improves security “through obscurity“. If you have any ideas for improving [TJ]’s build, though, leave them in the comments below. Surfers across the world from [TJ] to the author would be appreciative.

Printed It: Collet Drill Stop

You’d think that being quarantined in your home would be perfect for hackers and makers like us, as we all have a project or two that’s been sitting on the back burner because we didn’t have the time to tackle it. Unfortunately, some are finding that the problem now is actually getting the parts and tools needed to do the job. When there’s a bouncer and a line outside the Home Depot like it’s a nightclub on Saturday night, even the simplest of things can be difficult to source when making in the time of COVID.

Which is exactly the situation I found myself in recently when I needed to drill a bunch of holes to the same depth. The piece was too big to put in the drill press, and while I contemplated just wrapping the bit in some tape to serve as a makeshift stop, I wasn’t convinced it would be accurate or repeatable enough. It occurred to me that a set of drill stop collars would be easy enough to design and 3D print, but before I fired up OpenSCAD, I decided to see what was already available online.

Which is how I found the “Collet Drill Stop” from Adam Harrison. Rather than the traditional ring and setscrew arrangement, his design uses a printable collet that will clamp down on the bit at an arbitrary position without tools. So not only could I avoid a trip to the store by printing this design out, it looked like it would potentially be an upgrade over what I would have bought.

Of course, it’s wise not to take anything for granted when dealing with 3D printing. The only way I could be sure that Adam’s design would work for me was to commit it to plastic and try it out.

Continue reading “Printed It: Collet Drill Stop”

3D Print Your Way To A Bartop Arcade Cabinet

Custom arcade machines have always been a fairly common project in the hacker and maker circles, but they’ve really taken off with the advent of the Raspberry Pi and turn-key controller kits. With all the internals neatly sorted, the only thing you need to figure out is the cabinet itself. Unfortunately, that’s often the trickiest part. Without proper woodworking tools, or ideally a CNC router, it can be tough going to build a decent looking cabinet out of the traditional MDF panels.

But if you’re willing to leave wood behind, [Gerrit Gazic] might have a solution for you. This bartop arcade, which he calls the simplyRetro D8, uses a fully 3D printed cabinet. He’s gone through the trouble of designing it so there are no visible screw holes, so it looks like the whole thing was hewn from a chunk of pure synthwave ore. He notes that this can make the assembly somewhat tricky in a few spots, but we think it’s a worthy compromise.

Given the squat profile of the simplyRetro, the internals are packed in a bit tighter than we’re accustomed to seeing in a arcade build. But there’s still more than enough room for the Raspberry Pi, eight inch touch screen HDMI panel, and all the controls. To keep things as neat as possible, [Gerrit] even added integrated zip tie mount points; a worthwhile CAD tip that’s certainly not limited to arcade cabinets.

[Gerrit] has included not only the STL files for this design, but also the Fusion 360 Archive should you want to make any modifications. There’s also a complete Bill of Materials, as well as detailed instructions on how to pull it all together. If you’ve ever wanted your own arcade machine but felt a bit overwhelmed about figuring out all the nuances on your own, the simplyRetro could be the project you’ve been waiting for.

Of course if you do have access to a CNC or laser cutter, then there are some designs you could produce quite a bit faster.