Somewhere between the onset of annoying hand pain and the feeling of worn-out, mushy switches, [sinbeard]’s keyboard dissatisfaction came to a head. He decided it was time to slip into something bit more ergonomic and settled on building an Iris — a small split keeb with an ortholinear (non-staggered) key arrangement.
 The Iris is open source and uses an on-board controller, so you can have the boards fabbed and do a lot of SMD soldering, or get a pair of PCBs with all of that already done. [sinbeard] went the latter route with this build, but there’s still plenty of soldering and assembly to do before it’s time to start clackin’, such as the TRRS jacks, the rotary encoders, and of course, all the switches. It’s a great way for people to get their feet wet when it comes to building keyboards.
Everything went according to plan until it was time to flash the firmware and it didn’t respond. It’s worth noting that both of the Iris PCBs are the same, and both are fully populated. This is both good and bad.
It’s bad you have two on-board microcontrollers and their crystals to worry about instead of one. It’s good because there’s a USB port on both sides so you can plug in whichever side you prefer, and this comes in mighty handy if you have to troubleshoot.
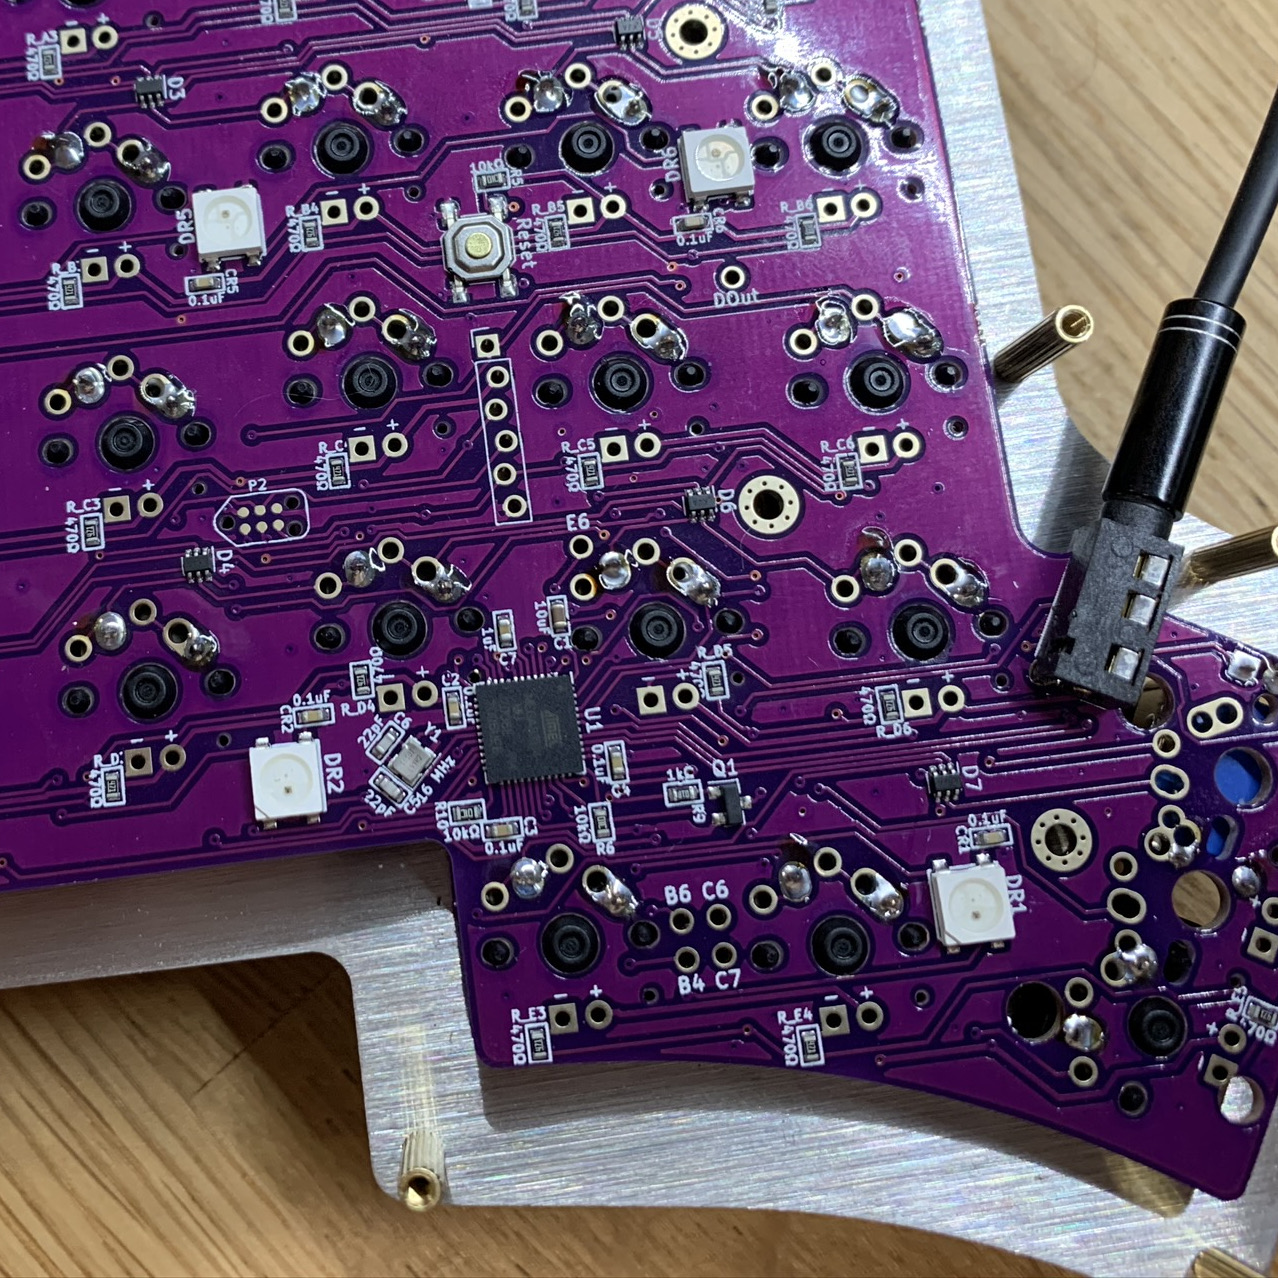
When one side’s underglow lit up but not the other, [sinbeard] busted out the ISP programmer. But in the end, he found the problem — a dent in the crystal — by staring at the board. A cheap replacement part and a little hot air rework action was all it took to get this Iris to bloom.
Want to build a keyboard but need a few more keys? Check out the dactyl and the ErgoDox.