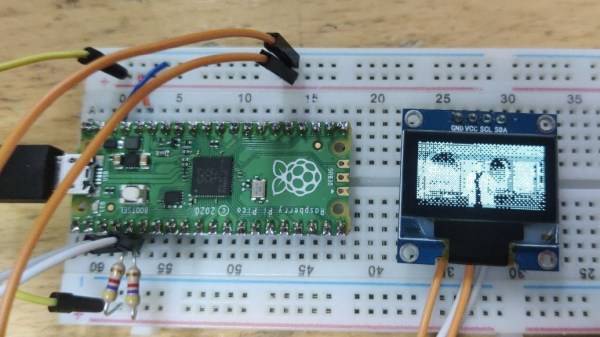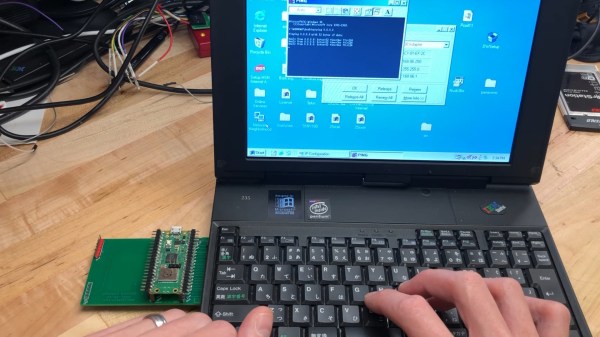
The Raspberry Pi RP2040 is versatile and cheap, but it’s by no means known as the most powerful microcontroller on the world. Regardless, it is capable of great things, as demonstrated by [Bernhard Strobl], who built a 3D open world game engine that runs on that very platform.
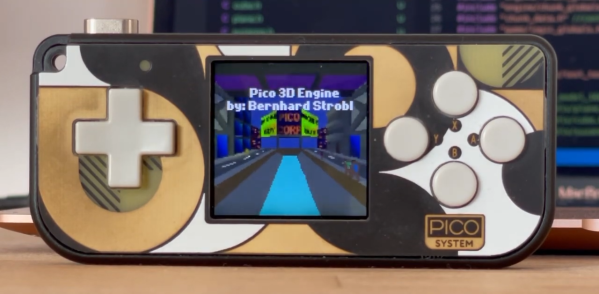
The game engine itself is built to run on the Pimoroni PicoSystem, which is essentially a handheld gaming platform built around the RP2040 chip. The engine takes advantage of the multi-core nature of the RP2040, using the second core as a dedicated rasterizer to keep frames pumping out.
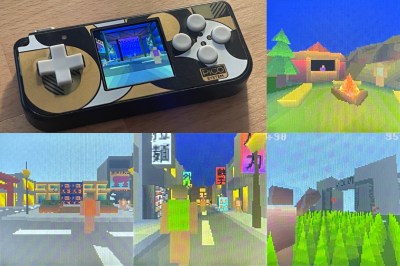
The basic game [Bernhard] built in the engine features 50 NPC characters and 50 further zombies, all running at the same time. Specs are impressive, with the engine’s included game simulating a “world” of 120 x 120 meters in size. As a maximum limit, the engine can handle a 2.56 x 2.56 km world, thanks to the use of 8-bit integers for directional data. However, limited storage space would make it difficult to achieve such a large world in practice.
We don’t get to see much of the gameplay in the YouTube video, but the quality of the graphics is impressive for such a cheap microcontroller. It seems within the bounds of possibility that an actual open-world game could be practical on the PicoSystem if only enough storage were available. Video after the break.
Continue reading “Open World 3D Game Runs On The RP2040 Microcontroller”