Stereolithography Goes Big

When it comes to hobby-level 3D printing, most of us use plastic filament deposited by a hot end. Nearly all the rest are using stereolithography — projecting light into a photosensitive resin. Filament printers have typical build volumes ranging from 1,000 to 10,000 cubic centimeters and even larger isn’t unusual. By contrast, SLA printers are often much smaller. A 1,200 CC SLA printer is typical and the cheaper printers are sometimes as little as 800 CCs. Perhaps that’s why [3D Printing Nerd] (otherwise known as [Joel]) was excited to get his hands on a Peopoly Phenom which has a build area of over 17,000 CCs. You can see the video review, below.

He claims that it is even bigger than a Formilab 3L, although by our math that has a build volume of around 20,000 CCs. On the other hand, the longest dimension on the Peopoly is 40 cm which is 6.5 cm longer than the 3L, so maybe that’s what he means. Either way, the printer is huge. That’s nearly 16 inches which is big even for a filament printer. Regardless of which one is bigger, the Peopoly is certainly much less expensive coming in at around $1,800 versus the 3L’s almost $10,000 price tag.

Continue reading “Stereolithography Goes Big”

When Does Moving To Resin 3D Printing Make Sense?

An Elegoo Mars resin 3D printer, straight to my doorstep for a few hundred bucks. What a time to be alive.

Resin-based 3D printers using digital light processing (DLP) and especially stereolithography (SLA) are getting more common and much more affordable. Prosumer-level options like Formlabs and the Prusa SL1 exist, but more economical printers like the Elegoo Mars, Anycubic Photon, and more can be had for a few hundred bucks. Many printers and resin types can even be ordered directly from Amazon, right at this moment.

Resin prints can look fantastic, so when does it make sense to move to one of these cheap resin printers? To know that, consider the following things:

  • The printing process and output of resin printers is not the same as for filament-based printers. Design considerations, pre-processing, and post-processing are very different.
  • Resin printing has a different workflow, with consumables and hidden costs beyond the price of resin refills.

Things may not be quite where fused deposition modeling (FDM) printers were just a few short years ago when we were extremely impressed with the quality of printer one could get for about $200, but it is undoubtedly far more accessible than ever before. Let’s look at how to inform a decision about whether to take the plunge. Continue reading “When Does Moving To Resin 3D Printing Make Sense?”

Resin Printers Are Now Cheaper, Still Kind Of A Hassle

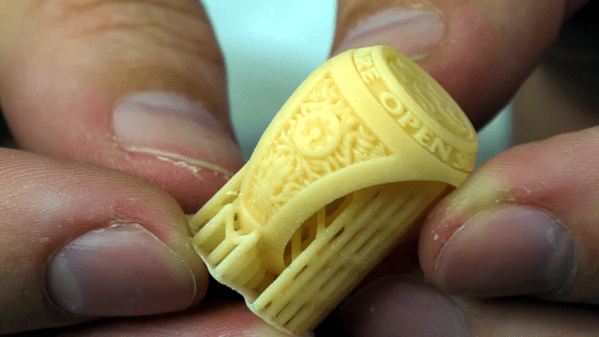
Your run-of-the-mill desktop 3D printer is based on a technology known as Fused Deposition Modeling (FDM), where the machine squirts out layers of hot plastic that stick to each other. But that’s not the only way to print a Benchy. One of the more exotic alternative techniques uses a photosensitive resin that gets hardened layer by layer. The results are impressive, but historically the printers have been very expensive.

But it looks like that’s finally about to change. The [3D Printing Nerd] recently did a review of the Longer3D Orange 10 which costs about $230, less than many FDM printers. It isn’t alone, either. Monoprice has a $200 resin printer, assuming you can find it in stock.

The resin isn’t cheap and it’s harder to handle than filament. Why is it harder to handle? For one is smells, but more importantly, you aren’t supposed to get it on your skin. The trade off is that the resulting printed parts look fantastic, with fine detail that isn’t readily possible with traditional 3D printing techniques.

Some resin printers use a laser to cure resin at particular coordinates. This printer uses an LCD to produce an image that creates each layer. Because the LCD exposes all the resin at one time, each layer takes a fixed amount of time no matter how big or detailed the layer is. Unfortunately, using these displays means the build area isn’t very large: the manufacturer says it’s 98 by 55 millimeters with a height of up to 140mm. The claimed resolution, though, is 10 microns on the Z-axis and 115 microns on the LCD surface.

Getting the prints out of the printer requires you to remove the uncured resin. In the video, they used a playing card and two alcohol baths. After you remove the uncured resin, you’ll want to do a final curing step. More expensive printers have dedicated curing stations but on this budget printer, you have to cure the parts separately. How? By leaving them out in the sun. Presumably, you could use any suitable UV light source.

There are a few other similar-priced options out there. Sparkmaker, Wanhao (resold by Monoprice). If you’re willing to spend more, Prusa has even thrown their orange hat into the ring. If you were wondering if you could use the LCD in your phone to do this, the answer is sort of.

Continue reading “Resin Printers Are Now Cheaper, Still Kind Of A Hassle”

Project Egress: Two Ways To Latch The Hatch

With July slipping away and the deadline approaching, the Project Egress builds are pouring in now. And we’re starting to see more diversity in the choice of materials and methods for the parts being made, like these two latches made with very different methods by two different makers.

For the uninitiated, Project Egress is a celebration of both the 50th anniversary of Apollo 11 and the rise of the maker movement. Spearheaded by [Adam Savage], the idea is to engage 44 prominent makers to build individual parts from the Unified Crew Hatch (UCH) from the Apollo Command Module. The parts will be used to create a replica of this incredibly complex artifact, which will be assembled by [Adam] before a live audience at the National Air and Space Museum next week.

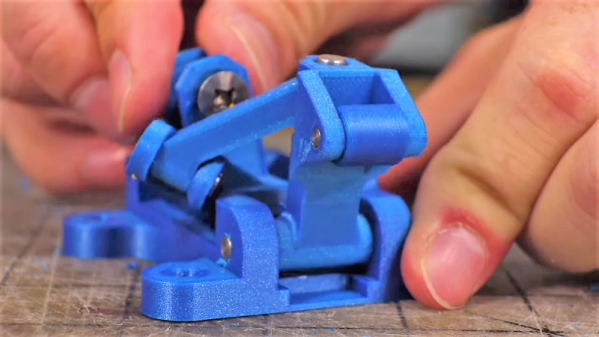
Both [Joel] from the “3D Printing Nerd” channel and [Bill Doran] from “Punished Props Academy” got the nod for one of the 15 latches needed, and both played to their respective strengths. [Joel]’s latch was executed in PLA on a Prusa I3 printer. [Bill] went a different route for his latch. He used a Form 2 SLA printer to print the parts, but used them only to make silicone molds. He then cast the parts from urethane resin, which should prove much stronger than the original SLA prints. We suspect the ability to quickly cast more latches could prove handy if any of the other latch makers should fail to deliver.

The latches [Joel] and [Bill] made joins the other parts, like the wooden latch being made by [Fran Blanche] and the hatch handle [Paul] cast in aluminum. We’re looking forward to more part builds, as well as the final assembly.

Continue reading “Project Egress: Two Ways To Latch The Hatch”

Fooling Fingerprint Scanners With A Resin Printer

Biometrics have often been used as a form of access control. While this was initially limited to bank vaults in Hollywood movies, it’s now common to see such features on many laptops and smartphones. Despite the laundry list of reasons why this is a bad idea, the technology continues to grow in popularity. [darkshark] has shown us an easy exploit, using a 3D printer to fool the Galaxy S10’s fingerprint scanner.

The Galaxy S10 is interesting for its use of an ultrasonic fingerprint sensor, which continues to push to hardware development of phones minimal-to-no bezels by placing the sensor below the screen. The sensor is looking for the depth of the ridges of your fingerprint, while the touchscreen verifies the capacitive presence of your meaty digit. This hack satisfies both of those checks.

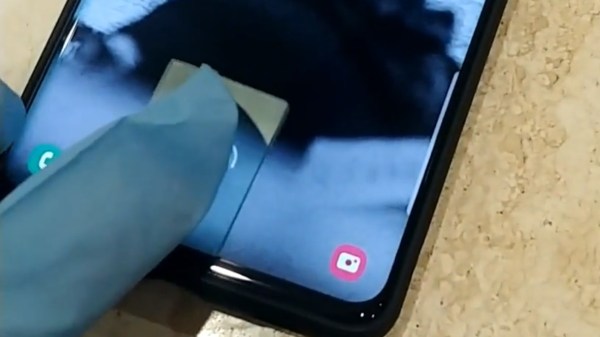
[darkshark] starts with a photograph of a fingerprint on a wineglass. This is then manipulated in Photoshop, before being used to create geometry in 3DSMAX to replicate the original finger. After making the part on an AnyCubic Photon LCD resin printer, the faux-finger pad is able to successfully unlock the phone by placing the print on the glass and touching your finger on top of it.ster

[darkshark] notes that the fingerprint was harvested at close range, but a camera with the right lenses could capture similar detail at a distance. The other thing to note is that if your phone is stolen, it’s likely covered in greasy fingerprints anyway. As usual, it serves as an excellent reminder that fingerprints are not passwords, and should not be treated as such. If you need to brush up on the fundamentals, we’ve got a great primer on how fingerprint scanners work, and another on why using fingerprints for security is a bad plan.

[via reddit, thanks to TheEngineer for the tip!]

Entry-Level SLA Printer Gets Upgrades, Prints Better

Fused-deposition modeling (FDM) printers have the lion’s share of the 3D-printing market, with cheap, easy-to-use printers slurping up thousands of kilos of filament every year. So where’s the challenge with 3D-printing anymore? Is there any room left to tinker? [Physics Anonymous] thinks so, and has started working on what might be the next big challenge in additive manufacturing for the hobbyist: hacking cheap stereolithography (SLA) printers. To wit, this teardown of and improvements to an Anycubic Photon printer.

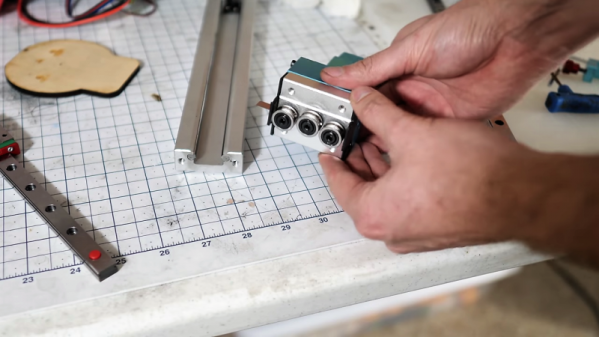
The Photon, available for as little as $450, has a lot going for it in the simplicity department. There’s no need to worry about filament and extruder issues, since the print is built up a layer at a time by photopolymerization of a liquid resin. And with but a single moving part – the build platform that rises up gradually from the resin tank on a stepper-driven lead screw – SLA printers don’t suffer from the accumulated errors of three separate axes. But, Anycubic made some design compromises in the motion control area to meet their price point for the Photon, leaving a perfect target for upgrades. [Physics Anonymous] added quality linear bearings to each side of the OEM vertical column and machined a carrier for the build platform. The result is better vertical positioning accuracy and decreased slop. It’s a simple fix that greatly improves print quality, with almost invisible layers.

Sadly, the Photon suffered a major, unrelated injury to its LCD screen, but it looks like [PA] will be able to recover from that. We hope so, because we find SLA printing very intriguing and would like to dive right in. But maybe we should start small first.

Continue reading “Entry-Level SLA Printer Gets Upgrades, Prints Better”

Making An Ultrasonic Cutter For Post-processing Tiny 3D Prints

An ultrasonic knife is a blade that vibrates a tiny amount at a high frequency, giving the knife edge minor superpowers. It gets used much like any other blade, but it becomes far easier to cut through troublesome materials like rubber or hard plastics. I was always curious about them, and recently made my own by modifying another tool. It turns out that an ultrasonic scaling tool intended for dental use can fairly easily be turned into a nimble little ultrasonic cutter for fine detail work.

Cheap ultrasonic scaler. The blue disk is for adjusting power. Foot switch not shown.

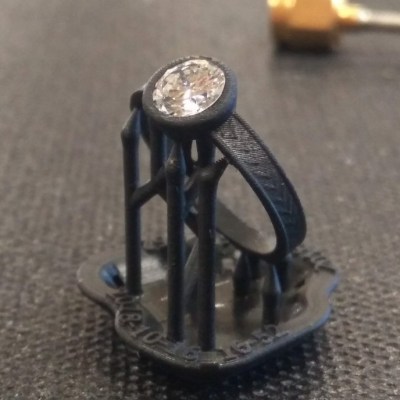
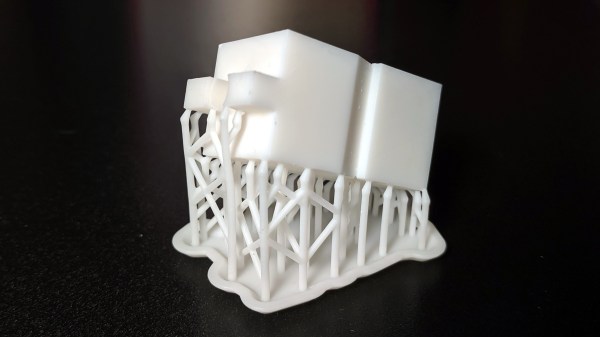
I originally started thinking about an ultrasonic knife to make removing supports from SLA 3D prints easier. SLA resin prints are made from a smooth, hard plastic and can sometimes require a veritable forest of supports. These supports are normally removed with flush cutters, or torn off if one doesn’t care about appearances, but sometimes the density of supports makes this process awkward, especially on small objects.

I imagined that an ultrasonic blade would make short work of these pesky supports, and for the most part, I was right! It won’t effortlessly cut through a forest of support bases like a hot knife through butter, but it certainly makes it easier to remove tricky supports from the model itself. Specifically, it excels at slicing through fine areas while preserving delicate features. Continue reading “Making An Ultrasonic Cutter For Post-processing Tiny 3D Prints”