Semi-automatic Pick And Place Machine

semi-automatic-pick-and-place

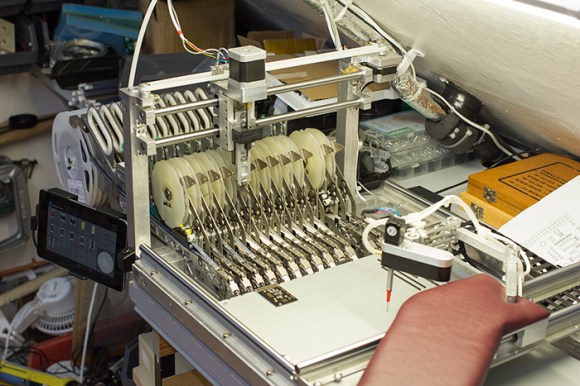
This is a fascinating take on building your own pick and place machine. It does an amazing job of automating the hardest parts of hand assembly, while relying on human dexterity to achieve the hardest parts of automation. It’s a semiautomatic pick and place machine driven by an Arduino and controlled by an Android tablet.

The machine is built in two parts. The portion in the upper left feeds components from reels and is fully automated. The portion on the lower right consists of a padded arm-rest which slides smoothly along two axes. A mechanical arm with multiple articulations is attached to the end, culminating in a tip connector for some vacuum tweezers. Right handers are the only ones who will find this convenient, but oh well. The clip after the break shows it in action. The assembly technician first selects the component from an icon on the Android tablet. The reel machine then dispenses that part, which is picked up by the vacuum tweezers using the left hand to switch the vacuum on and off again. If the part orientation needs to be rotated it can done using the jog wheel on the Android app. It smooth, quick, and best of all, clever!

Continue reading “Semi-automatic Pick And Place Machine”

Hackaday Links: Sunday, April 14th, 2013

hackaday-links-chain

We figure we have to start off this week’s links post talking about PETMAN. Boston Dynamics shows off the humanoid robot donning a full chemical suit. It’s a lot scarier than when we first saw it as a couple of legs a few years ago [Thanks Joshua].

Seeing something like that might drive you back to smoking cigarettes. But since that’s pretty bad for your health perhaps you just need a mechanical chain-smoking machine to take the edge off. That thing can really suck ’em down! [Thanks Mike]

Last week’s links included a bit about the Raspberry Pi 2.0 board version’s reset header. [Brian] wrote in to share a link for adding reset to a 1.0 revision board.

Speaking of RPi, [Elvis Impersonator] is using it to automate his garage door with the help of Siri.

In shop news, [Brad] needed to sharpen a few hundred pencils quickly and ended up melting the gears on his electric sharpener. Transplanting the parts to his drill press gave him more power to get the job done in about six minutes.

And finally, you can forget how to decipher those SMD resistor codes. Looks like surface mount resistors might be unmarked like their capacitor brethren. We were tipped off by [Lindsey] who got the news by way of [Dangerous Prototypes and Electronics Lab]

Hackaday Links: February 28th, 2013

Xbox 360 control for a toy heli

links-xbox-helicopter-remote

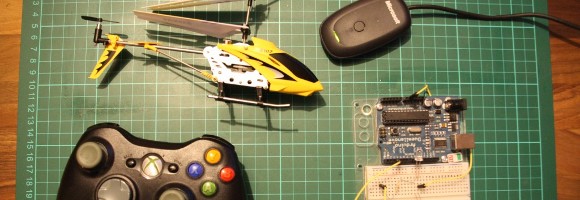
[Jason] leveraged the IR control libraries for Arduino to use an Xbox 360 controller to fly his Syma S107G helicopter.

Windows 7 running on Raspberry Pi

links-win7-rpi

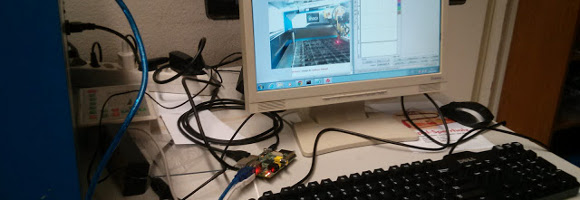
Why, oh god why? Well, the guys at Shackspace got their hands on a laser cutter that can only be driven with a Windows program. Their solution was to run Win7 on RPi as a virtual machine.

Twin-servos for your third hand

links-servo-third-hand

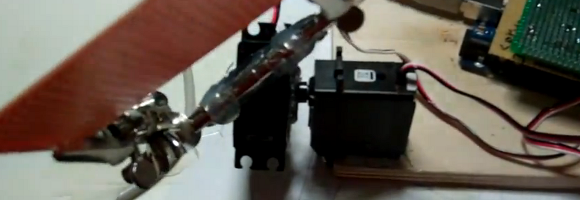
After growing tired of constantly flipping over the substrate being held with a third hand [Nidal] came up with a better way. He mounted his third hand on two servo motors so that it can be positioned with a joystick.

Depopulating SMD resistors

links-removing-smd-resistors

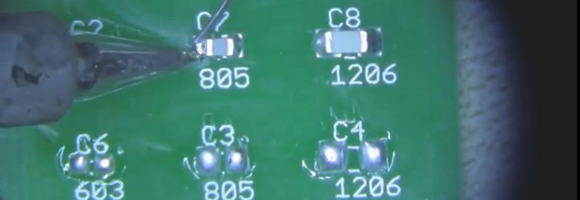
If you’ve ever tried to remove small surface mount resistors or capacitors with an iron you know it can be tricky. Take a look at the technique that [Scott] uses to remove the components.

Photographing the die of MSP430, Z80, PIC, and several other chips

links-decapping-chips

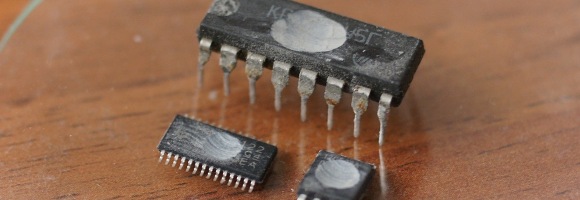
Here’s the latest work from [Michail] on photographing the die of various chips. You may remember reading his previous post on decapping chips with boiling sulfuric acid.

Quick Fixes For SMD Population Problems

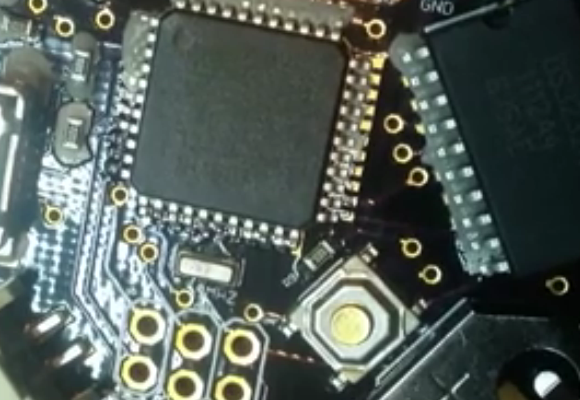
Here’s a collection of tricks to get over some surface mount prototyping issues the next time you find yourself in a bind. But first we have to address the soldering atrocity seen on most of the components above. [Rxdtxd] admits he’s using a firestick for soldering his SMD parts. The non-brand 40W iron is just about the worst thing he could be using (well, we guess a candle would be worse). Try to overlook those joints and enjoy his solutions to a couple of other problems.

First up is what to do when you lift a fine-pitch trace like would be found on a TQFP footprint. The fix for this is to grab a junked transformer and use a bit of the enameled wire from the wrappings as a jumper. The wire is quite fine, and the insulation will burn off when soldered which means you don’t need to strip it first.

The second and third tricks both deal with resistors. As you can see above he placed two 1K resistors on a single resistor footprint to make his 2k resistor. The 0603 packages were both soldered standing on end, then connected with a lead from a through-hole component. The other resistor hack piles five components on top of each other to build resistance in parallel. This is not a great idea as it will fail over the long-term, but it will get you though the prototyping stage as long it doesn’t require precise tolerance.

Populate SMD Boads Using A Toothpick And Tweezers

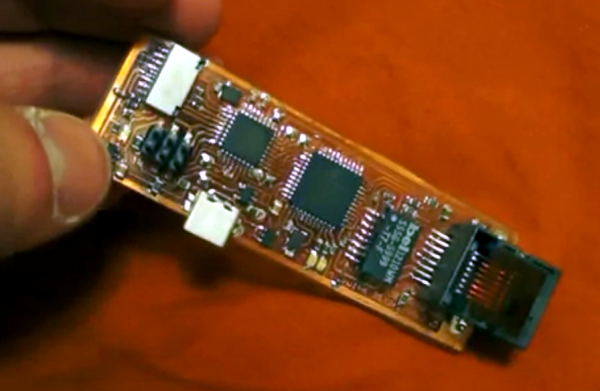
Here’s a demonstration which proves you don’t really need special tools to populate a surface mount PCB. We’ve seen this board before, it’s the glass PCB server which [Cnlohr] developed and demonstrated by connecting the real world to Minecraft. It’s a tiny board and we were happy to have the chance to see his method for populating the parts before reflow soldering.

In the video after the break [Cnlohr] starts by dispensing a glob of solder pasted from its storage container. He mentions that as long as you store the stuff in the refrigerator it’s rather easy to work with. Because most of his projects are single boards it’s not worth it to have a solder stencil produced. Instead he picks up a bit of the solder glob on the end of a toothpick and applies it to each pad.

This isn’t really as bad as it sounds. The fine pitch TQFP footprints can just be dragged with a bit of the paste. After this application — which took around seven minutes — he grabs some tweezers (not the vacuum type) and begins placing each component. If he missed some paste he’ll discover it in this step and add where necessary. The last step is a trip through his toaster oven.

Continue reading “Populate SMD Boads Using A Toothpick And Tweezers”

$20 Vacuum Pen Build On Of The Best We’ve Seen

20-dollar-vacuum-pen-build

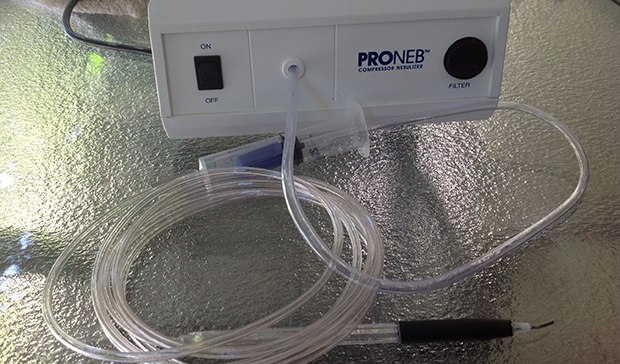
Everything you need to build a vacuum tweezers is laid out in this image. The parts should run you about $20 and when you’re done you’ll have the perfect tool for placing very small surface mount parts for reflow soldering.

This project uses the same concept as other fish pump tweezers projects but builds upon them with some interesting additions. The first step in the conversion process is to tear down the aquarium pump to reverse its flow. There are several steps but all-in-all it’s not very difficult. With the source of vacuum established [Technically Artistic] begins work on the business end of the tool. This is where the array of different pens see some action. The large blue one is the outer assembly, with the others combining to help connect it to the plastic tubing. The business end is made from a needle adapter for an air compressor, with an alligator clip cleverly modified to serve as a valve to release the parts from the tip.

USB Microscope Used For Soldering Very Small Things

solder

Lasik eye surgery is pretty common these days, but there are of course easier and cheaper ways to solder SMD components. [techpawpanda] wanted a video camera to see what was going on when he placed and soldered very tiny components on his board, but commercial SMD video cameras were terribly expensive. He wound up using a USB microscope to place and solder these tiny parts, and we’re thinking his SMD soldering station is the bee’s knees.

[techpawpanda]’s video-based SMD station is built around a USB microscope available at the usual online retailers for $40. This camera is mounted on a wooden base with a USB hub allowing the camera to be plugged in along with a few USB LED lights and a USB fan for a rudimentary form of fume extraction.

The results are impressive – even at 11x magnification, [techpawpanda] can put paste on pads and place even the smallest SMD parts. All this in a device that is small enough to fit in a shoe box, or be tucked neatly away whenever it is not needed.