On the face of it, a spot welder is a simple device. If you dump enough current through two pieces of metal very quickly, they’ll heat up enough to melt and fuse together. But as with many things, the devil is in the details, and building a proper spot welder can be as much about addressing those details as seeing to the basics.
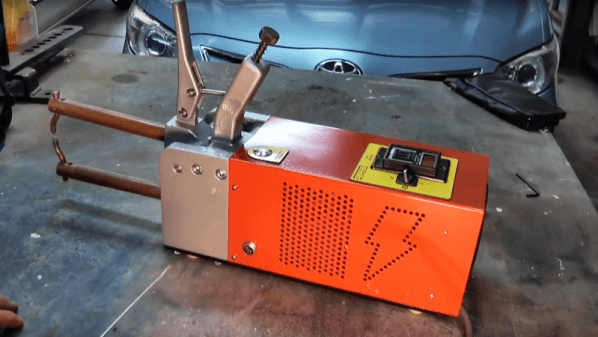
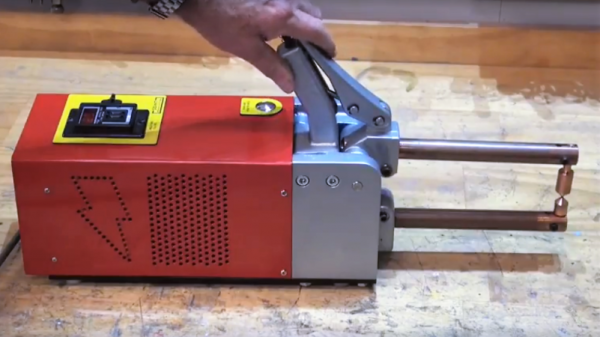
We haven’t featured anything from our friends over at [Make It Extreme], where they’re as much about building tools as they are about using them to build other things, if not more so. We expect, though, that this sturdy-looking spot welder will show up in a future video, because it really looks the business, and seems to work really well. The electronics are deceptively simple — just rewound microwave oven transformers and a simple timer switch to control the current pulse. What’s neat is that they used a pair of transformers to boost the current considerably — they reckon the current at 1,000 A, making the machine capable of welding stock up to 4 mm thick.
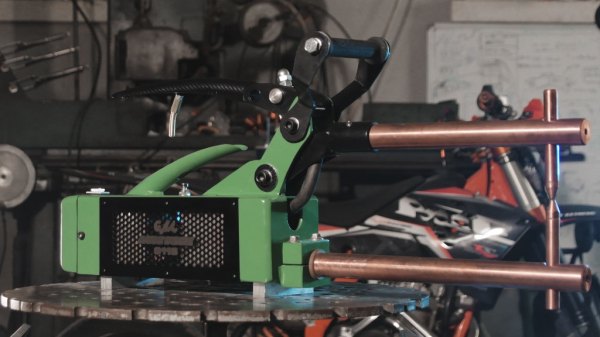
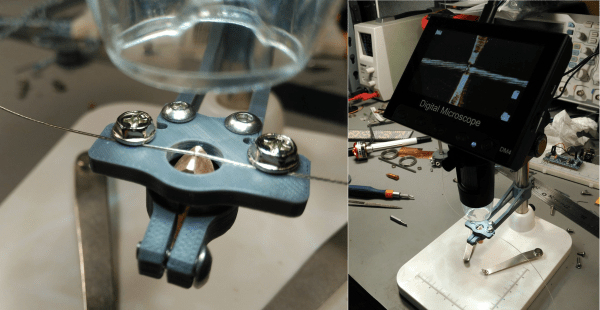
With the electrical end worked out, the rest of the build concentrated on the housing. A key to good-quality spot welds is solid physical pressure between the electrodes, which is provided by a leverage-compounding linkage as well as the long, solid-copper electrodes. We’ve got to say that the sweep of the locking handle looks very ergonomic, and we like the way closing down the handle activates the current pulse. Extra points for the carbon-fiber look on the finished version. The video below shows the build and a demo of what it can do.
Most of the spot welders we see are further down the food chain than this one, specialized as they are for welding battery packs and the like. We do recall one other very professional-looking spot welder, though.
Continue reading “Ambitious Spot Welder Really Pushes The Amps”

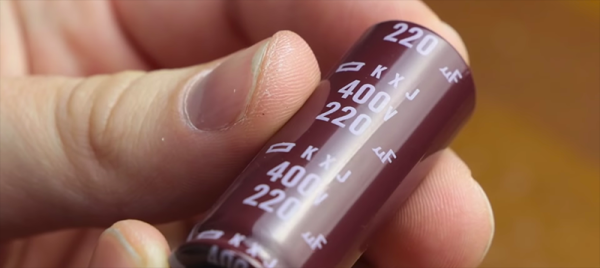
 Did you ever see a thin metal tab bonded to a battery terminal with little pock marks? That’s the work of a spot welder. Spot welding is one of those processes that doesn’t offer much in the way of alternatives; either one uses a spot welder to do the job right, or one simply does without. That need is what led [Erwin Ried] to purchase a small, battery-powered spot welder from a maker in Korea and