When the topic of ‘electrolysis’ is mentioned, people typically think of just splitting plain old dihydrogen monoxide (hydric acid: H2O) into its constituent atoms, but this barely scratches the surface of what is going on during electrolysis. Once you understand the full picture it also becomes obvious how electrolysis can be used for other tasks, including metal refining, flow batteries and more, as covered in a recent video by [NightHawkInLight].
On a fundamental level electrolysis is what it says on the tin: a way to lyse (i.e. split apart) using electrons, which is what the anode and cathode provide or remove. This can be used to break down the bonds between hydrogen and oxygen, but also those of iron ore, like Fe3O4. Stripping the oxygen from the iron atoms is commonly done in a reduction process using the CO from coke or hydrogen,
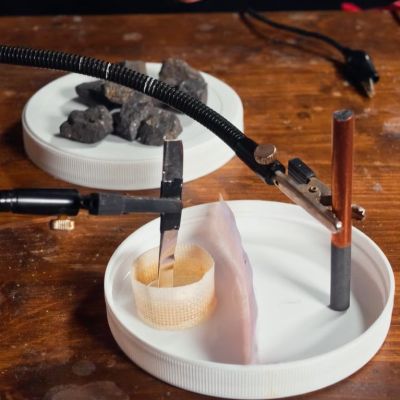
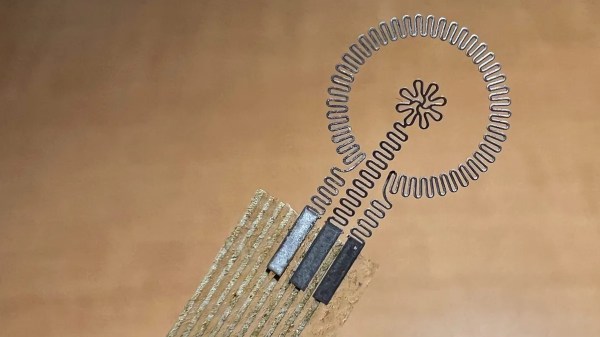
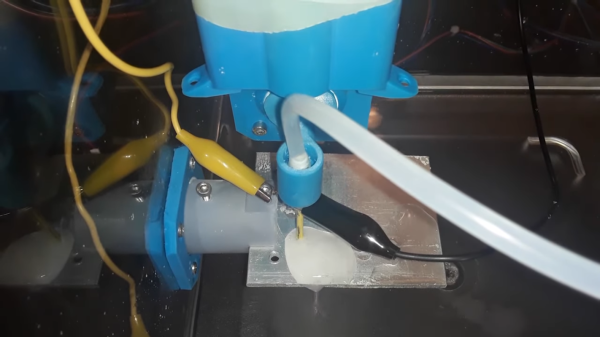
By instead dissolving the iron ore in acid, electrolysis can then be used to separate the two. In the example, the acid is created by one side of the electrolytic cell, with both electrodes separated by an ion-exchange membrane barrier that prevents the chemical processes on each side of the cell to affect the other side while still enabling the cell to work. How to make these membranes is also demonstrated in the video.
Through a careful arrangement of these membranes and the electrodes, you can guide which reactions can occur where, and which – negative or positively charged – ion can pass through which membrane, giving a lot of control. It can also be used to prevent undesirable reactions from happening, such as in this case the generating of chlorine gas from the NaCl being lysed.
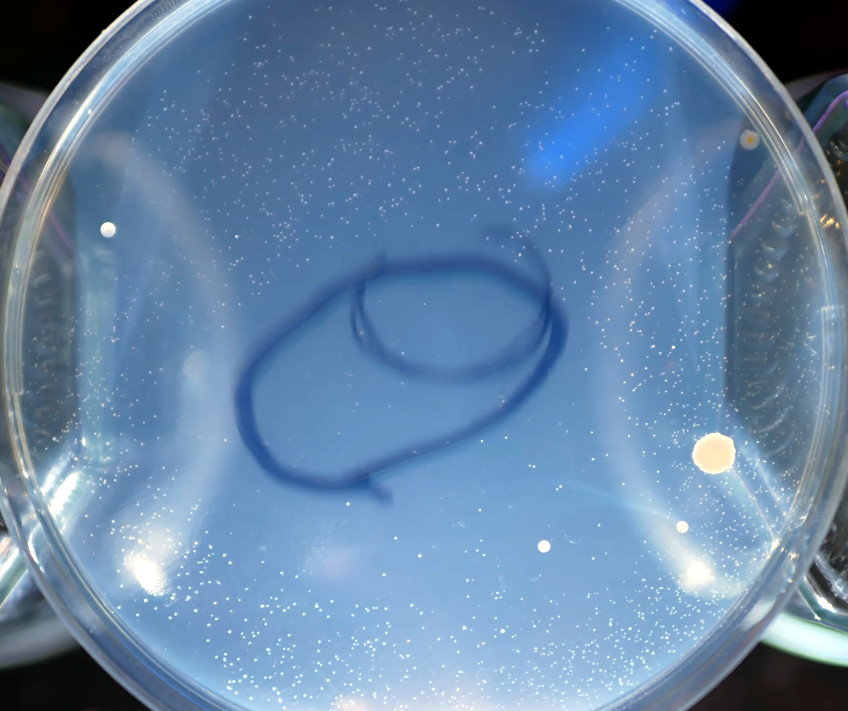
Acidity indicator dye is used to show in great detail how the cell works, including its preparation of getting the acidity just right before the crushed iron ore is mixed with some of the generated acid and the resulting liquid added to the cell. Following this you get a closed-loop chemical process to which only fresh iron ore slush has to be added and electrodes swapped out for fresh ones as the build-up of iron becomes sufficiently thick. In addition to supplying the cell with electricity, naturally, though you can even invert the cell and use it as a chemical battery akin to a lead-acid one if that’s more your thing.
Continue reading “Using Electrolysis For More Than Just Generating Hydrogen”