Bike Power Meter With Crank-mounted WiFi Strain Gauges

In any motorsport, the more you know about how the engine is performing, the better a driver is likely to do in a race. That holds for bicycles, too, where the driver just happens to also be the engine. There are plenty of cheap bike computers on the market, but the high-end meters that measure power output are a bit pricey. [chiprobot] is looking to change that with a home-brew, low-cost bike power meter.

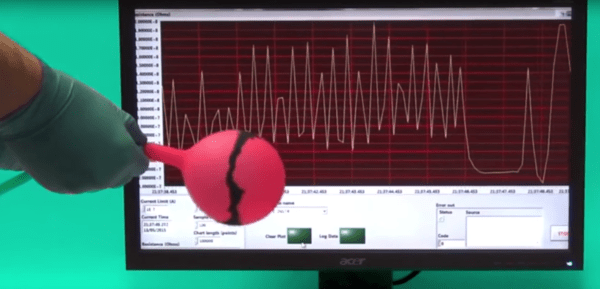
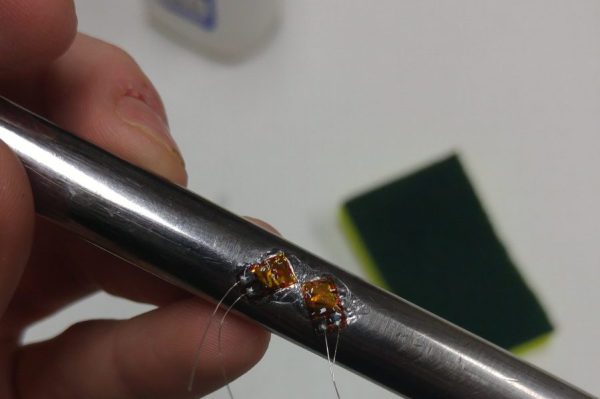
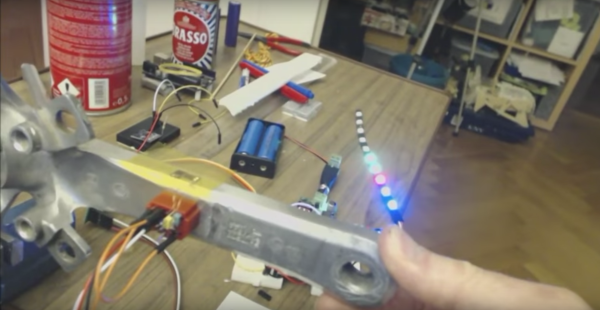
The project still appears to be in the proof-of-concept phase, but it’s an interesting concept for sure. The stock crank arms are carefully fitted with two pairs of tiny strain gauges. The gauges are wired in a Wheatstone bridge arrangement, with one gauge in each pair mounted perpendicular to the force on the crank to serve as a static reference. Output from the bridge is fed to an HX711 instrumentation amplifier. The demo video below shows how sensitive the bridge and 24-bit amp are.

The goal is to send crank data to a handlebar-mounted UI via WiFi with a pair of ESP8266 modules. We like the idea of a bicycle area network, but [chiprobot] has his work cut out for him in terms of ruggedizing and weatherproofing all this gear. We’ll be sure to keep an eye on this project. In the meantime, there’s plenty to learn from this bike power meter project we covered last year.

Continue reading “Bike Power Meter With Crank-mounted WiFi Strain Gauges”

Grinding A Bicycle Crank For Power Analysis

For [Mark] and [Brian]’s final project for [Bruce Land]’s ECE class at Cornell, they decided to replicate a commercial product. It’s a dashboard for a bicycle that displays distance, cadence, speed, and the power being generated by the cyclist. Computing distance, cadence and speed is pretty easy, but calculating power is another matter entirely.

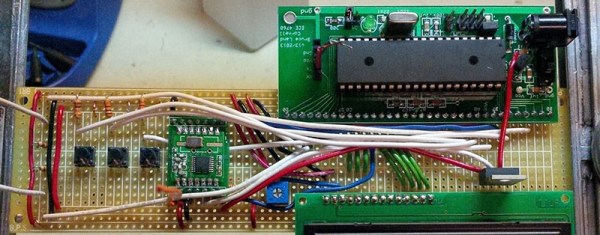
The guys are using an ATMega1284 to drive an LCD, listen in on some Hall Effect sensors, and do a few calculations. That takes care of measuring everything except power. A quick search of relevant intellectual property gave then the idea of measuring torque at the pedal crank. For that, [Mark] and [Brian] are using a strain gauge on a pedal crank, carefully modified to be stiff enough to work, but flexible enough to measure.

A custom board was constructed for the pedal crank that measures a strain gauge and sends the measurements through a wireless connection to the rest of the bicycle dashboard. It works, and the measurements in the classroom show [Brian] is generating about 450 W when pedaling at 33 mph.

Video below.

Continue reading “Grinding A Bicycle Crank For Power Analysis”

A Tweeting Litter Box

SmartLitterBox

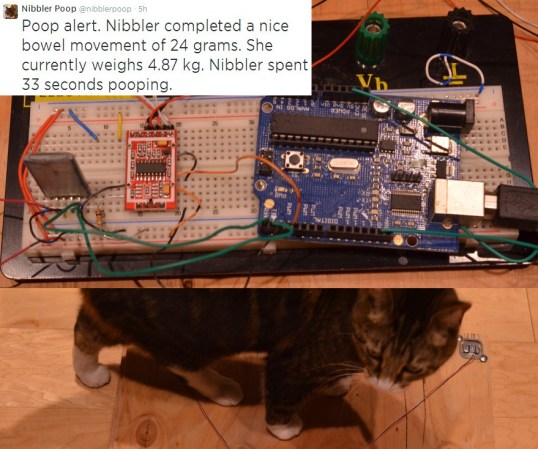
How can you not be interested in a project that uses load cells, Bluetooth, a Raspberry Pi, and Twitter. Even for those of our readers without a cat, [Scott’s] tweeting litter box is worth the read.

Each aspect of this project can be re-purposed for almost any application. The inexpensive load cells, which available from eBay and other retailers, is used to sense when a cat is inside the litter box. Typically sensors like the load cell (that contain a strain gauge) this use a Wheatstone bridge, which is very important for maximizing the sensitivity of resistive sensor. The output then goes to a HX711, which is an ADC specifically built for load cells. A simple alternative would be using an instrumentation amplifier and the built-in ADC of the Arduino. Now, the magic happens. The weight reading is transmitted via an HC-06 Bluetooth module to a Raspberry Pi. Using a simple Perl script, the excreted weight, duration, and the cat’s resulting body weight is then tweeted!

Very nice work! This is a well thought out project that we could see being expanded to recognize the difference between multiple cats (or any other animal that goes inside).

Building A Digital Scale From Scratch

duplo

[Raivis] was given a particular task at his university – find a way to measure how many Duplo bricks are stacked together. There are a number of ways to do this, everything from computer vision to using a ruler, but [Raivis] chose a much more educational method. He built a digital scale from scratch out of a strain gauge and a Wheatstone bridge. The build log is immensely educational and provides some insight into the challenges of weighing things digitally.

A strain gauge is a simple piece of equipment, just a small force sensitive resistor. When attached to a metal bar and a force is applied, the resistance inside the strain gauge changes, but not by much. There’s only a few micro Ohms difference between the minimum and maximum of [Raivis]’ load cell, so he needed a way to measure very slight changes in resistance.

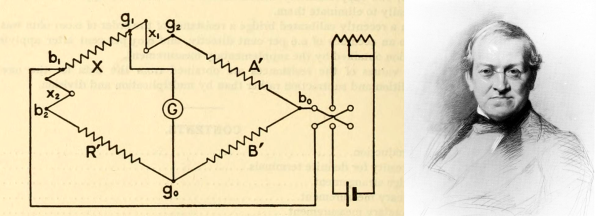
The solution was a Wheatstone bridge, or four resistors arranged in a square. When one of the resistors in the bridge is replaced with a strain gauge, very small changes in resistance  can be measured.

With a custom ‘duino amplifier shield, [Raivis] can measure the resistance of his load cell with 10-bit resolution, or a maximum weight of 1.32 kg with a resolution of two and a half grams. A single duplo block weighs about 12 grams, so we’ll call this one a success.

Build And Install Your Own High-end Cycling Power Meter

Cycling power meters can set you back quite a pretty penny. [Keith] quotes prices starting at $1500 and going up to $4000. We know several serious cyclists who would think twice about spending that on a bike, and wouldn’t even consider putting that kind of investment into an accessory for it. But if you’ve got the time [Keith] will show you how to build and install your own cycling power meter.

The link above is a roundup of all the posts and videos [Keith] made along the way. We’ve embedded his introduction video after the break where he discusses the goals of the project. The system allows for independently measuring the power of each leg. This is accomplished using strain gauges on the cranks to monitor torque. This data is combined with cadence measurements (how fast the rider is turning the cranks) which is all that is necessary to calculate the power output of the rider.

The parts list comes in at about $350. This doesn’t include the equipment he used to test and calibrate his calculations.

Continue reading “Build And Install Your Own High-end Cycling Power Meter”