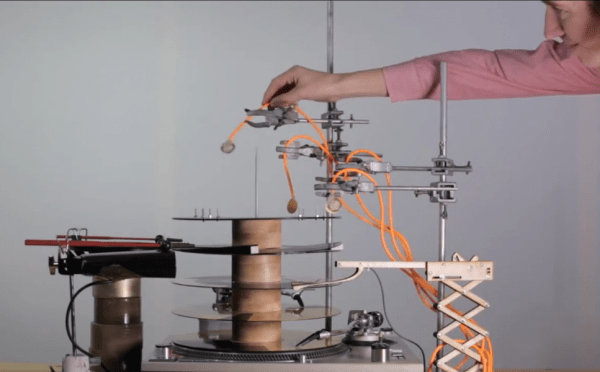
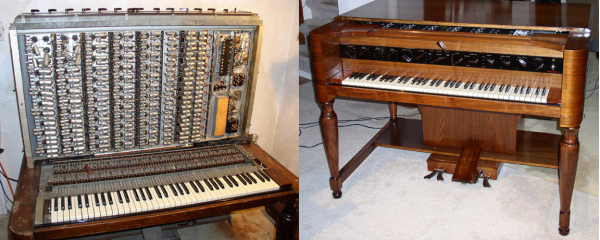
Piana – Musical Synthesis For The Raspberry Pi

For the last 15 years or so, software synths have slowly yet surely replaced those beatboxes, drum machines, and true synthesizers. It’s a loss for old hardware aficionados, but at least everyone with a MacBook is now a musician, amiright?

The Raspberry Pi and Pi2 already have more processing power than a desktop from ’99, so it’s no surprise that all of those classic synths, from a Moog. Yamaha DX, Casio CZ, Linn drum machine, Fairlight, and a mellotron, can all be stuffed into a Pi thanks to the work of [Phil Atkin] and his Raspberry Pi synthesizer.

[Phil]’s efforts to bring audio synthesis to the Pi fall under three techniques: subtractive synthesis, phase distortion synthesis, and sample-based synthesis, something that’s found in everything from Akai MPCs, MacBooks, and that one episode of The Cosby Show. [Phil] is combining all of these techniques into a piece of software that’s capable of running seamlessly on the Pi, giving anyone with a $35 computer a tool that would have been worth several thousand dollars in 1985.

The project is pretty far along, but the recent release of the Raspberry Pi 2 has thrown [Phil] for a loop. On one hand, the Pi 2 is much more capable than the original Pi in terms of hardware, and this lends itself to more sounds and a better GUI. On the other hand, there are millions of original Pi 1s out there that still make for exceptional synthesizers. Either way, [Phil]’s work is a great example of how far you can push the Pi with audio work.

Thanks [Wybren] for the tip. Videos below.

Continue reading “Piana – Musical Synthesis For The Raspberry Pi”

Logic Noise: The Switching Sequencer Has The Beat

Logic Noise is all about using logic circuits to make sounds. Preferably sound that will be enjoyable to hear and useful for making music. This week, we’ll be scratching the surface of one of my favorite chips to use and abuse for, well, nearly anything: the 4051 8-way analog switch. As the name suggests, you can hook up eight inputs and select one from among them to be connected up to the output. (Alternatively, you can send a single input to one of eight destinations, but we won’t be doing that here.)

Why is this cool? Well, imagine that you wanted to make our oscillator play eight notes. If you worked through our first installment, you built an abrasive-sounding but versatile oscillator. I had you tapping manually on eight different resistors or turning a potentiometer to eight different positions. This week, we’ll be letting the 4051 take over some of the controls, leaving us to do the more advanced knob twiddling.

Continue reading “Logic Noise: The Switching Sequencer Has The Beat”

Logic Noise: 8-bits Of Glorious Sounds

Logic Noise is all about using analog circuits to make sounds. Preferably sound that will be enjoyable to hear and useful for making music. Now, the difference between music, sound, and noise is certainly in the ear of the behearer, but you must admit that last installment’s simple square wave lacked a little something. (Although the sync oscillator circuit extension was kinda cool.)

This week, we’ll take our single wimpy square-wave oscillator and beef it up by adding a bunch of sub-octaves to the mix. And we’ll do it using a chip that’ll be really useful for us in the future as well: the 4040 binary counter chip.

Counters (binary or decimal) are going to be fertile ground for more musical noise experiments. Why so? Because octaves are just doublings or halvings of frequencies, and because a lot of rhythmic patterns have factors of two underlying them.  Just think about the most basic drum pattern you know: bass drum on the one, snare on one and three, and hi-hats on one, two, three, and four. Each different instrument fires off twice as frequently as the one before it.

But for now, enough blabber. We’ve got an oscillator to build.

Continue reading “Logic Noise: 8-bits Of Glorious Sounds”

Logic Noise: Sweet, Sweet Oscillator Sounds

Welcome to part one of a series taking you down the rabbit hole of DIY electronic synthesizers based on (largely) CMOS logic chips. Instead of synths being commodity gear made by large corporate enterprises, we’ll be building with the cheapest available parts, using and misusing digital logic. In short, don’t expect pre-packaged smooth tones, because we’ll be making creative noise machines.

If you’re the chiptunes type, you’ll probably find something you like here. If you’re the circuit bender or electro-noise-punk type, this is gonna be right up your alley. If you just like to see CMOS chips wriggle and squirm in unintended ways, feel free to look over my shoulder. If you’re the type who insists that a screwdriver can’t be used to pry open a paint can, then maybe you’d better move along. There’s a thin line between the glitch as bug and the glitch as interesting discovery, and we’ll be dancing all over it.

Continue reading “Logic Noise: Sweet, Sweet Oscillator Sounds”

Hackaday Links Column Banner

Hackaday Links: January 25, 2015

Misumi is doing something pretty interesting with their huge catalog of aluminum extrusions, rods, bolts, and nuts. They’re putting up BOMs for 3D printers. If you’ve ever built a printer with instructions you’ve somehow found on the RepRap wiki, you know how much of a pain it is to go through McMaster or Misumi to find the right parts. Right now they have three builds, one with linear guides, one with a linear shaft, and one with V-wheels.

So you’re finally looking at those fancy SLA or powder printers. If you’re printing an objet d’arte like the Stanford bunny or the Utah teapot and don’t want to waste material, you’re obviously going to print a thin shell of material. That thin shell isn’t very strong, so how do you infill it? Spheres, of course. By importing an object into Meshmixer, you can build a 3D honeycomb inside a printed object. Just be sure to put a hole in the bottom to let the extra resin or powder out.

Remember that episode of The Simpsons where Homer invented an automatic hammer? It’s been reinvented using a custom aluminum linkage, a freaking huge battery, and a solenoid. Next up is the makeup shotgun, and a reclining toilet.

[Jan] built a digitally controlled analog synth. We’ve seen a few of his FM synths VA synths built from an LPC-810 ARM chip before, but this is the first one that could reasonably be called an analog synth. He’s using a digital filter based on the Cypress PSoC-4.

The hip thing to do with 3D printers is low-poly Pokemon. I don’t know how it started, it’s just what the kids are doing these days. Those of us who were around for Gen 1 the first time it was released should notice a huge oversight by the entire 3D printing and Pokemon communities when it comes to low-poly Pokemon. I have corrected this oversight. I’ll work on a pure OpenSCAD model (thus ‘made completely out of programming code’) when I’m sufficiently bored.

*cough**bullshit* A camera that can see through walls *cough**bullshit* Seriously, what do you make of this?

A 16-voice Homebrew Polyphonic Synth

Homebrew synths – generating a waveform in a microcontroller, adding a MIDI interface, and sending everything out to a speaker – are great projects that will teach you a ton about how much you can do with a tiny, low power uC. [Mark] created what is probably the most powerful homebrew synth we’ve seen, all while using a relatively low-power microcontroller.

The hardware for this project is an LPC1311 ARM Cortex M3 running at 72 MHz. Turning digital audio into something a speaker can understand is handled by a Wolfson WM8762, a stereo 24-bit DAC. Both of these chips can be bought for under one pound in quantity one, something you can’t say about the chips used in olde-tyme synths.

The front panel, shown below, uses 22 pots and two switches to control the waveform, ADSR, filter, volume, and pan. To save pins on the microcontroller, [Mark] used a few analog multiplexers. As far as circuitry goes, it’s a fairly simple setup, with the only truly weird component being the optocoupler for the MIDI input.

goom2

The software for the synth is written mostly in assembly. In a previous version where most of the code was written in C, everything was a factor of two slower. Doing all the voice generation in assembly allowed for twice as many simultaneous voices.

It’s a great project, and compared to some of the other synth builds we’ve seen before, [Mark]’s project is at the top of its class. A quick search of the archives says this is probably the most polyphonic homebrew synth we’ve seen, and listening to the sound sample on the project page, it sounds pretty good, to boot.

Cloning A Board From Pictures On The Internet

[Andrew] was a pretty cool guy in the early 90s with an awesome keyboard synth that did wavetable synthesis, sampling, a sequencer, and an effects processor. This was a strange era for storage; a reasonable amount of Flash memory was unheard of, and floppy disks ruled the land. [Andrew]’s synth, though, had the option to connect SCSI drives. Like all optional add ons for high-end equipment, the current price for the Ensoniq SCSI card is astronomical and [Andrew] figured he could build one of these cards himself.

Poking around eBay, [Andrew] found the card in question – just a few passives, some connectors, a voltage regulator, and an odd chip from AMD. This chip was a 33C93A, a SCSI controller, and a trip down the Chinese vendor rabbit hole netted him one for $7. Can’t do better than that.

With the datasheet for the chip in hand and a few reasonable assumptions on how the circuit worked, [Andrew] tried to figure draw the schematic. After doing that, he found another hobbyist that had attempted the same project a few years earlier. All the nets were identical, and all that was left to do was sending a board off to the fab.

A quick trip to Front Panel Express got [Andrew] a mounting bracket for the card, and after plugging it in to the synth revealed a new option – SCSI. It worked, and with an ancient SCSI CD-ROM drive, he had boatloads of offline storage for his synth. Great work, and something we’d love to see more of.