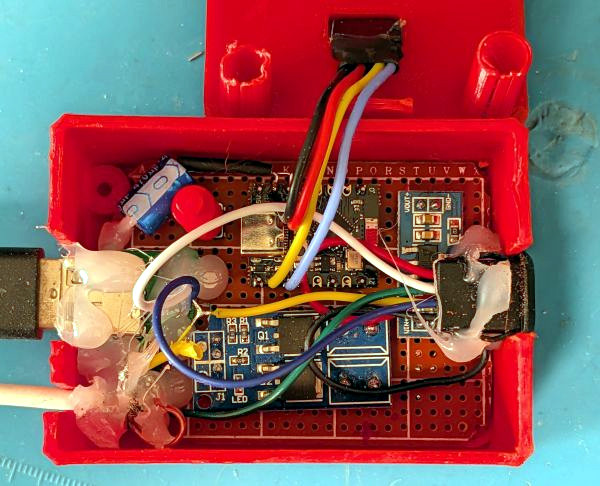
Piggyback Board Brings Touch Sensing To USB Soldering Iron

The current generation of USB-powered soldering irons have a lot going for them, chief among them being portability and automatic start and stop. But an iron that turns off in the middle of soldering a joint is a problem, one that this capacitive-touch replacement control module aims to fix.

The iron in question is an SJ1 from Awgem, which [DoganM95] picked up on Ali Express. It seems well-built, with a sturdy aluminum handle, a nice OLED display, and fast heat-up and cool-down. The problem is that the iron is triggered by motion, so if you leave it still for more than a second or two, such as when you’re soldering a big joint, it turns itself off. To fix that,[DoganM95] designed a piggyback board for the OEM controller with a TTP223 capacitive touch sensor. The board is carefully shaped to allow clearance for the existing PCB components and the heater cartridge terminals, and has castellated connections so it can connect to pads on the main board. You have to remove one MOSFET from the main board, but that’s about it for modifications. A nickel strip makes contact with the inside of the iron’s shell, turning it into the sensor plate for the TTP223.

[DoganM95] says that the BA6 variant of the chip is the one you want, as others have a 10-second timeout, which would defeat the purpose of the mod. It’s a very nice bit of design work, and we especially like how the mod board nests so nicely onto the OEM controller. It reminds us a little of those Quansheng handy-talkie all-band mods.

Linux Fu: USB Everywhere

It is a common problem: I have a USB device on a computer out in the shop, and I want to use it from the comfort of my office. What to do? Well, you could remote desktop into the distant machine. But, honestly, I always find any remote desktop more than ssh clunky and somewhat undesirable. Fortunately, Linux can do virtually anything if you only know how to do it. So, this time, I’ll show you how to transport a USB device over your network. Of course, I have a network that reaches out to the shop. It should be a simple matter to tell my desktop machine that one of its USB devices lives across the network. Well, it wasn’t that simple, but it is doable.

The Tools

The whole thing involves a program called usbip. That should be the end of it, but of course, it isn’t. In order for this to work, both machines on the network will need some kernel modules and a daemon on the server: the machine with the USB devices to share.

You may be able to install usbip from your package manager. On Ubuntu, it is in the linux-tools-common package, so a simple apt-get might give you everything you need. I wasn’t so lucky. Continue reading “Linux Fu: USB Everywhere”

Adding USB-C (Kinda) To A PowerMac G4

For those who’ve never bitten the Apple, the PowerMac G4 was a blue-tinted desktop Macintosh offered from 1999 to 2004. At the time, the machines were plenty fast — being advertised as the first “personal supercomputer” when they hit the market. But Father Time is particularly harsh on silicon, so they’re properly archaic by modern standards.

As such, the rear panel of one of these machines is hardly where you’d expect to run into a functional USB-C port. But thanks to the efforts of [Dandu], old has officially met new. Critics will note that it’s not real USB-C, and instead uses USB 2.0 with the more modern connector. That’s true, but considering how many commercial devices we run into that are still using the same trick, we’ll give it a pass.

Continue reading “Adding USB-C (Kinda) To A PowerMac G4”

USB Hub-A-Dub-Dub: Weird Edge Cases Are My Ruin

The Universal Serial Bus. The one bus to rule them all.  It brought peace and stability to the world of computer peripherals. No more would Apple and PC users have to buy their own special keyboards, mice, and printers. No more would computers sprout different ports for different types of hardware. USB was fast enough and good enough for just about everything you’d ever want to plug in to a computer.

We mostly think of USB devices as being plug-and-play; that you can just hook them up and they’ll work as intended. Fiddle around around with some edge cases, though, and you might quickly learn that’s not the case. That’s just what I found when I started running complicated livestreams from a laptop…

Continue reading “USB Hub-A-Dub-Dub: Weird Edge Cases Are My Ruin”

Smallest USB Device… So Far

For better or worse it seems to be human nature to compete with one another, as individuals or teams, rather than experience contentedness while moving to the woods and admiring nature Thoreau-style. On the plus side, competition often results in benefits for all of us, driving down costs for everything from agriculture to medical care to technology. Although perhaps a niche area of competition, the realm of “smallest USB device” seems to have a new champion: this PCB built by [Emma] that’s barely larger than the USB connector pads themselves.

With one side hosting the pads to make contact with a standard USB type-A connector, the other side’s real estate is taken up by a tiny STM32 microcontroller, four phototransistors that can arm or disarm the microcontroller, and a tiny voltage regulator that drops the 5V provided by the USB port to the 3.3V the STM32 needs to operate. This is an impressive amount of computing power for less than three millimeters of vertical space, and can operate as a HID device with a wide variety of possible use cases.

Perhaps the most obvious thing to do with a device like this would be to build a more stealthy version of this handy tool to manage micromanagers, but there are certainly other tasks that a tiny HID can be put to use towards. And, as far as the smallest USB device competition goes, we’d also note that USB-A is not the smallest connector available and, therefore, the competition still has some potential if someone can figure out how to do something similar with an even smaller USB connector.

Thanks to [JohnU] for the tip!

Close up of a Hornet Nest circuit board

PoE-Power Protection: The Hornet Nest Alarm Panel

Have you ever thought of giving new buzz to outdated wired alarm systems or saving money while upgrading your home security? The Hornet Nest Alarm Panel, to which hacker [Patrick van Oosterwijck] contributes, does just that. Designed for domotics enthusiasts, it offers 42 sensor zones and seamless integration with Home Assistant and ESPHome. This open-source gem uses the wESP32 board, which combines an ESP32 with Ethernet and Power over Ethernet (PoE) for robust, reliable connectivity. Check out the Crowd Supply campaign for details.

So what makes this Hornet Nest special? Besides its hackable nature, it repurposes existing wired sensors, reducing waste and cost. Unlike WiFi-dependent solutions, the PoE-powered ESP32 ensures stable performance, even in hard-to-reach locations. The optional USB programming port is genius—it’s there when you need it but doesn’t clutter the board when you don’t. With its isolated circuits, long-cable safety, and smart Ethernet, WiFi, and Bluetooth combination, this system ticks every DIY box.

Hackaday has featured other DIY PoE-powered projects, offering more inspiration for smart automation enthusiasts.

Continue reading “PoE-Power Protection: The Hornet Nest Alarm Panel”

Custom Firmware Adds Capabilities To Handie Talkie

Although ham radio can be an engaging, rewarding hobby, it does have a certain reputation for being popular among those who would fit in well at gated Florida communities where the preferred mode of transportation is the golf cart. For radio manufacturers this can be a boon, as this group tends to have a lot of money and not demand many new features in their technology. But for those of us who skew a bit younger, there are a few radios with custom firmware available that can add a lot of extra capabilities.

The new firmware is developed by [NicSure] for the Tidradio TD-H3 and TD-H8 models and also includes a browser-based utility for flashing it to the radio without having to install any other utilities. Once installed, users of these handheld radios will get extras like an improved S-meter and detection and display of CTCSS tones for repeater usage. There’s also a programmer available that allows the radio’s memory channels to be programmed easily from a computer and a remote terminal of sorts that allows the radio to be operated from the computer.

One of the latest firmware upgrades also includes a feature called Ultra Graph which is a live display of the activity on a selected frequency viewable on a computer screen. With a radio like this and its upgraded firmware, a lot of the capabilities of radios that sell for hundreds of dollars more can be used on a much more inexpensive handheld. All of this is possible thanks to an on-board USB-C interface which is another feature surprisingly resisted by other manufacturers even just for charging the batteries.

Continue reading “Custom Firmware Adds Capabilities To Handie Talkie”