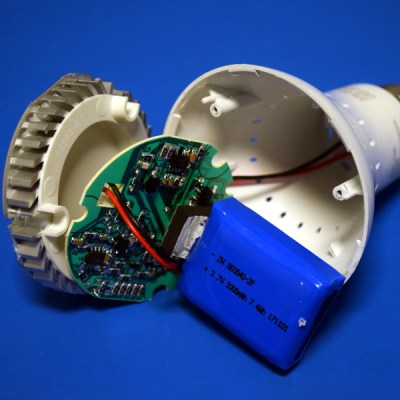
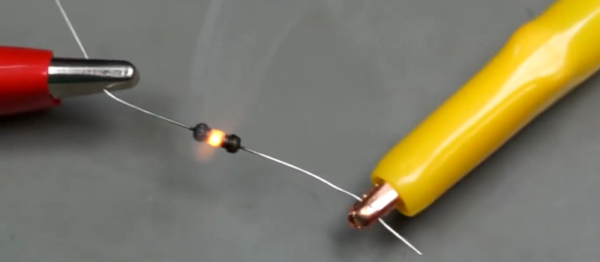
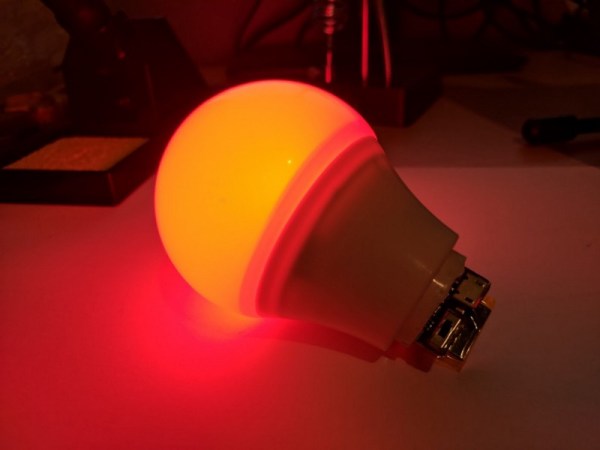
[Uri Shaked]’s lamentation over the breaking of his smart bulb was brief as it was inspiring — now he had a perfectly valid excuse to hack it into a magic light bulb.
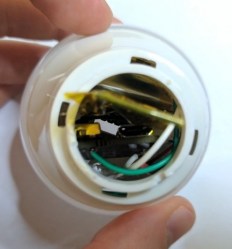
The first step was disassembling the bulb and converting it to run on a tiny, 130mAh battery. Inside the bulb’s base, the power supply board, Bluetooth and radio circuits, as well as the LED board didn’t leave much room, but he was able to fit in 3.3V and 12V step-up voltage regulators for the LiPo battery.
[Shaked]’s self-imposed bonus round was to also wedge a charging circuit — which he co-opted from a previous project — into the bulb instead of disassembling it every time it needed more juice. Re-soldering the parts together: easy. Fitting everything inside a minuscule puzzle-box: hard. Kapton tape proved eminently helpful in preventing shorts in the confined space.
If you stuff a computer into a rack with a bunch of other machines, you’d better make it a tough machine. Server-grade means something, so using server parts in a project, like this high-wattage power supply using server voltage regulators, can take it to the next level of robustness.
But before [Andy Brown] could build this power supply, he had to reverse-engineer the modules. Based on what he learned, and armed with a data sheet for the modules, he designed a controller to take advantage of all the capabilities of them and ended up with a full-featured power supply. The modules are rated for 66 watts total dissipation at 3.3 volts and have a secondary 5-volt output. Using an ATmega328, [Andy] was able to control the module, provide a display for voltage and current, temperature sensing and fan control, and even a UART to allow data logging to a serial port. His design features mainly through-hole components to make the build accessible to everyone. A suitable case is yet to come, and we’re looking forward to seeing the finished product.
Can’t scrape together some of these modules on eBay? Or perhaps you prefer linear power supplies to switched- mode? No worries – here’s a super stable unregulated supply for you.
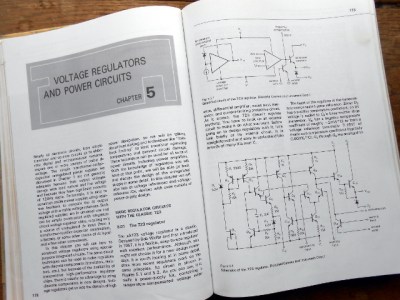
“Chapter 5; Horowitz and Hill”. University students of all subjects will each have their standard texts of which everyone will own a copy. It will be so familiar to them as to be referred to by its author as a shorthand, and depending on the subject and the tome in question it will be either universally loathed or held onto and treasured as a lifetime work of reference.
For electronic engineers the work that most exemplifies this is [Paul Horowitz] and [Winfield Hill]’s The Art Of Electronics. It definitely falls into the latter category of course books, being both a mine of information and presented in an extremely accessible style. It’s now available in its third edition, but the copy in front of me is a first edition printed some time in the mid 1980s.
Chapter 5 probably made most of an impression on the late-teenage me, because it explains voltage regulation and power supplies both linear and switching. Though there is nothing spectacularly challenging about a power supply from the perspective of experience, having them explained as a nineteen-year-old by a book that made sense because it told you all the stuff you needed to know rather than just what a school exam syllabus demanded you should know was a revelation.
On the first page of my Art of Electronics chapter 5, they dive straight in to the μA723 linear voltage regulator. This is pretty old; a design from the legendary [Bob Widlar], master of analogue integrated circuits, which first made it to market in 1967. [Horowitz] and [Hill] say “Although you might not choose it for a new design nowadays, it is worth looking at in some detail, since more recent regulators work on the same principles“. It was 13 years old when they wrote that sentence and now it is nearly 50 years old, yet judging by the fact that Texas Instruments still lists it as an active product without any of those ominous warnings about end-of-life it seems plenty of designers have not heeded those words.
So why is a 50-year-old regulator chip still an active product? There is a huge range of better regulators, probably cheaper and more efficient regulators that make its 14-pin DIP seem very dated indeed. The answer is that it’s an incredibly useful part because it does not present you with a regulator as such, instead it’s a kit of all the parts required to make a regulator of almost any description. Thus it is both an astonishingly versatile device for a designer and the ideal platform for anyone wanting to learn about or experiment with a regulator. Continue reading “Get To Know Voltage Regulators With A 723”→
Throwing a 5V regulator like the LM7805 at our projects can become habit forming, after all they’re dirt cheap and the circuit is about as basic as they come with only two external components, an input and output cap. As this is a good enough solution to most of our 5V circuits we can come into some issues if we aren’t paying attention. Linear regulators can only dissipate so much power in the form of heat before they need a heat sink and/or active cooling. Even if they can produce a cleaner output, in an embedded system, large power losses to heat are less than ideal to say the least.
[Daniel] needed an efficient solution to use in the place of an LM7805, after looking at the drop-in replacement switching solutions available on Adafruit’s website, he headed to DigiKey for a similar and less expensive part. [Daniel] collected some data and found the regulator to be 92% efficient with a 12V input, which is not quite the claimed 97% but a good solution nonetheless.
Restoring old gear often means replacing unavailable parts with modern equivalents. [Alex Eisenhut] needed to replace some old TO-3 voltage regulators and decided to make an authentic-looking switching power supply replacement. These three pin metal cans were very common, especially the LM340 5V regulator which was, of course, a linear regulator. Today, you are more likely to see a 7805 in a TO-220 case or something surface mount for a comparable linear regulator.
As you might expect, the board uses surface mount components. [Alex] used Mill Max machine pins to match the original regulator footprint and calls the regulator Ton3y. He plans to cover it up with a 3D printed lid, but it seems a shame to hide the fine PCB work.
In the pictures, you can see that the machine pins are a tight fit. [Alex] used a hammer to lightly tap them into place. Of course, the original TO-3 regulators were linear and would generate a lot of heat. The Ton3y, as you’d expect from a switching power supply, runs cool (according to the scientific measurement made with [Alex]’s pinky finger) and surely has a wider input voltage range and more output current capacity.
The 7805 voltage regulator is a great device if you want a simple way of bringing a voltage down to 5V. It’s a three-pin, one-component solution that puts out five volts and a lot of heat. Simple, not efficient. For his Hackaday Prize entry, [K.C. Lee] is working on a much more efficient drop-in replacement for the 7805.
Linear regulators like the 7805 are great, but they’re not terribly efficient. Depending on the input voltage you might see 50% efficiency. Going to a switch mode supply, that efficiency shoot up to about 90%.
For his drop-in replacement, [K.C. Lee] is using the LM3485, a switch mode regulator that only needs a few extra parts to turn it into a replacement for the 7805. You will need a cap on the input, but you should already be putting those in your circuit anyway, right?
We’re quite sure that all hobbyists have used the 7805 voltage regulator at least once in their lives. They are a simple way to regulate 7V+ voltages to the 5V that some of our low power projects need. [Ken Shirriff] wrote an amazingly detailed article about its theory of operation and implementation in the silicon world.
As you may see in the picture above such a regulator is composed of very different elements: transistors, resistors, capacitors and diodes, all of them integrated in the die. [Ken] provides the necessary clues for us to recognize them and then explains how the 7805 can have a stable output even when its temperature changes. This is done by using a bandgap reference in which the difference between transistor base-emitter voltages for high and low current is used to counter the effects of temperature. As some elements looked a bit odd during [Ken]’s reverse engineering process, he finally concluded that what he purchased on Ebay may be a counterfeit (read this Reddit comment for another opinion).