The Corona Clock

Schools are closed here in Germany until after Easter vacation, and that means that our almost-six-year-old son Max is staying at home with us. The good news is that my wife and I work from home anyway, so it’s not too stressful as long as he can look after himself for eight hours per day. The bad news is that there’s no way a kindergarten kid can take care of himself for such long stretches, and we don’t want to just park him in front of the boob tube. At least there’s two of us.

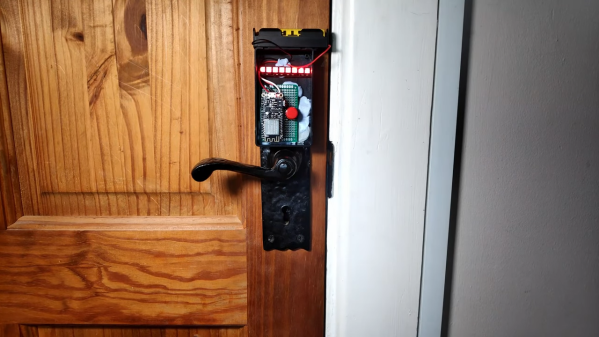
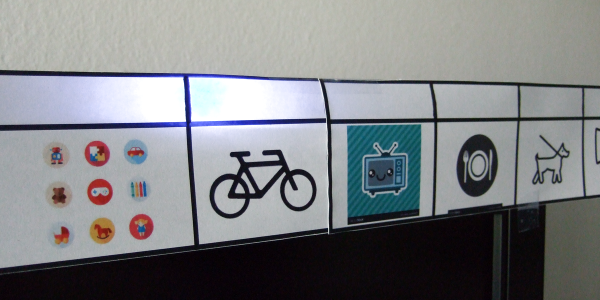
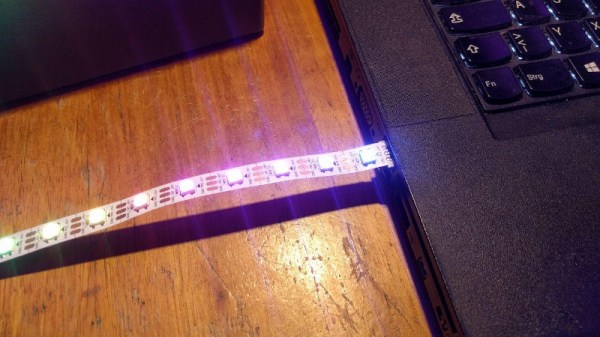
The new stay-at-home life has required some adjustment, but for at least the first five days (and counting) it’s working out pretty darn well. One trick: my wife came up with the idea of a visual schedule to help Max divide his day up into kindergarten-sized chunks, and then we added an LED strip behind it to turn it into a linear clock of sorts. And we did it with stuff we had lying around the house.

Granted, it’s not a super deep hacky-hack, and some of you out there could probably get it done with a handful of 555 timers. But it was quick, gets the job done, and heck, with NTP sync, it’s the most accurate kiddie clock in the world! So those of you out there who are stuck like we are, trying to balance childcare and working from home, here’s a quick project that can increase familial harmony while giving you an excuse to order more LED strips.

Continue reading “The Corona Clock”

Sort The Rainbow With An Algorithm Machine

When you’re trying to learn how an algorithm works, it’s not always easy to visualize what’s going on. Well, except for maybe binary sort, thanks to the phone book. Professor [thatguyer] is a computer science teacher who wanted a way to help his students visualize the process of algorithms and at the same time, get a grasp on their resource cost.

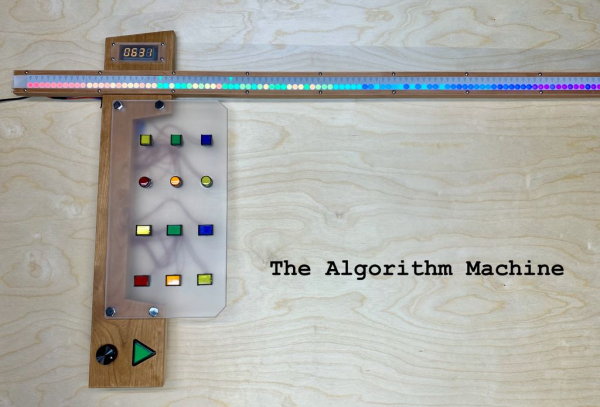
The Algorithm Machine can demonstrate 8 different search and sort algorithms using two 100-count strips of RGB LEDs — one to represent an array of integers, and one to create indicators pointing to the integers under scrutiny.

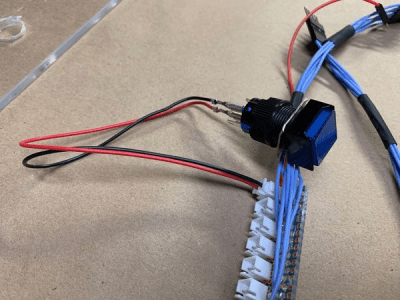
This functional beauty is totally interactive, too. Once the user chooses the values and the algorithm and starts the process, they can speed it up or slow it down with the rotary encoder, or pause to discuss and start again with that slick triangular play button. We particularly like the control button wiring harness [thatguyer] created to keep everything neat and hot-swappable.

This iteration uses 3D printed face plates to give the LEDs shape, but in an early version, [thatguyer] cut and sanded a ton of circles out of brass tubing, and folded as many triangles cut from disposable baking pans. The world could use more teachers as committed as [thatguyer]. This really seems like a handy teaching aid for these concepts, and we wish we’d had one in class to play around with. Here’s your algorithm for watching the demo: click break, press play, enjoy.

If you’re still confused, there are other ways to understand algorithms through visualization. Failing all that, just watch these Hungarian folk dancers work out various algo-rhythms.

Continue reading “Sort The Rainbow With An Algorithm Machine”

Vinyl Cut Your Way Into An Edge-Lit Glass Display

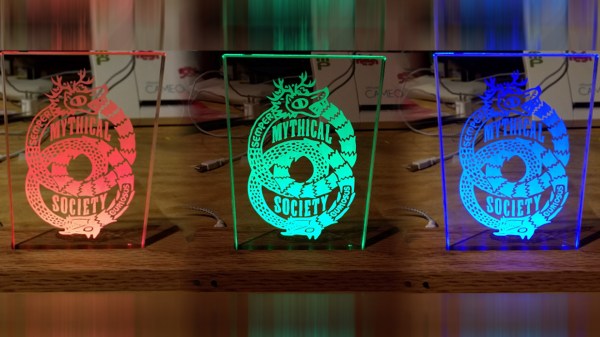
The chances are you’ve seen the myriad cheap copyright-infringing edge-lit acrylic displays from Chinese suppliers everywhere on the internet, and indeed, etching acrylic with a modest CNC laser cutter has become easily viable to a lot of us in more recent years. However, if you want to kick things up a notch, [Michael Vieau] shows us how to build a plaque from scratch using not acrylic, but rather etched glass to make the finished product look that much more professional.

There are a few different steps to this build and each one is beautifully detailed for anyone who wants to follow along. First, the electronics driving the WS2812 lights are designed from scratch based on an ATtiny microcontroller on a PCB designed in Fritzing, and the sources necessary for replicating those at home are all available on [Michael’s] GitHub. He even notes how he custom-built a pogo-pin header at the end of the USBASP programmer to be able to easily use the same ICSP pinout in future projects.

But since a lot of you are likely all too familiar with the ins and outs of your basic Arduino projects, you’ll be more interested in the next steps, detailing how he milled the solid wood base and etched the glass that fits onto it. The process is actually surprisingly simple, all you need is to mask out the design you want through the use of a vinyl cutter and then pouring some etching solution over it. [Michael] recommends double-etching the design for a crisper look, and putting everything together is just as simple with his fastener of choice: hot glue.

Much as there was an age when Nixie displays adorned every piece of equipment, it seems like ease of manufacture is veering us towards an age of edge-lit displays. From word clocks to pendants and badges, we’re delighted to see this style of decoration emerge, including in replacing Nixies themselves!

Addressable LED Strings In Your USB

WS2812Bs, or NeoPixels, or whatever else you call them brought full-color LEDs to maker projects a meter at a time in recent years. Hooked up to a microcontroller, they make creating vibrant, full-color glowables a cinch. They won’t work on their own though, and a some point you want to ditch the dev board and let the blinking stand on its own two feet. Enter the USB LED Otter.

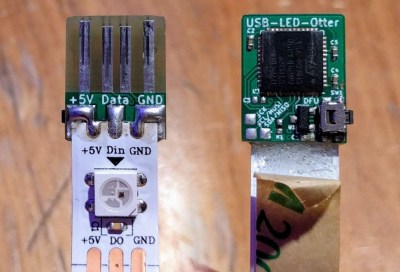
This small square of PCB lets you plug an LED strip directly into a USB port. The PCB itself has four traces on the back that mate with any USB port, and three pads for soldering the strip’s ground, 5 V line, and data. An STM32F072 microcontroller serves as the brains of the operation, packing plenty of horsepower and full compatibility with USB 2.0.

Code is flashed to the chip over USB using Device Firmware Upgrade (DFU) and once written the strip can then be driven by jamming the string into a suitably powerful USB wall charger. The woman behind the build, [Jana Marie], has mentioned that Open Pixel Control could be implemented but that may be an exercise left to the reader.

It’s a useful little tool, and one that promises to do even more with a little more development. Whipping up a few boards should be an easy task for anyone with a reflow oven and a free weekend. Oh, and if you’re tired of the WS2812? There’s other addressable LEDs out there, too!

Icosahedron Glows With The Best Of Them

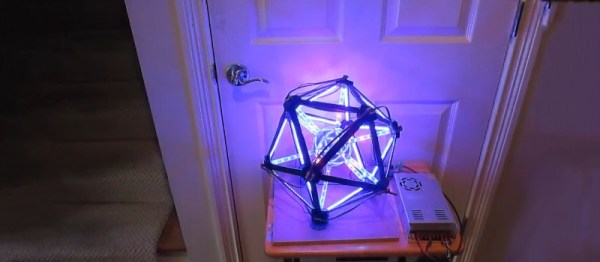
Glowables come in all shapes and sizes, and we’re always keen to see the multitude of different ways hackers find to put great masses of LEDs to good use. [cabrera.101] wanted to get in on the action, and whipped up a rather flashy icosahedron.

The build uses high-density 144-LED-per-meter strips for the edges, with 60-LED-per-meter strips used for the tubes that connect to the stainless steel ball in the centre. An Arduino Mega controls the Neopixel strips, with the wiring carefully planned out to ensure all LEDs have adequate power and signal to operate correctly. Not one to skimp on the juice, [cabrera.101] outfitted the rig with a 5V, 60A power supply – something that would have seemed ridiculous in 1992, but barely raises an eyebrow today.

It’s a build that would make a perfect whatchamacallit for a science fiction film. The reflections of the edge lights on the central sphere are particularly scintilliating. If you’re new to the realm of glowables, it’s easy to start – there are plenty of tools to help, too. Video after the break.

Continue reading “Icosahedron Glows With The Best Of Them”

Mt Everest Lamp Recreates The Famous Peak

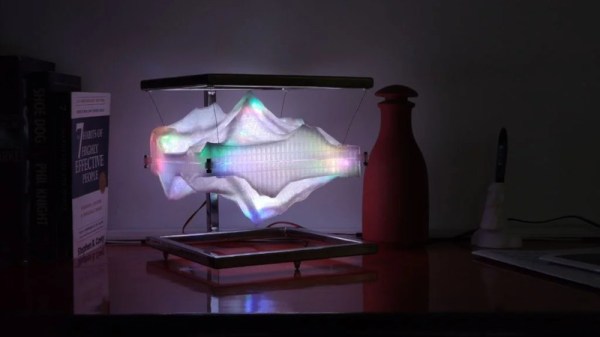
Anyone who has travelled to distant mountain peaks has marvelled at the beauty of the natural, rugged terrain. [apoorvas15] is no different, and created a lamp that celebrated the awe of the largest mountain on earth.

When it comes to reproducing an accurate geometrical representation of the landscape, the easiest approach is to reach for some variety of CNC machinery. Here, a 3D printer is used to create a translucent shell replicating the mountain. A reverse shell is then laced on the bottom to create an effect akin to that of a reflection in a lake. The assembly was fitted with WS2812 LEDs run by an Arduino Nano, and suspended from a stainless steel frame for an attractive floating look.

It’s a great piece, one that would look suitably impressive on any desk or coffee table. The 3D printer has served many makers well when it comes to producing attractive home lighting. We’ve seen many great builds — from the 8-bit to the floral-inspired. Video after the break.

Continue reading “Mt Everest Lamp Recreates The Famous Peak”

Neopixels Recreate Pinball Color Wheel That Never Was

With what pinball aficionados pay for the machines they so lovingly restore, it’s hard to imagine that these devices were once built to a price point. They had to make money, and whatever it took to attract attention and separate the customer from their hard-earned coins was usually included in the design. But only up to a point.

Take the 1967 Williams classic, “Magic City.” As pinball collector [Mark Gibson] explains it, the original design called for a rotating color filter behind a fountain motif in the back-glass, to change the color of the waters in an attractive way. Due to its cost, Williams never implemented the color wheel, so rather than settle for a boring fountain, [Mark] built a virtual color wheel with Neopixels. He went through several prototypes before settling on a pattern with even light distribution and building a PCB. The software is more complex than it might seem; it turns out to require a little color theory to get the transitions to look good, and it also provides a chance for a little razzle-dazzle. He implemented a spiral effect in code, and added a few random white sparkles to the fountain. [Mark] has a few videos of the fountain in action, and it ended up looking quite nice.

We’ve featured [Mark]’s pinball builds before, including his atomic pinball clock, We even celebrated his wizardry in song at one point.