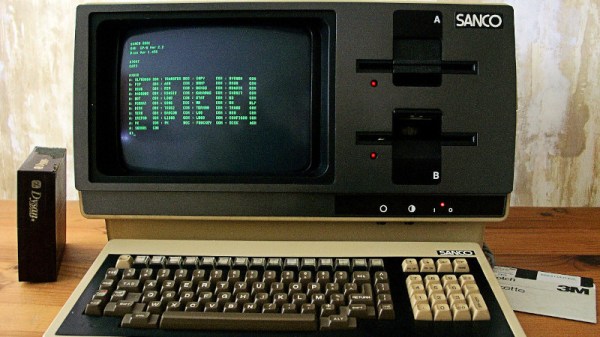
It’s easy to think of the earlier history of desktop computing operating systems in terms of DOS, Windows, and Mac OS with maybe a bit of AmigaOS, TOS, or RiscOS thrown in. But the daddy of desktop computing, the OS that put word-processors and spreadsheets in 1970s offices and had a huge influence on what followed, isn’t among that list. Digital Research’s CP/M ran initially on Intel 8080-based machines before losing out to MS-DOS as IBM’s choice for their PC, and then gradually faded away over the 1980s. Its source has been available in some form with a few strings for a long time now, but now we have confirmation from Digital Research’s successor company that it’s now available without restrictions on where it can be distributed.
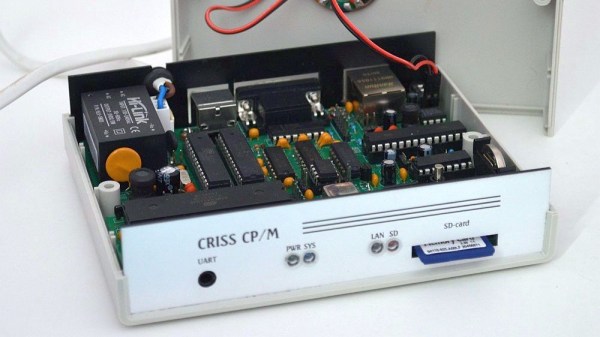
For years it was something an operating system that had been bypassed by the hardware and hacker communities, as the allure of GNU/Linux was stronger and most available CP/M capable machines were also 1980s 8-bit gaming platforms. But with the more recent increased popularity of dedicated retrocomputing platforms such as the RC2014 it’s become a more common sight in our community. Brush up your command line skills, and give it a go!
Header: Michael Specht, CC BY-SA 3.0.