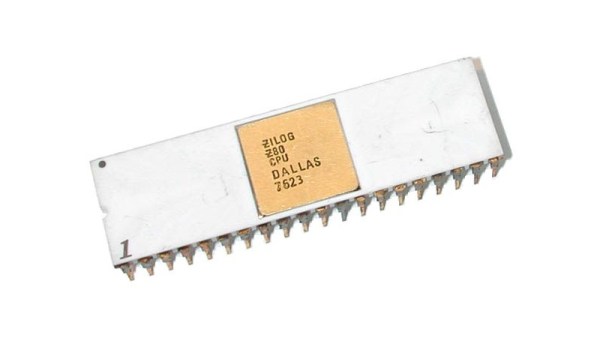
In a Product Change Notification (PCN) published on April 15, Zilog (now owned by Littelfuse) announced the End of Life for a range of Z80 products, specifically virtually all of the Z84C00 range. This also includes the peripherals, such as the Z84C10 range of MPUs. These are currently already marked as EoL on stores like Mouser, with Littelfuse noting that the last orders with them can be placed until June 14th of 2024. After that you’ll have to try your luck with shady EBay sellers and a lucky box of old-new-stock found in the back of a warehouse.
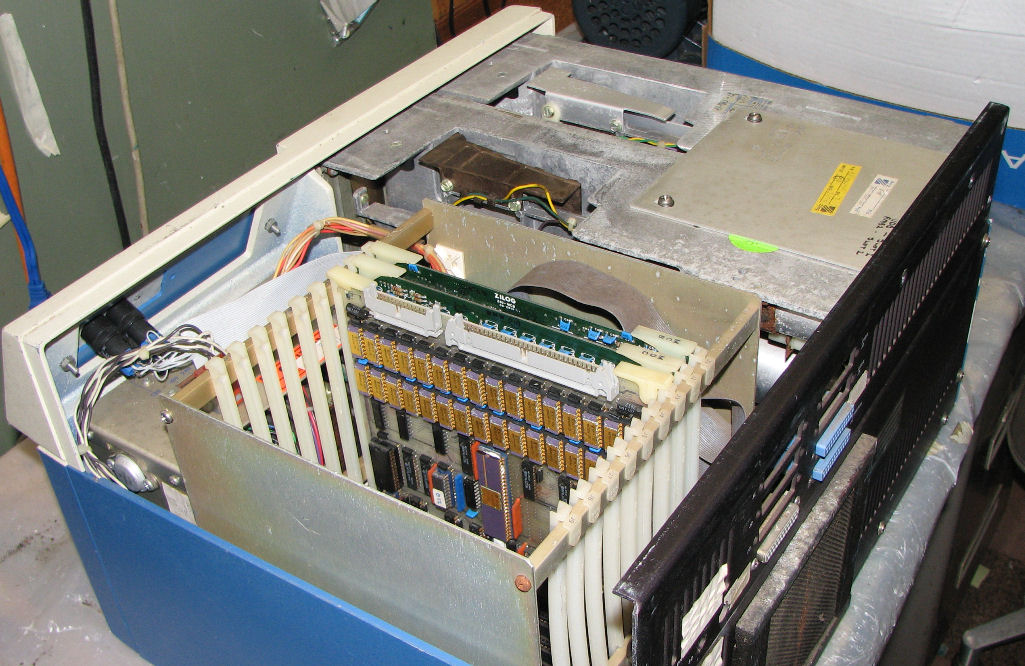
What this effectively means is that after just under 48 years since its launch in 1976, the Zilog Z80 will no longer be available for sale as discrete components, which is likely to primarily impact hobbyists and people who are trying to keep retro systems going. This does not mean that it’s the end of the road for Z80, however, as the eZ80 will be produced for the foreseeable future.
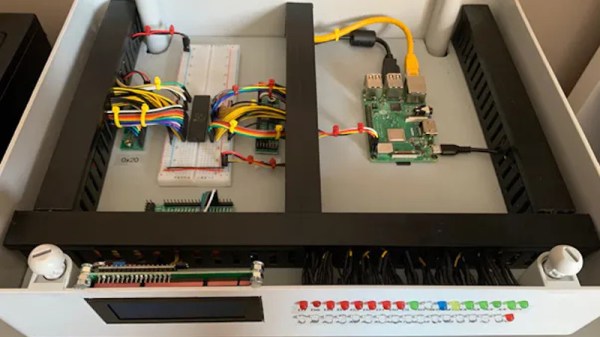
These new chips will of course not come in easy to drop in DIPs, making the challenge of breadboarding your own Z80-based microcomputer that much tougher. Yet one thing that definitely won’t happen is any of us witnessing the end of the era of the Z80, 6502 and 8051 architectures.
Thanks to [Techokami] for the tip.