Build A DSLR Photo Booth The Easy Way

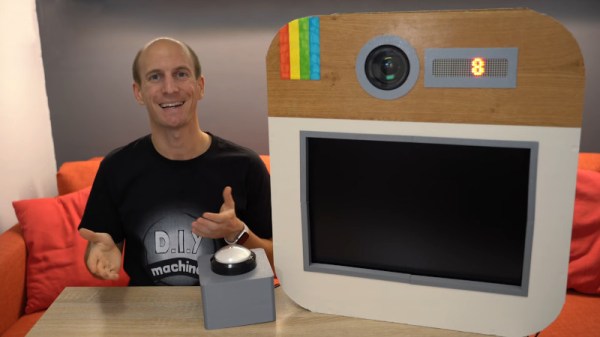
It’s a well-known fact in capitalist societies that any product or service, if being used in a wedding, instantly triples in cost. Wanting to avoid shelling out big money for a simple photo booth for a friend’s big day, [Lewis] decided to build his own.

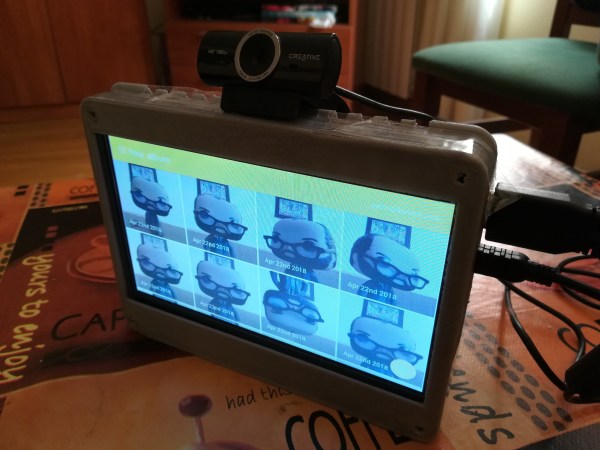
Wanting a quality photo output, a Canon DSLR was selected to perform photographic duties. An Arduino Nano is then pressed into service to run the show. It’s hooked up to a MAX7219 LED matrix which feeds instructions to the willing participants, who activate the system with a giant glowing arcade button. When pressed, the Nano waits ten seconds and triggers the camera shutter, doing so three times. Images are displayed on a screen hooked up to the camera’s USB HDMI port.

It’s a build that keeps things simple. No single-board PCs needed, just a camera, an Arduino, and a monitor for the display. We’re sure the wedding-goers had a great time, and we look forward to seeing what [Lewis] comes up with next. We’ve seen a few of his hacks around here before, too.

Continue reading “Build A DSLR Photo Booth The Easy Way”

Portable Photo Booth Named Buzz

We’re all used to posing for a picture — or a selfie — but there’s something about photo booths that make getting your photo taken an exciting and urgent affair. To make this experience a bit easier to tote about, Redditor [pedro_g_s] has laboriously built, from the ground up, a mobile photo booth named Buzz.

He needed a touchscreen, a Raspberry Pi, almost definitely a webcam, and a 3D printer to make a case — although any medium you choose will do — to build this ‘booth.’ That said, he’s built the app in a way that a touchscreen isn’t necessary, but carting around a mouse to connect to and operate your portable photo booth seems a bit beside the point. On the back end, he used Electron to code the photo booth app, React helped him build a touchscreen UI, and Yarn kept the necessary dependencies in order.

Operation is simple, and every time a photo is taken it is sent to and collated within a previously set-up email service. To set it up, [pedro_g_s] is here to guide you through the process.

Continue reading “Portable Photo Booth Named Buzz”

Bluetooth Photo Booth Gets Vetting At Wedding

With just two weeks to go before his friends’ wedding, [gistnoesis] built a well-featured robotic photo booth. Using a Bluetooth PS3 controller, guests could move the camera around, take a picture, style it in one of several ways (or not), and print it out with a single button press.

The camera is mounted on a DIY 2-axis gimbal made from extruded aluminium and 3D-printed parts. It can be moved left/right with one joystick, and up/down with the other. [gistnoesis] set up a four-panel split-screen display that shows the live feed from the camera and a diagram for the controls. The third panel shows the styled picture. Guests could explore the camera roll on the fourth panel.

LINN uses two PCs running Lubuntu, one of which is dedicated to running an open-source neural style transfer program. After someone takes a picture, they can change the style to make it look like a Van Gogh or Picasso before printing it out. A handful of wedding attendees knew about some of the extra features, like manual exposure control and the five-second timer option, and the information spread gradually. Not only was LINN a great conversation piece, it inspired multi-generational collaboration.

Despite the assembled size, LINN packs up nicely into a couple of reusable shopping bags for transport (minus the TV, of course).  This vintage photo booth we saw a few years ago is more of a one-piece solution, although it isn’t as feature-rich.

Continue reading “Bluetooth Photo Booth Gets Vetting At Wedding”

photo booth

Reach Out And Touch Someone With WiFi Photo Booth

[kitesurfer1404] put together a nice looking vintage photobooth with WiFi capability. He’s using an arduino to monitor the state of the buttons, LED lighting control, seven segment display AND the DSLR camera. He then uses a Raspberry Pi to control imagine processing and to provide scaling and other effects, which can take up to 20 seconds per image. The Pi runs in WiFi Access Point mode, so anyone with a WiFi capable device can connect to the photo booth and view the images.

We’ve seen some interesting twists on photo booths before. But [kitesurfer1404’s] vintage style makes his stand out all on its own. He designed the graphics with Inkscape and printed them on thick paper. He then soaked the graphics in tea for several hours and dried then for several more days to get that nice rustic look.

Be sure to check out [kitesurfer1404’s] site for full details and an assortment of high resolution images of his project.

Disk-O-Mat: A Photobooth For Records

record

A photo booth is a simple concept – drop in a coin and get a few pictures in a couple of minutes. That’s only a visual record, though. What if you wanted to record audio? Thus the disk-o-mat was born.

The disk-o-mat is one of [flo]’s projects. In place of the miniaturized dark room found in a photo booth, [flo] put a record cutting setup. The 7″ records are polycarbonate sheets, each transferred to the turntable by a vacuum gripper. When the plastic disk is loaded, a stylus is set down on the disk and the record light goes on.

There isn’t a computer or any other digital means of saving audio and playing it back later. Everything is done just as how 45s – or more specifically, really old 78s – were cut; whatever goes into the microphone is cut directly into plastic.

The disk-o-mat was originally built in 2009, and has traveled to a few venues. [flo] is working on speeding up the process and making the machine a bit more reliable. Still, an awesome build and an awesome concept.

Videos below.

Continue reading “Disk-O-Mat: A Photobooth For Records”

Robot Painter Works Like A Photobooth

robot-painter-photo-booth

[Ben], [David], [Drew], [Kayla], and [Peter] built a robotic artist as their senior design project. This mashes up a bunch of different project ideas, but the thing we like the most about it is that it works much like a photo booth that produces a painting. A Raspberry Pi uses a webcam to snap the picture, converts the image to three colors (plus the white background of the canvas) and sets the robot in motion. The team laments that initial testing of the completed project (seen in the clip below) worked out quite well but took hours to produce the painting. What do they expect? It’s art!

This is quite a bit different from the WaterColorBot (whose manufacturing process we just looked in on yesterday). WaterColorBot uses a flat canvas and a gantry system. This offering, which is called PICASSAU, uses an upright canvas with the paintbrush mounted in much the same way as a plotter robot. The biggest difference is that there is the ability to pivot the paint brush in order to pick up more paint, and for cleaning in between color changes.

Continue reading “Robot Painter Works Like A Photobooth”

The Best Photo Booth For Really Small Stuff

tank

[Doog] builds plastic models, and like anyone who makes really small stuff, he needed a good photo booth to show off his wares and techniques. He was working with the very common ‘poster board and work light’ setup we’ve all put together, but after photoshopping seam lines one too many times, he decided to upgrade his booth to something a little better.

The new setup consists of an aluminum frame with a 40×80 inch sheet of translucent plexiglass forming the bottom and backdrop of the booth. Two lights in diffuser bags illuminate the subject from the top, while the old worklights are attached to the bottom of the table frame to light the subject from beneath.

Compared to the ‘poster board and work light’ technique of the past, [Doog]’s new photo booth is absolutely incredible for taking pictures of very small things. This model of a Spitfire looks like it’s floating and this snap of a Thunderbolt is good enough to grace magazine covers.

Of course this photobooth isn’t just limited to models, so if you’re looking at taking some pictures of hand-soldered BGA circuits in the future, you may want to think about upgrading your studio setup.