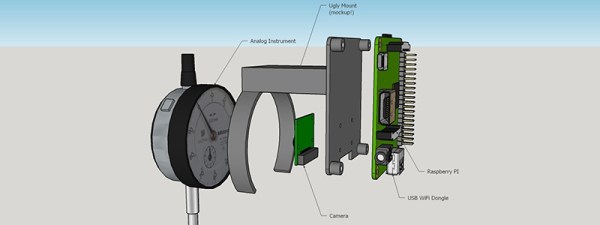
The only useful data you’ll ever find is already digitized, but a surprising number of gauges and meters are still analog. The correct solution to digitizing various pressure gauges, electric meters, and any other analog gauge is obviously to replace the offending dial with a digital sensor and display. This isn’t always possible, so for [Egar] and [ivodopiviz]’s Hackaday Prize entry, they’re coming up with a way to convert these old analog gauges to digital using a Raspberry Pi and a bit of computer vision.
The idea behind this instrument digitizer isn’t to replace the mechanics and electronics, as we are so often wont to do. Instead, this team is using a 3D printed bracket that mounts a Raspberry Pi and camera directly in front of an analog gauge. Combine this contraption with OpenCV, and you have a device that’s just smart enough to look at a needle on a dial, convert that to a number, and save it to a file or send it out over WiFi.
It’s an extremely simple device for what [Egar] and [ivodopiviz] admit is a relatively niche application. However, if you only need digital measurements of an analog meter for a month or so, or you don’t want to mess up your steampunk decor, it’s an ingenious build.
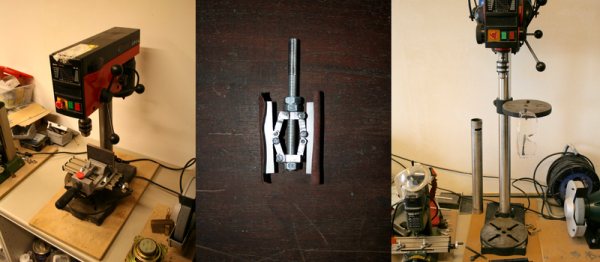
[BF38] bought a mid-range miniature drill-press, and discovered that it was just too short for some of his applications. “No problem,” he thought, “I’ll just measure the column and swap it out for a longer one.” It sounds foolproof on paper.
He discovered, after having bought a new 48.3 mm steel column, that the original was 48 mm exactly in diameter. He’d have to make it fit. But how do you bore out a 48 mm diameter hole, keeping it perfectly round, and only increase the diameter by 0.3 mm? A file is out because you’d never get it round. A lathe is out because [BF38] doesn’t have a lathe.
[BF38] ended up making a DIY honing head, which is a gadget that presses (in this case) two pieces of sandpaper evenly against the sides of the hole to be widened. The head in question is a little bit rough — it was made as a learning project, but it looks like it served the purpose admirably.
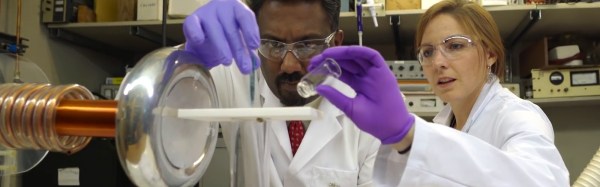
This significant discovery in nanotechnology could also be the first practical use of a Tesla coil in modern times that goes beyond fun and education. A self-funded research team at Rice University has found that unordered heaps of carbon nanotubes will self-assemble into conductive wires when exposed to the electric field of a strong Tesla coil. The related paper by lead author and graduate student [Lindsey R. Bornhoeft], introduces the phenomenon as “Teslaphoresis”. Continue reading “Teslaphoresis: Tesla Coil Causes Self-Assembly In Carbon Nanotubes”→
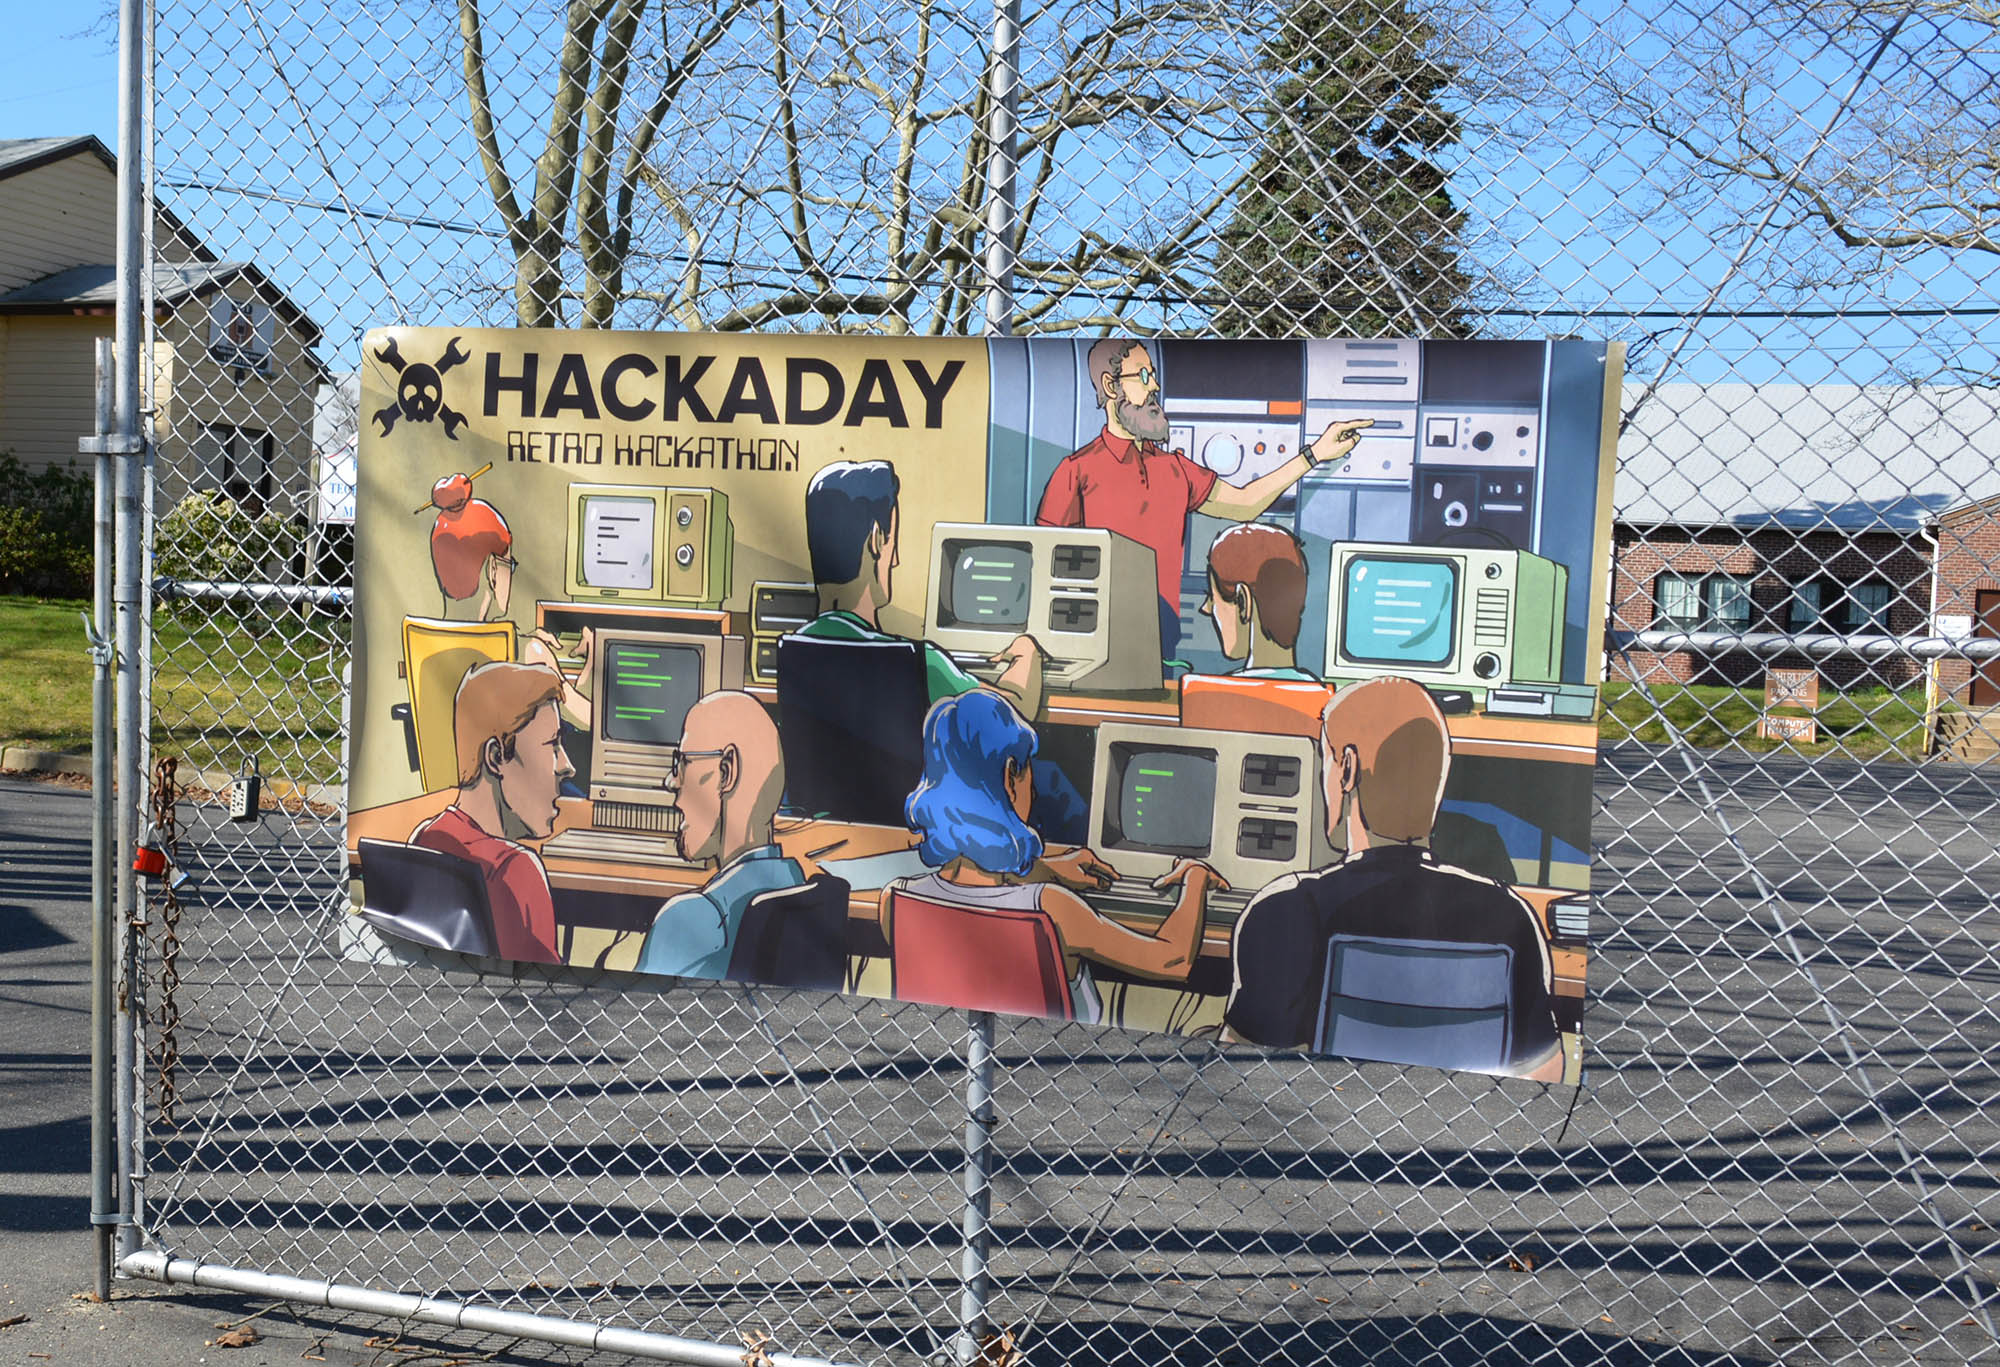
This weekend is the Vintage Computer Festival East in Wall, New Jersey. Every year is different, but there’s a general plan for each day. On Saturday and Sunday, the exhibits rule the con, the consignment shop is busy, and the keynotes bring down the house. Friday is a little different. This is the day for ‘in the trenches’ talks from the commodore crew, classes on recapping 30-year-old computers, and this year – for the first time – a retro hackathon. It’s basically the same format as any other hackathon, but instead of bringing MacBooks and building something cool, Apple IIs and Commodore 64s were provided. This is the report on the first retro hackathon we’ve ever been to.
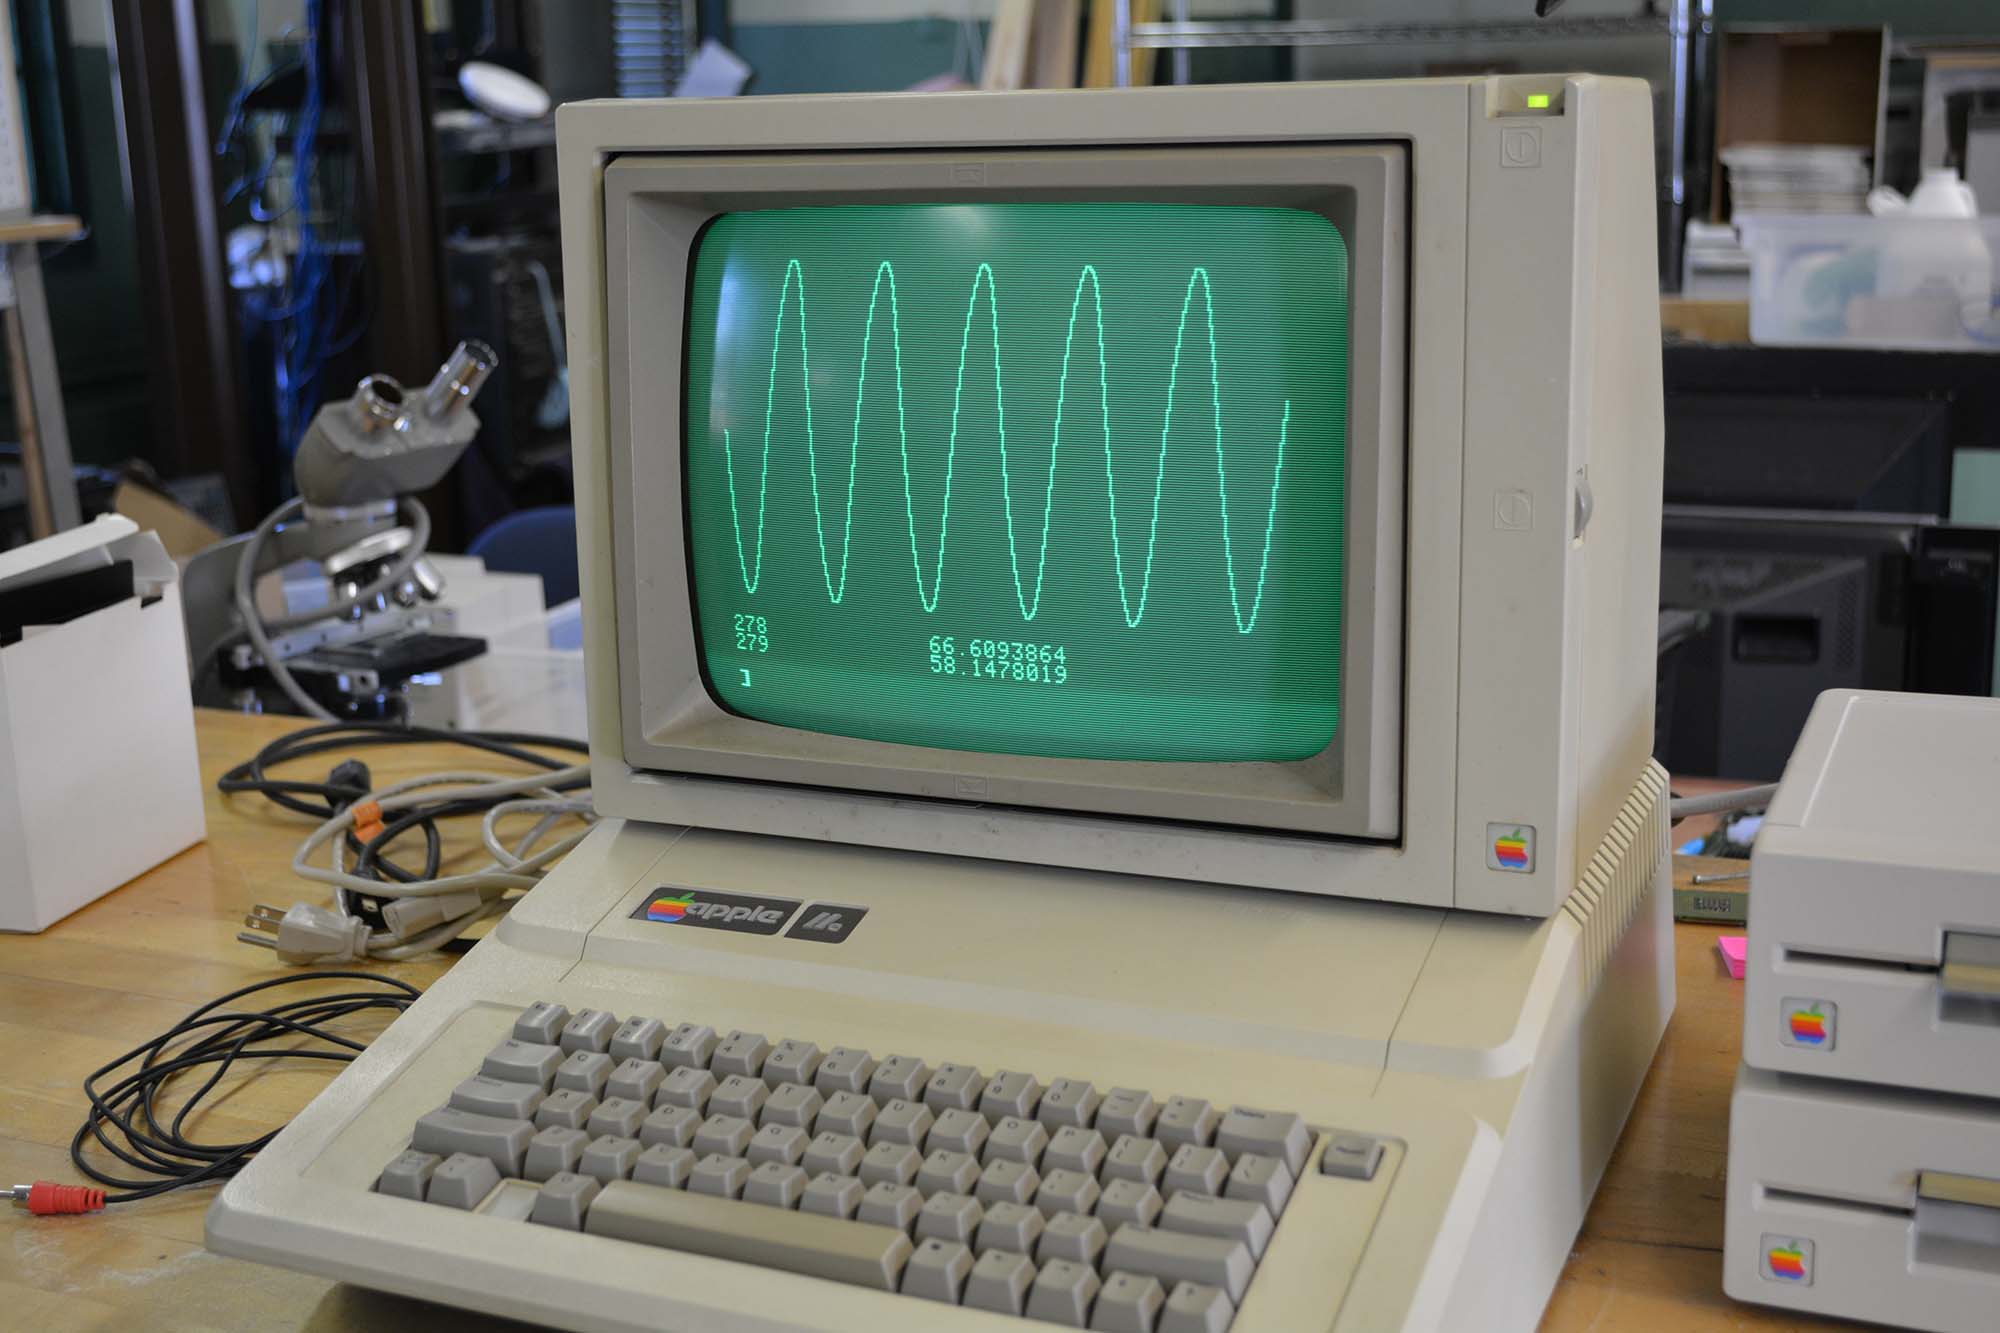
The Apple II one-liner SIN graph
First off, no one remembers how to program in BASIC. If you’re looking for a population that should remember the vagaries of the different dialects of BASIC, you would think it would be the people who came out to the middle of Jersey on Friday to talk about old CPUs. Apparently, this is not the case and several people were confused about single and double quotes in PRINT statements. Luckily, a few programming manuals for the C64 and Apple II were available, so everyone could still have fun with PEEKs and POKEs.
If you want to get people programming on some old machines, you need to give them some inspiration. The first half hour of the retro hackathon didn’t see any teams programming. Given this demographics proclivity to say, ‘I can do that better’, I typed a few BASIC one-liners in the C64 (random Truchet tiles in PETSCII) and Apple II (a SIN graph), and the people started pouring in. Yes, they could program something better than a single line of BASIC.
Sound on an Apple IIc.
What came of an impromptu retro hackathon? Hangman, in BASIC. No, it didn’t quite work, and there were only three or four possible words hardcoded into the program. Still, text mode graphics are a lost art. The Apple IIc was programmed to make fart noises. The original plan for this project was to program music. What would have been the winning entry was a line-drawing program on the C64 that looked like the enemy in Qix. That guy wasn’t there during judging. The winner of a $50 credit to the consignment shop was a kid who programmed zero-player Pong on Apple II basic. He bought a Mac Portable (non-backlit) with that prize.
We’ve gone to hackathons, we’ve waded through the sea of MacBooks, and had a Red Bull drip installed. This retro hackathon was completely different, but somehow familiar. No, no one is going to create something new – everything that can be done on these machines in a few hours of BASIC programming has already been done. That’s not the point, though. It’s a geek pride of proving your mettle, putting your money where your mouth is, and doing it in a casual environment where everyone is friendly. This is the first retro hackathon we’ve gone to, and it won’t be the last. We’re going to do this again, once we get an Apple IIc+, a few Commodores, a Speccy, and a few good monitors. We already have the banner, anyway.
Hardware hackers love their test equipment. There are entire forums dedicated to talking about multimeters, oscilloscopes, signal generators, and other common bench tools. At times it seems we spend more time talking about our tools than actually using them. For some, off the shelf equipment is never quite good enough. These hackers, makers and engineers design and build their own test equipment. This week’s Hacklet is dedicated to some of the best test equipment projects on Hackaday.io!
We start with [Roman] and Handheld Electronic Test And Measurement Lab. [Roman] travels a lot, and often needs to bring a lab’s worth of tools with him. After suffering through several ‘random’ searches, he decided to design a simple tool that would cut down his packing, and not get him strip searched. The handheld lab packs a multimeter, low-frequency oscilloscope, data logger, waveform generator, and several other tools into a small package. The tool can be connected to a PC to display data and update settings. The on-board PIC24 handles all the hard work of taking measurements. Some careful analog design gives this tool 10 megohm of input impedance.
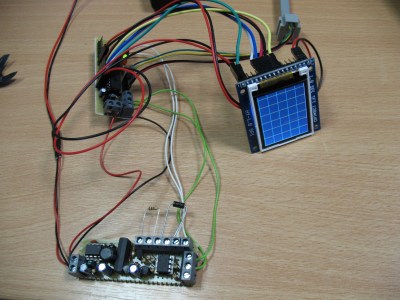
Next up is [Jaromir Sukuba] with 10$ curve tracer. The only way to find out of that a transistor or diode really works as well as the data sheet suggests is to pull out your semiconductor curve tracer. Curve tracers are also perfect for matching transistors for projects like analog synthesizers. [Jaromir] built this quick and dirty tracer over the course of just two evenings. A dsPIC microcontroller runs the show, generating an IV curve by sending pulses through the device under test. Once the curve has been traced, the PIC displays the results on a TFT LCD module. The tracer is a bit limited with a max of 35V at 0.5 amps. Knowing [Jaromir] though, extending the range would only take another evening or two of work.
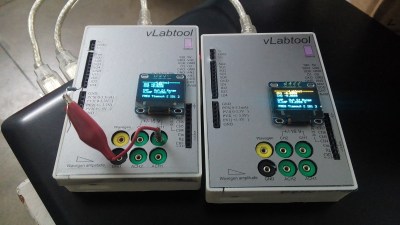
Next we have [Jithin] with A Versatile Labtool. This tool can do just about everything you could want – all in one box. From oscilloscope to frequency counter to multimeter to current source, and much more. Much like [Roman] up above, [Jithin] chose a Microchip PIC24 MCU as processing heart of his design. The Versatile Labtool connects to a PC via USB. If you’re not close to your PC, an ESP8266 module allows the unit to connect over WiFi. A PC isn’t required though. The on-board OLED is always available for quick measurements.
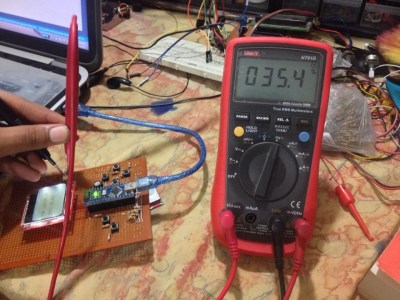
Finally we have [ZaidPirwani] with Engineer’s Multi Tool, his entry in the 2015 Hackaday Prize. [Zaid] started with the popular transistor tester codebase. He ported the code to his own hardware, an Arduino Nano and Nokia LCD. Making the port function required quite a bit more work than [Zaid] expected. He ended up going with a fresh repository and adding a bit of code at a time. Once everything was working, [Zaid] verified that his hardware design operated as expected with a good old-fashioned multimeter. Now that everything is working, [Zaid] is just about out of space on the little ATmega328. Next stop is a Teensy 3.2!
A special thank you goes out to [Jaromir Sukuba] for suggesting test equipment as the theme for this week’s Hacklet. You can find his projects and more on the new test equipment project list! If I missed your project, or if you have a suggestion for a future Hacklet theme, don’t be shy! Drop me a message on Hackaday.io. That’s it for this week’s Hacklet. As always, see you next week. Same hack time, same hack channel, bringing you the best of Hackaday.io!
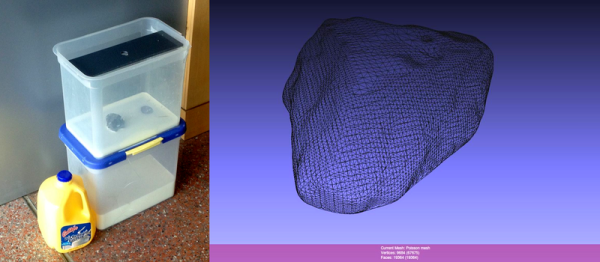
3D scanners don’t have to be expensive or high-tech because all of the magic goes on in software. The hardware setup just needs to gather a bunch of cross-sections. In perhaps the lowest-tech of scanners that we’ve seen, [yenfre]’s GotMesh scanner uses milk.
Specifically, the apparatus is a pair of boxes, one with a hole drilled in it. You put the object in the top box and fill it with milk to cover the object. A camera takes pictures of the outline of the object in the milk as it drains out the hole, these get stitched together, and voilà.
There are limitations to this method. The object gets soaked in milk, so it won’t work for scanning sand-castles. (It’s optimally suited for chocolate-chip cookies, in our opinion.) If the camera is located directly above, the objects have to get wider as the milk drains out. You can do multiple takes with the object rotated at different angles or use multiple cameras to solve this problem. The edge-detection software will have issues with white objects in milk, so maybe you’ll want to scan that porcelain figurine in coffee, but you get the idea. More seriously, the rate of milk drain will slow down a bit as the amount of milk in the upper box decreases. This could also be handled in software.
In all, we’re not surprised that we don’t see commercial versions of this device, but we love the idea. It’s based on this experiment where they dip a guy in a tank of ink! If you just drank all your milk, but still have a line-laser lying around, maybe this build is more your speed. What’s your cheapest 3D scanner solution?
If you just want to prevent your garden from slowly turning into a desert, have a look at the available off-the-shelf home automation solutions, pick one, lean back and let moisture monitoring and automated irrigation take over. If you want to get into electronics, learn PCB design and experience the personal victory that comes with all that, do what [Patrick] did, and build your own ESP8266 based irrigation controller. It’s also a lot of fun!
[Patrick] already had a strong software background and maintains his own open source home automation system, so building his own physical hardware to extend its functionality was a logical step. In particular, [Patrick] wanted to add four wirelessly controlled valves to the system.


 Finally we have [ZaidPirwani] with