DIY Music Controllers For Raging With Machines

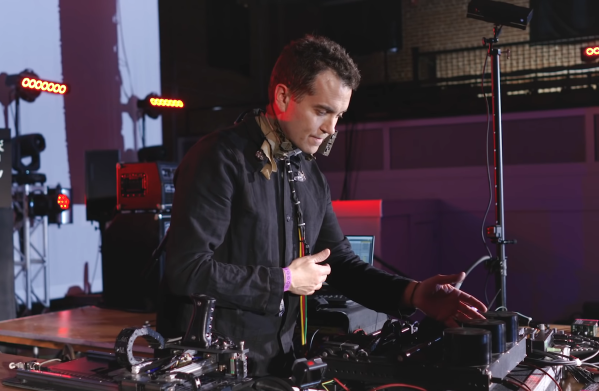
[Tristan Shone], aka Author & Punisher, found a way to make industrial music even heavier. This former mechanical engineer from Boston crafted his one-man band in the university fab labs of Southern California while pursing an art degree. He started machining robust custom MIDI controllers that allow him to get physical while performing, instead of hunching over tiny buttons and trying to finesse microscopic touch pad-style pitch sliders.

Starting about ninety seconds into the video after the break, [Tristan] explains his set up and walks through each of his handmade controllers, all of which are built on Arduinos and Raspberry Pis.

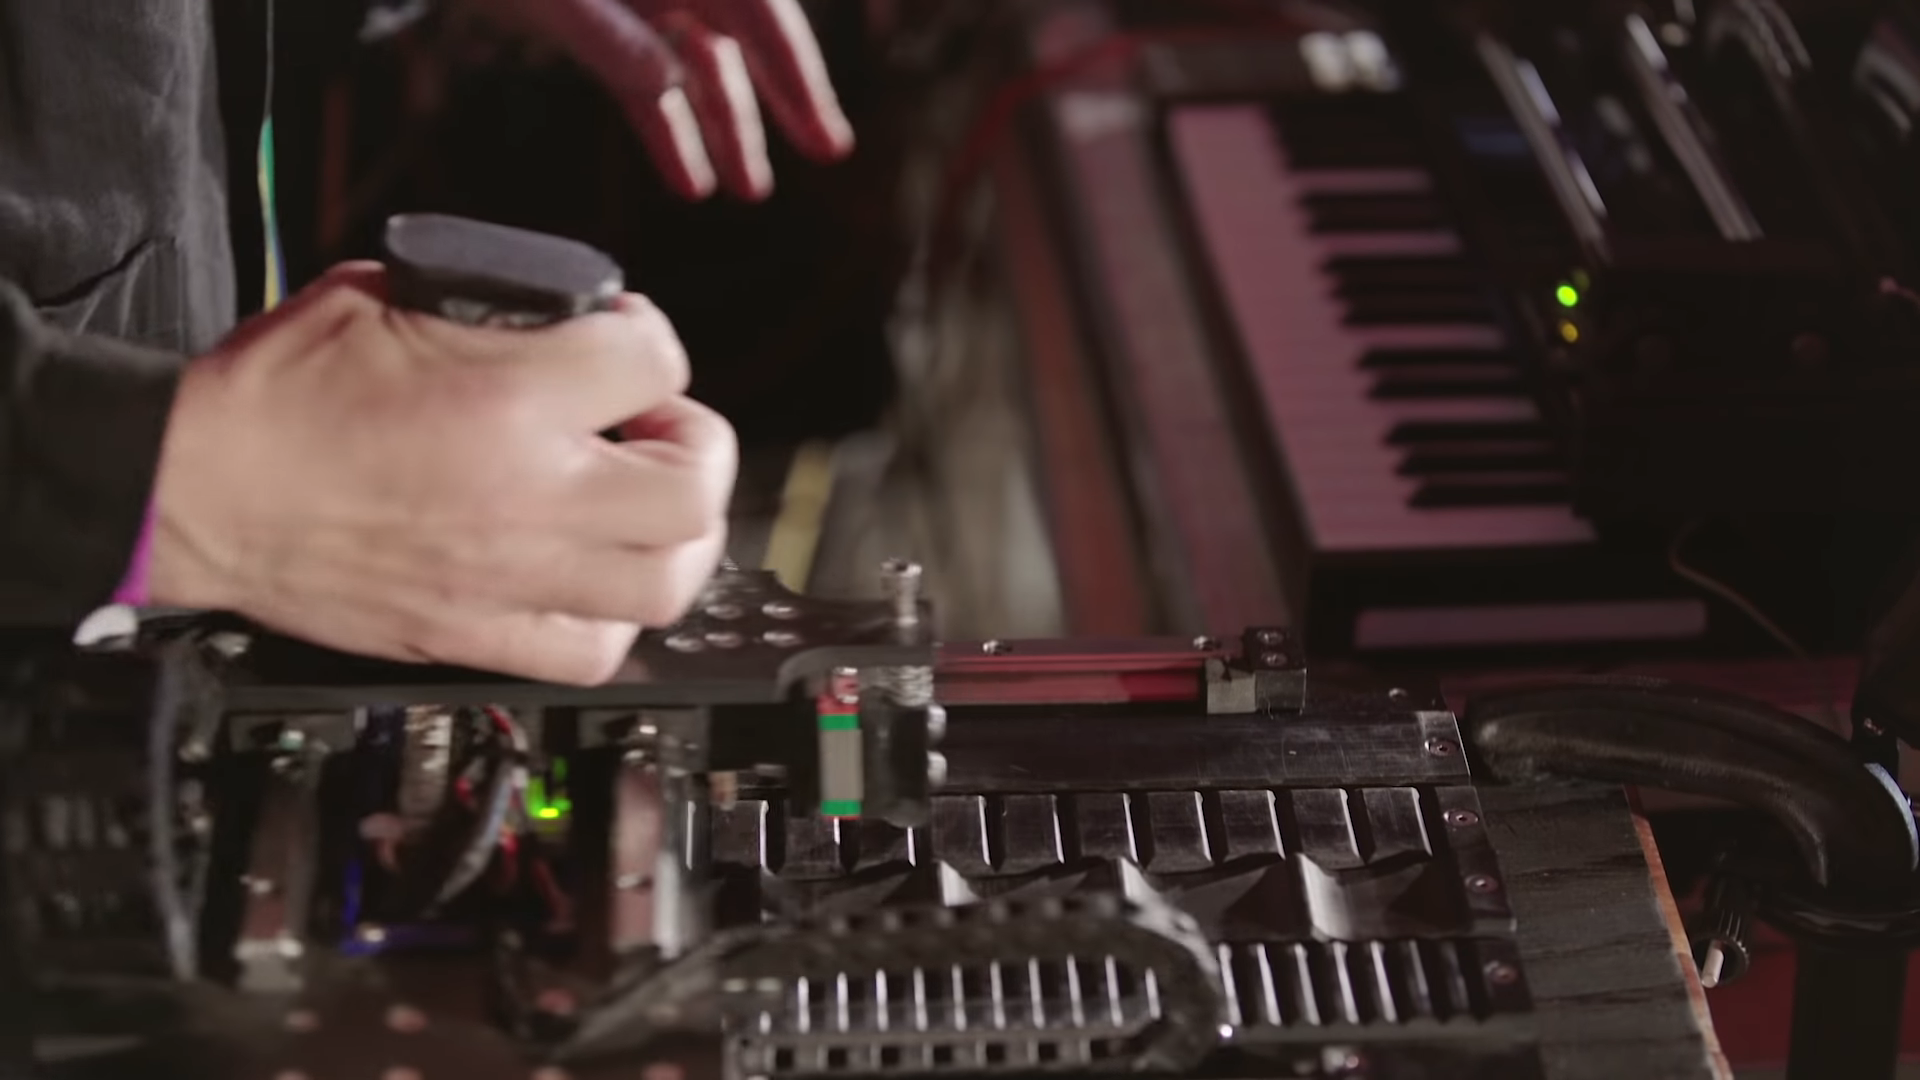
Our favorite is probably Grid Iron, because it looks like the most fun. Grid Iron is a rhythm controller that works by running back and forth and side-to-side over a grid of machined textures that act like speed bumps. A spring-loaded stylus picks up the textures, and an encoder translates them to sound. Eight buttons along the 3D-printed pistol grip let [Tristan] make changes on the fly.

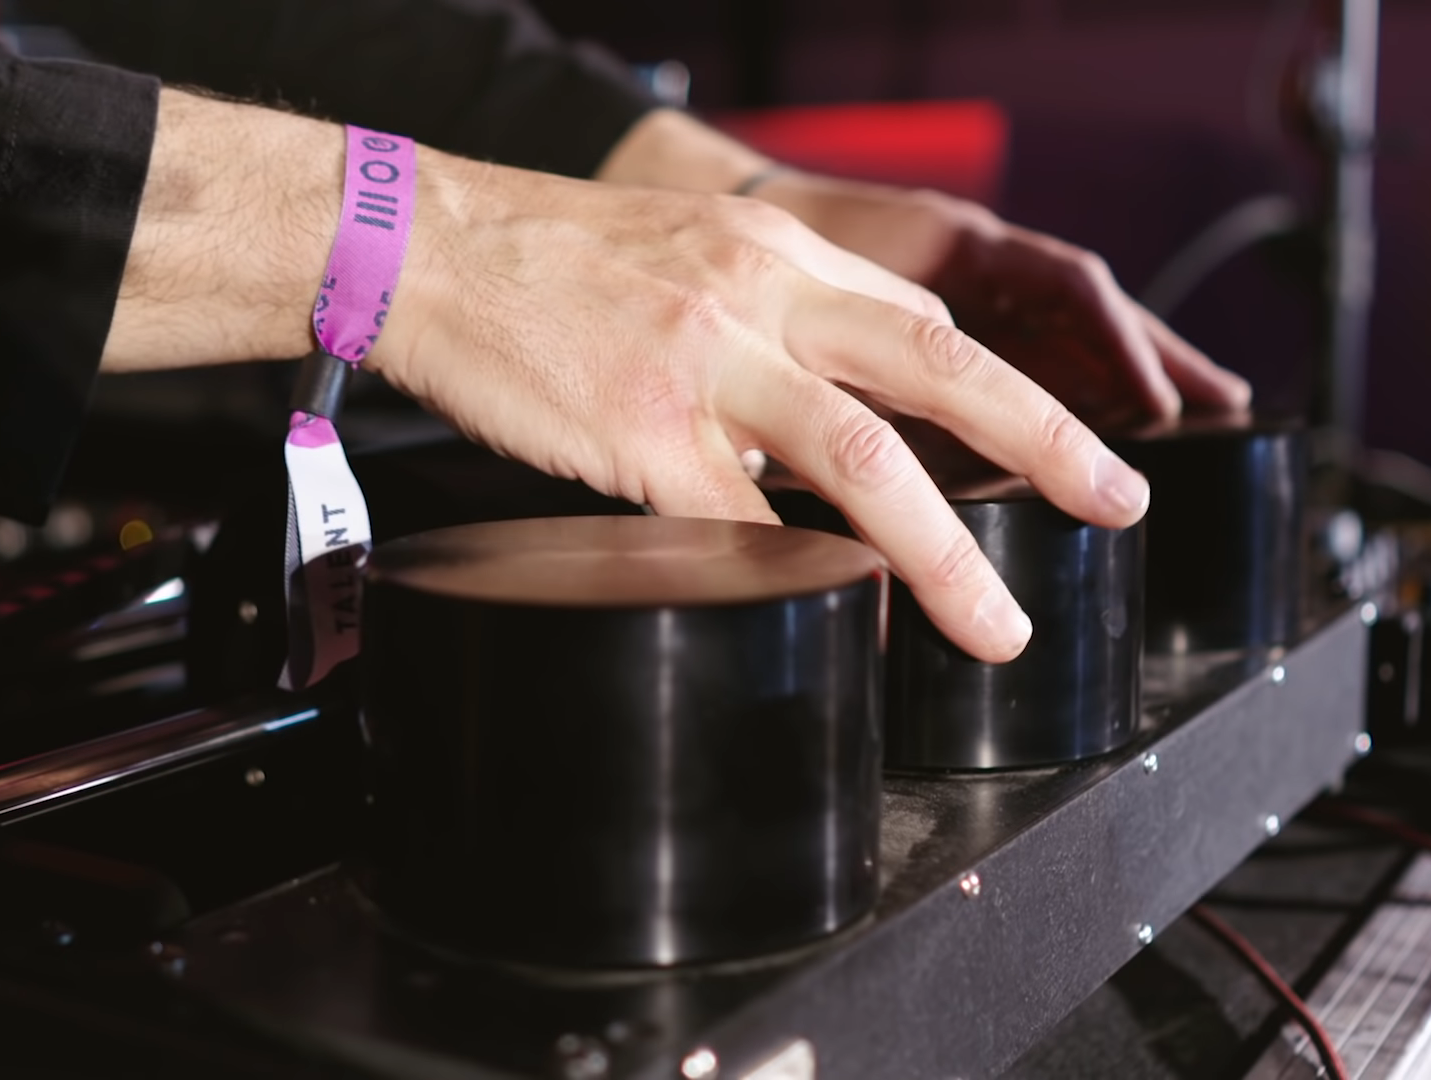
Tired of twiddling tiny knobs, [Tristan] made Big Knobs, a set of three solid aluminum knobs that look to be 3-4″ in diameter. These are assigned jobs like delay and filter, and their weight combined with ball bearings allows them to spin almost indefinitely while [Tristan] injects other sounds into the mix.

[Tristan] has made a few custom microphones to make the most of his voice. One is a trachea mic made from four piezos strapped to his throat that picks up every possible vocal utterance and other guttural sounds quite nicely. The other is an 8-pack of mics built into a curved metal box. He can assign a different effect to each one and do things like turn a breathy scream into the sounds of swelling cymbals.

There are more machines not covered in the video, and you can read about those on [Tristan]’s site. In a bonus video after the break, [Tristan] discusses a trio of pneumatically-driven mask controllers he made.

Don’t have a machine shop at your disposal? Dig out that fidget spinner and get moving on your own MIDI controller.

Continue reading “DIY Music Controllers For Raging With Machines”

Teardown: 168-in-1 Retro Handheld Game

The holidays are upon us, and that can mean many furrowed brows trying to figure out what token gift they can give out this year as stocking-stuffers. Something that’s a bit more interesting than a coupon book or a lotto scratcher, but also affordable enough that you can buy a few of them without having to take part in that other great holiday tradition: unnecessary credit debit.

Includes the NES classic Super Militarized Police Bros 3

Which is how I came to possess, at least temporarily, one of these cheap handheld multi-games that are all over Amazon and eBay. The one I ordered carries the brand name Weikin, but there are dozens of identical systems available, all being sold at around the same $20 USD price point. With the outward appearance of a squat Game Boy, these systems promise to provide precisely 168 games for your mobile enjoyment, and many even include a composite video out cable and external controller for the less ambulatory classic game aficionado.

At a glance, the average Hackaday reader will probably see right through this ploy. Invariably, these devices will be using some “NES on a Chip” solution to emulate a handful of legitimate classics mixed in with enough lazy ROM hacked versions of games you almost remember to hit that oddly specific number of 168 titles. It’s nearly a foregone conclusion that at the heart of this little bundle of faux-retro gaming lies a black epoxy blob, the bane of hardware tinkerers everywhere.

Of course, there’s only one way to find out. Let’s crack open one of these budget handhelds to see what cost reduction secrets are inside. Have the designers secured their place on the Nice List? Or have we been sold the proverbial lump of coal?

Continue reading “Teardown: 168-in-1 Retro Handheld Game”

Guitar Effect Built From An Old Record Player

With little more than a gutted record player, a light bulb, and the legendary 555 timer IC, [Jacob Ellzey] has constructed this very slick optical tremolo effect for his guitar. By modulating the volume of the input signal, the device creates the wavering effect demonstrated in the video after the break.

The key is a vinyl record with large tabs cut out of it. As the record spins, these voids alternately block and unblock a small incandescent bulb. A common GL5537 photoresistor, mounted on the arm that originally held the player’s needle, picks up the varying light levels and passes that on to the electronics underneath the deck. An important note here is that different spacing and sizing of the cutouts will change the sound produced by the effect. [Jacob] has already produced a few different designs and plans on experimenting with more now that the electronics are completed.

Under the hood there’s a voltage divider and low gain amplifier connected to the photoresistor, and also a 555 timer circuit that’s driving the incandescent bulb. Once he was done fiddling with them, the circuit was moved to a neat little protoboard. A pair of potentiometers mounted through the side of the record player allow for adjusting the depth of the effect itself, as well as the output volume. Naturally, there’s also an external foot pedal that allows keying the effect on and off without taking your hands from the guitar.

As is usually the case, everything was going well on this project until the final moments, when [Jacob] found that the circuit and bulb were both browning out when powered from the same transformer. As a quick fix, he gutted a Keurig and used its transformer to drive the light bulb by itself. With independent power supplies, he was ready to rock.

Of course this isn’t the first time we’ve seen a piece of consumer electronics modified into a guitar effect, but if you’re looking for something a bit more built for purpose, there’s plenty of high-tech options to keep you busy.

Continue reading “Guitar Effect Built From An Old Record Player”

Conductive Tape Current Capacity Comparison

The world of DIY circuits for STEM and wearables has a few options for conductors. Wire with Dupont connectors is a standard, as is adhesive copper tape. There’s also conductive nylon/steel thread or ribbon. Which you choose depends on your application, of course, but as a general rule wire is cheap and ubiquitous while making connections is more challenging; copper tape is cheap and simple to use, but delicate and rips easily, so is best used for flat surfaces that won’t see a lot of stress or temporary applications; and conductive nylon thread or tape is better for weaving into fabrics.

The Brown Dog Gadgets team wanted to respond to a frequent question they are asked, what are the current limits for their Maker Tape (nylon/steel ribbon), so they ran some experiments to find out. In the name of Science you’ll see some flames in the video below, but only under extreme conditions.
Continue reading “Conductive Tape Current Capacity Comparison”