Space. The final frontier. Every tinkerer, hacker, and maker has dreamed of flying out of Earth’s atmosphere and into the heavens. Last year one hard-working team got a chance to fly a member to space by winning the Hackaday prize. For the rest of us, we can still experience some of that excitement by contacting satellites in orbit, or even sending a bit of our own hardware into space. This week’s Hacklet focuses on the best satellite projects on Hackaday.io!
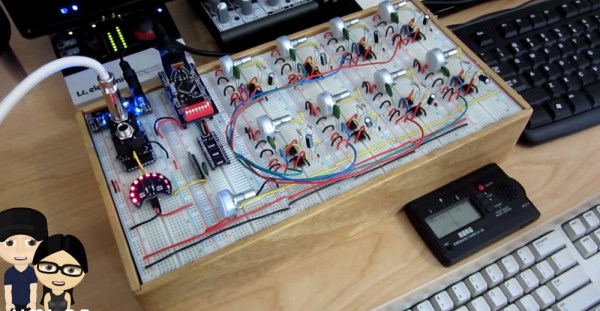
 We start with [movax] and Your satellite devkit and launch. Chipsat is a tiny satellite which runs BASIC code. Yes, BASIC in space! Chipsats will be stacked into a launcher and sent off into space in groups. The idea is to eventually have them launched from the International Space Station. Power is provided by a small solar cell which charges up a pair of super capacitors. When the capacitors are charged, the satellite will run for a few seconds. Connectivity with the ground is via a 433 MHz link. Chipsat doesn’t just float in space, three coils give it the ability to control its attitude and rotation. Chipsat will sense the space around it with a magnetometer and a light sensor.
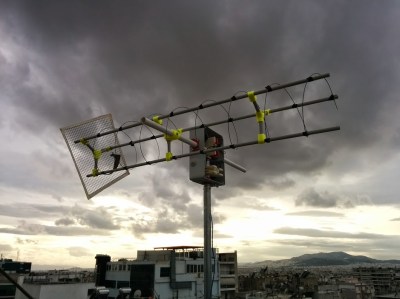
No satellite-themed Hacklet would be complete without [Pierros Papadeas] and his team’s work on SatNOGS – Global Network of Ground Stations. SatNOGS aims to create a global network of connected satellite ground stations. Think of it as a grass-roots version of NASA’s deep space network for satellites in earth orbit. This is more than just a great idea, as SatNOGS won the 2014 Hackaday Prize. You can check out our coverage of the project back in November, 2014. Since then, the SatNOGS team has been busy! They’ve just deployed the first SatNOGS V2 system above their hackerspace in Athens, Greece.
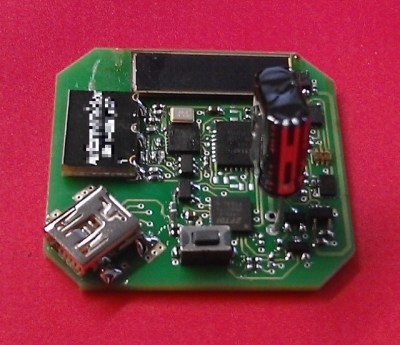
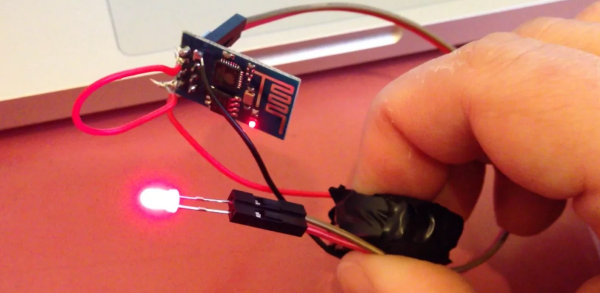
 Next up is TRSI PocketQub Satellite, another project by [movax]. TRSI is a satellite that sends data via images which can be viewed with a simple RTL-SDR stick using Hellschreiber mode. Hell mode means that images can be directly viewed in the waterfall display of whichever SDR application is running the receiver. Numbers or entire images snapped with TRSI’s cell phone style camera module can be encoded and displayed. Power is of course provided by solar cells, and the communications link will be on the coordinated 433 MHz band. The original TRSI hardware has actually morphed into a deployment machine for ChipSat, [morvax’s] other satellite project. He’s put the main TRSI program on hold until after the ChipSat campaign is complete.
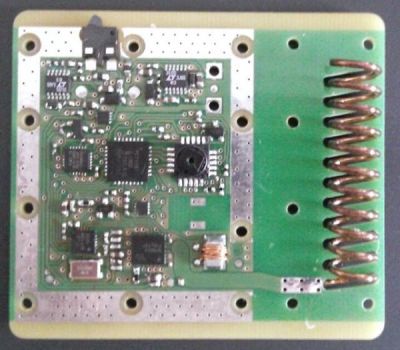
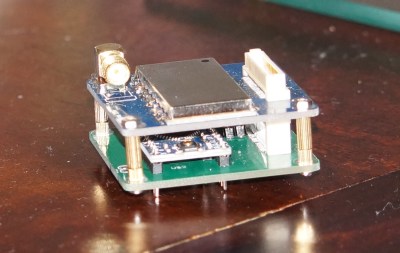 Rounding out our satellite special is [OzQube] with his project QubeCast Max. QubeCast is the first Australian version of the PocketQube PQ60 satellite form factor. After watching the success of $50Sat project, [OzQube] wanted to design a satellite of his own. Since he wanted to add sensors and send more data back to Earth than previous efforts, he needed a higher data rate than the current crop of satellites. This meant going to a high-powered radio. To achieve this, he’s using a NiceRF RF4463F30 radio module. The module is based upon a Silicon Labs Si4463 RF ISM band chip, coupled with a power amplifier. The module outputs 1 watt, which is quite a bit of power for a tiny satellite!
Want more satellite goodness? Check out Hackaday.io’s freshly minted Satellite List.
The countdown is almost at 0, so that’s just about all the time we have for this episode of the Hacklet. See you next week. Same hack time, same hack channel, bringing you the best of Hackaday.io!
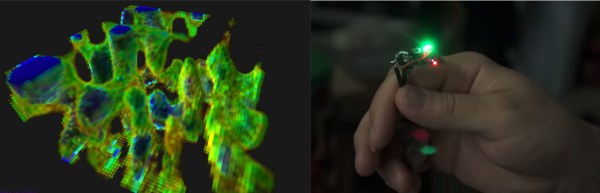
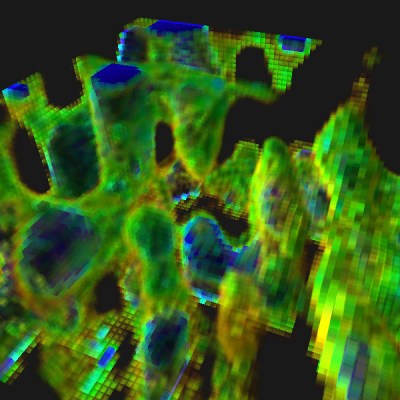 Armed with this information, [Charles] went for broke and mounted his ESP8266 on a large gantry style mill. He took several long exposure videos of a 360x360x180mm area. The videos were extracted into layers. The whole data set could then be visualized with Voxeltastic, [Charles’] own HTML5/WEBGL based render engine. The results were

 Funny captions weren’t the only thing in the comments though – the image tickled [