Music boxes are awesome little mechanical devices. These days, they even make some with slightly more modern tunes, like the Zelda and Star Wars themes. But they don’t have everything, of course — certainly not that one song from that TV series that [RandomPrototypes]’ girlfriend absolutely adores.
But it’s 2021, and there are options for making your own music box. [RandomPrototypes] could have printed the whole thing, but those don’t sound as good with their plastic combs. Then there’s those paper punch ones, but you have to sit there and crank the thing continuously to hear the song. In the end, [RandomPrototypes] mixed methods and made a custom cylinder that’s playable with a standard music box mechanism.
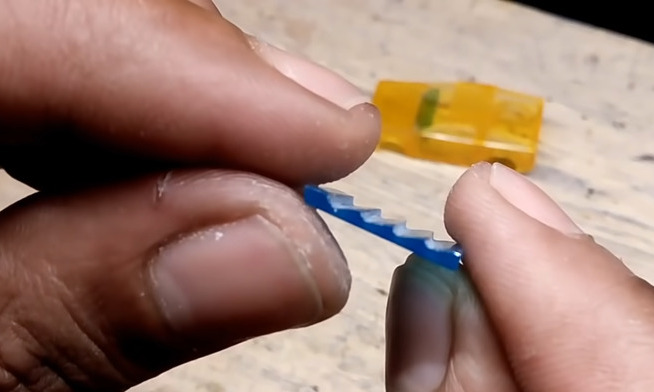
 [RandomPrototypes] started by taking the music box apart to measure the cylinder, and then created a software representation of a cylinder that’s designed to pluck the eighteen notes from low to high rather than play a song. Then he used a Python script to turn it in a 3D model. The slicing preview showed a lot of stops and starts and weak points, so [RandomPrototypes] generated the Gcode directly so that it would print in one continuous spiral and be much stronger.
In order to generate a cylinder with the song his girlfriend likes so much, [RandomPrototypes] printed this scale cylinder and used it to record the notes as a single mp3 and make note of the start times of each note. Finally, he built the new score based on the available notes built into the music box comb. If you want to do this yourself, the code is freely available. The hard part will be choosing a music box mechanism, because they tend to come with a single comb that’s designed to play a specific song. You’ll have to figure out which tune has most or all of the notes you need.
If you don’t mind doing the cranking to listen to the tune, then the paper-punched type of music box is going to be much easier. But why do all that punching yourself, when you could build a machine?
Continue reading “Custom Music Box Cylinder Puts A Spin On Romance”