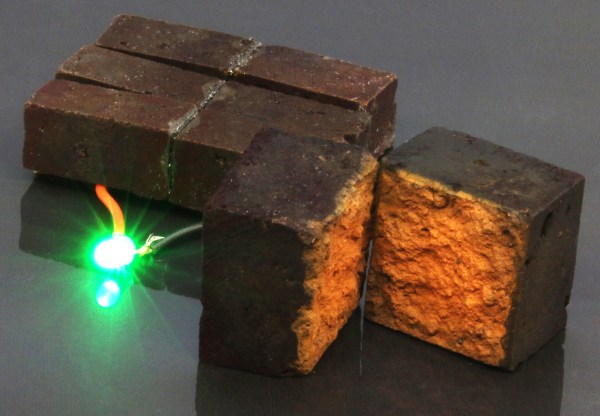
The bricks are coated in poly(3,4-ethylenedioxythiophene) polystyrene sulfonate (PEDOT:PSS), a conductive polymer that soaks readily into the bricks’ porous surface. When the coated brick is connected to a power source such as a solar panel, the polymer soaks up ions like a sponge. PEDOT:PSS reacts with the iron oxide in the bricks, the rust that gives them their reddish-orange color. Check out the demonstration after the break — it’s a time lapse that shows three PEDOT-coated bricks powering a white LED for ten minutes.
We envision a future where a brick house could double as a battery backup when the power goes out. The researchers thought of that too, or at least had their eye on the outdoors. They waterproofed the PEDOT-coated bricks in epoxy and found they retain 90% of their capacitance and are still efficient after 10,000 charge-discharge cycles. Since this doesn’t take any special kind of brick, it seems to us that any sufficiently porous material would work as long as iron oxide is also present for the reaction. What do you think?
It’s a shame that so many cool things happen in the night sky, but we can’t see them because of clouds or light pollution. If you missed seeing the comet NEOWISE or this summer’s Perseid meteor showers, there’s not a lot to be done but look at other people’s pictures. But if it’s the Moon and its phases you keep missing out on, that information can be acquired and visualized fairly easily.
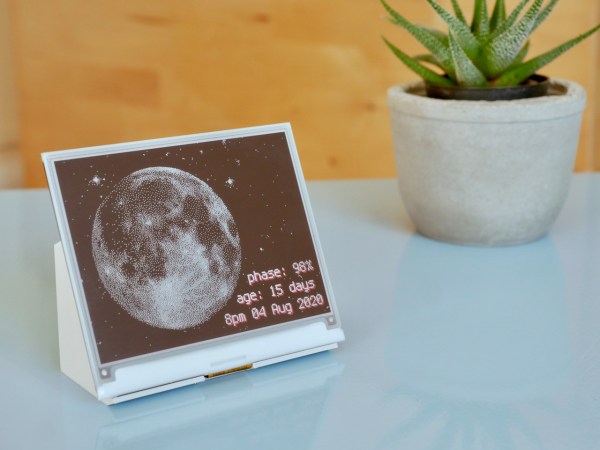
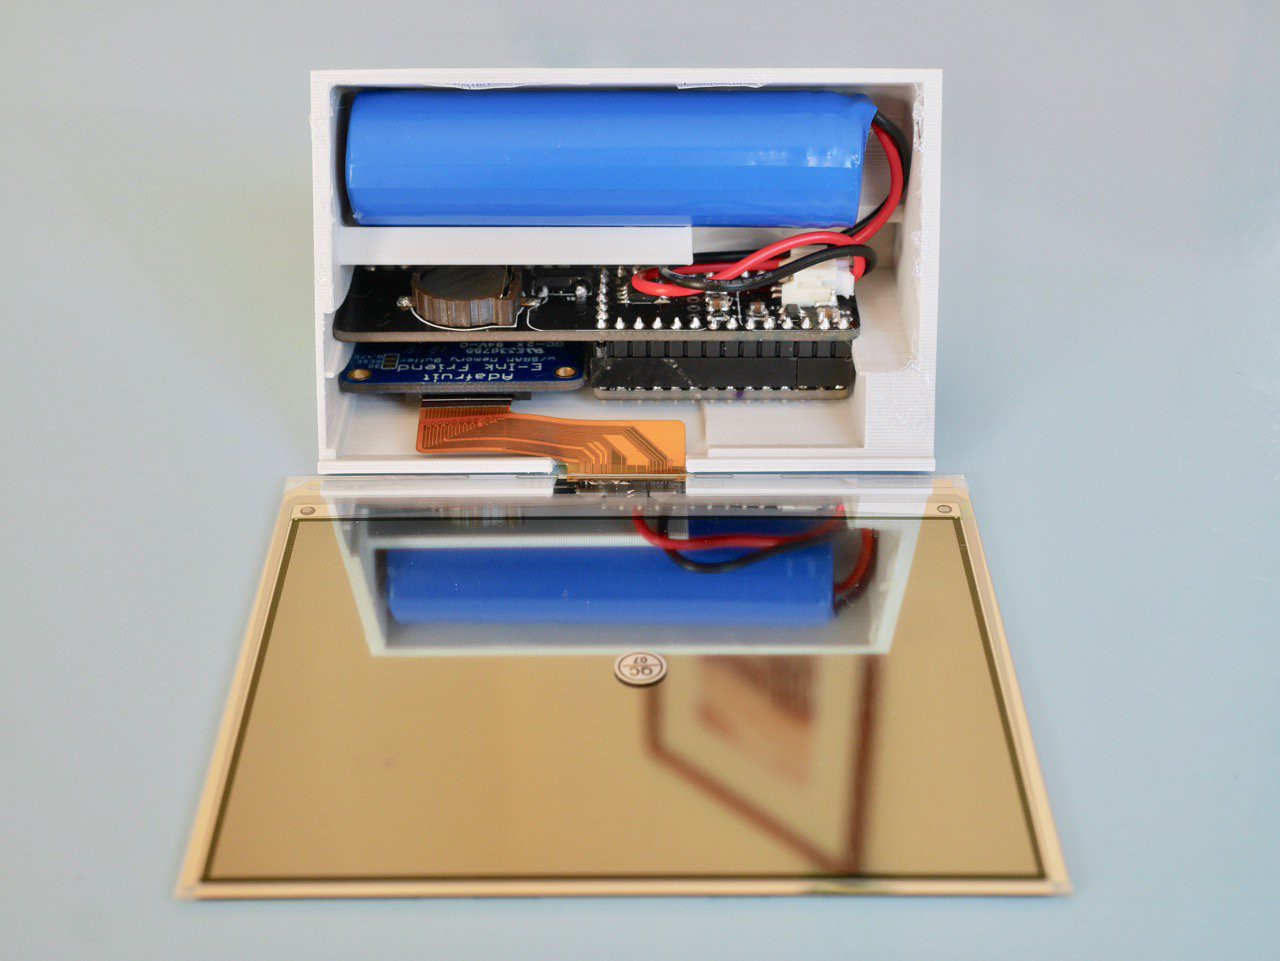
[Jacob]’s moon phase viewer runs on an ItsyBitsy M4 Express, which holds data pulled from NASA ahead of time to save battery. Every morning, the board dishes out the daily info on a schedule kept by a real-time clock module.
We particularly like the minimalist case design, especially the little shelf that holds the lithium-ion cell. This is just the beginning, and [Jacob] plans to add more detail for anyone who wants one for themselves.
When firefighters are battling a blaze, it’s difficult for them to find each other in the smoky darkness. To help stand out they wear glow-in-the-dark decals on their helmets, but since they spend so much of their down time stowed away in a dark locker, they don’t always have a chance to charge up.
[Bin Sun]’s firefighter friend inspired them to build a portable charging system that can stuff those helmet decals full of photons in a matter of minutes. Although phosphorescent materials will charge in any light, they charge the fastest with ultraviolet light. This uses a pair of UV LED strips controlled by an off-the-shelf programmable timer, and powered with an 18-volt drill battery stepped down to 12 V. The timer makes it easy for [Bin Sun]’s friend to schedule charge times around their shifts, so the battery lasts as long as possible while keeping the decals ready to glow.
We love that [Bin Sun] seems to have thought of everything. The light strips are nestled into 3D-printed holders that also house small magnets. This makes it easy to position the lights on either side of the locker so both the front and back decals soak up the light.
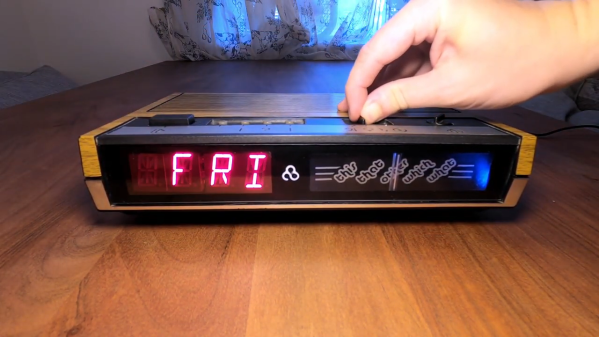
Just like everything else in 2020, the four-day, multi-stage festival of music and art known as Bonnaroo has been cancelled. This would have been [Guy Dupont]’s fifth year making the journey to Tennessee with his friend. Since they couldn’t go, [Guy] decided to build an interactive Bonnaroo mix tape into an 80s clock radio as a birthday present.
[Guy] was able to re-purpose all the original buttons and dials to navigate through the schedule of acts that would have performed across four days and five stages. The conveniently four-way function slider is used to choose the day, and the radio tuning dial selects the stage, complete with delightful static between the positions. The rest of the buttons move back and forth through the scheduled set times, and one will scroll the track and artist name across the 16-segment displays. The snooze button has the honor of being the play/pause button.
All the inputs are controlled with a Feather M4 express, and the music comes through a DFPlayer Mini. We love that [Guy] was able to repurpose the analog tuning dial by coupling it to a slide potentiometer that fit perfectly in a slot on the underside of the plastic. Stay tuned for a great video that starts with an explanation and demo and then goes into the build.
Though the utility of the clock radio may have been supplanted by cell phone alarms and doomscrolling, that just means that there are theoretically more of them to gut and turn into other things, like this Fallout-inspired luggable Pip-Boy.
No matter how much geek cred your old vintage keyboard pulls, it’s not worth suffering through wrist pain or any other discomfort while using it. Especially now, when there are so many points of entry into the rabbit hole world of DIY mechanical keebs.
Once the wrist pain started, [Ben Congdon] switched from a big old Apple keeb to a Kinesis Freestyle — it’s basically a regular keyboard, but in two halves that can be placed far enough apart that [Ben]’s wrists are straight while typing. Comfortable as that split rectangle may be, it’s just not that cool looking, and he was ready to build something new, as long as it had enough keys.
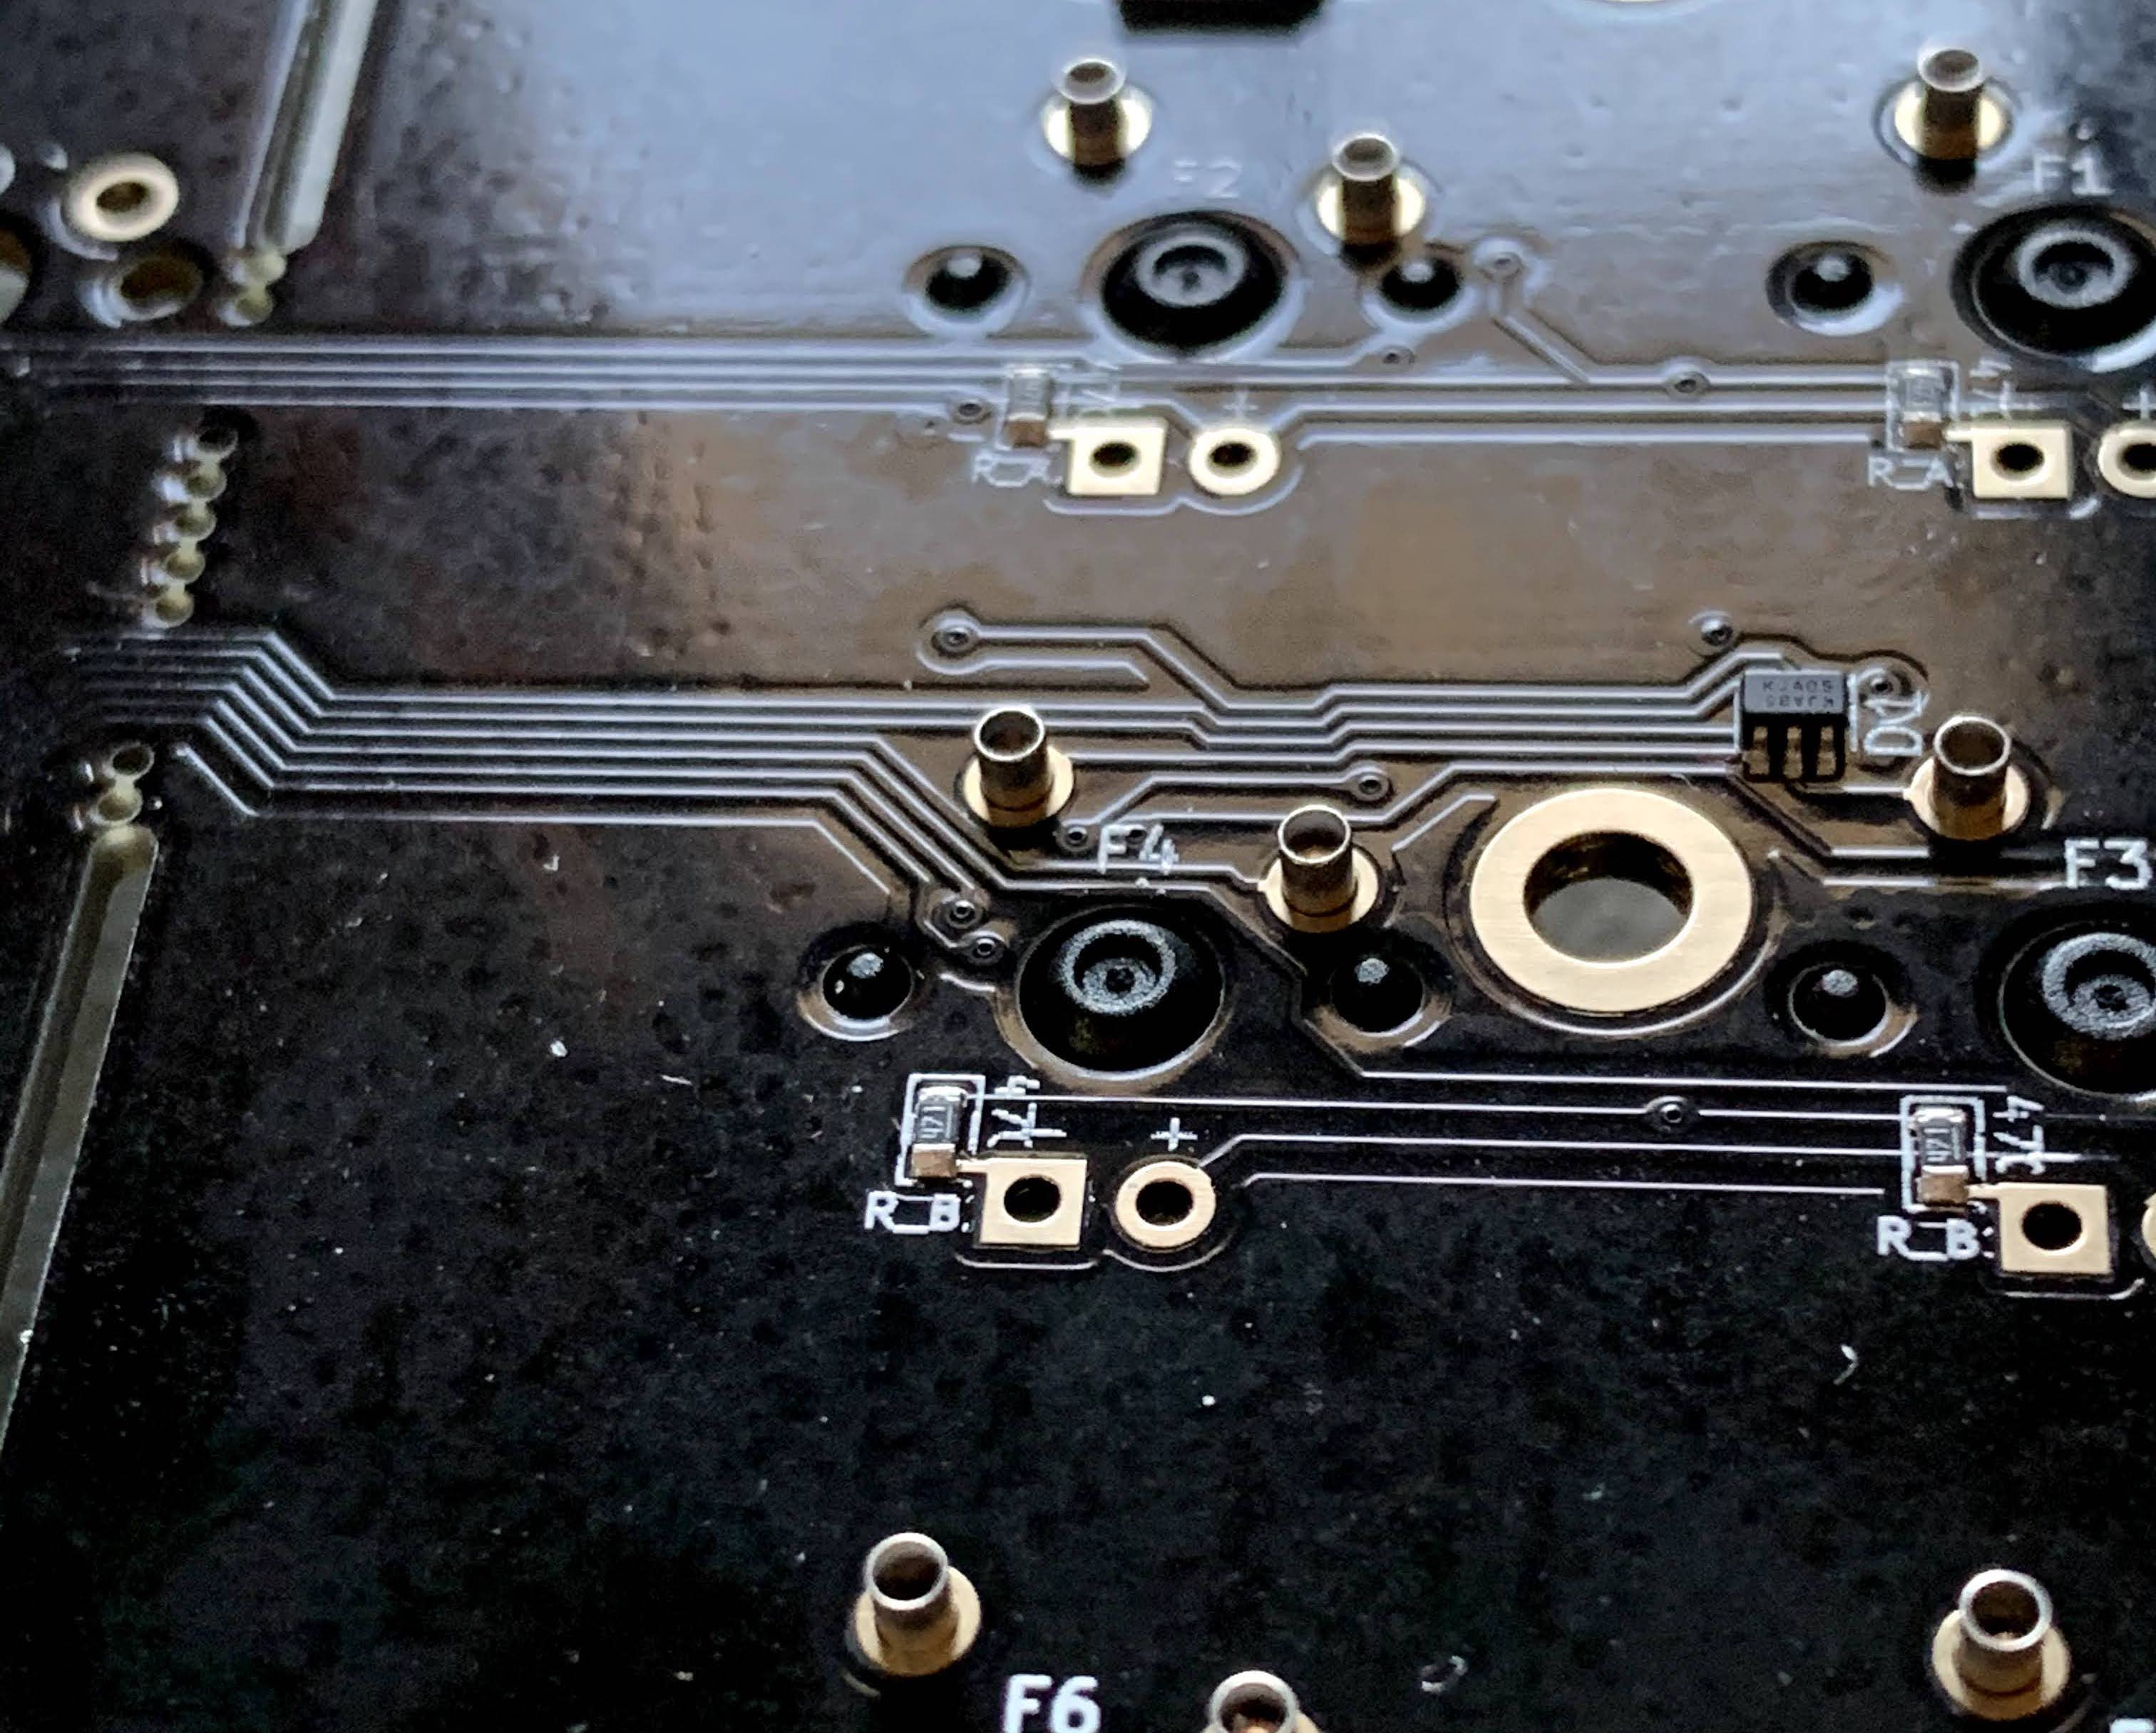
[Ben] settled on building a Keebio Sinc, a new board which comes mostly soldered already and supports a handful of layouts. In the spirit of leaving doors open, [Ben] soldered in hot-swap sockets instead of permanently attaching the key switches to the PCB. This way, those Gateron reds can be easily switched out for something else, for instance should [Ben] want to try a little tactility down the road.
We think the Sinc is a cool offering precisely because it is such a full keyboard. Not everyone is ready to jump into 60% layouts or thumb clusters, and it’s nice to have options. This is entry-level ergo and DIY all at once. What’s not to like? Even if you want to go for something small and ortholinear, there are options. Here’s a build we saw recently that starts with a breakaway PCB that lets you choose between small and smaller.
How cool would it be if there was a material that couldn’t be cut or drilled into? You could make the baddest bike lock, the toughest-toed work boots, or the most secure door. Really, the list of possibilities just goes on and on.
Proteus chews through an angle grinder disc in seconds.
The material is made of aluminium foam that’s embedded with a bunch of small ceramic spheres. It works by inducing retaliatory vibrations into the cutting tools, which turns the tools’ force back on themselves and quickly dulls their edges.
The creators have named the material Proteus after the elusive and shape-shifting prophet of Greek mythology who would only share his visions of the future with those who could get their arms around him and keep him still. It sounds like this material could give Proteus a run for his money.
The ceramic spheres themselves aren’t indestructible, but they’re not supposed to be. Abrading the spheres only makes Proteus stronger. As the cutting tool contacts them, they’re crushed into dust that fills the voids in the aluminium foam, strengthening the material’s destructive vibratory effect. The physical inspiration for Proteus comes from protective hierarchical structures in nature, like the impact-resistant rind of grapefruit and the tendency of abalone shells to resist fracture under the impact of shark teeth.
How It’s Made
Proteus recipe in pictures.
At this point, Proteus is a proof of concept. Adjustments would likely have to be made before it can be produced at any type of scale. Even so, the recipe seems pretty straightforward. First, an aluminium alloy powder is mixed with a foaming agent. Then the mixture is cold compacted in a compressor and extruded in dense rods. The rods are cut down to size and then arranged along with the ceramic spheres in a layered grid, like a metallurgical lasagna.
The grid is spot-welded into a steel box and then put into a furnace for 15-20 minutes. Inside the furnace, the foaming agent releases hydrogen gas, which introduces voids into the aluminium foam and gives it a cellular structure.
Effects of cutting into a cylinder of Proteus with an angle grinder.
According to their paper, the researchers tried to penetrate the material with an angle grinder, a water jet cutter, and a drill. Of these, the drill has the best chance of getting through because the small point of contact can find gaps more easily, so it’s less likely to hit a ceramic sphere. The researchers also made cylindrical samples without steel cladding which they used to test the compressive strength and prove Proteus’ utility as a structural material for beams and columns. It didn’t fare well initially, but became less compressible as the foam matrix collapsed.
The creation process lends some leeway for customization, because the porosity of the aluminium foam can be varied by changing the bake time. As for the drill bit problem, tightening up security is as easy as adjusting the size and/or density of the ceramic spheres.
In the video after the break, you can watch a chunk of Proteus eat up an angle grinder disc in under a minute. Some may argue about the tool wielder’s technique, but we think there’s something to be said for any material that can destroy a cutting disc that fast. They don’t claim that Proteus is completely impenetrable, but it does look impressive. We wish they would have tried more cutting tools like a gas torch, or experimented with other destructive techniques, like plastic explosives, but we suppose that research budgets only go so far.
Even if you already know how to do this, there’s probably a good tip in here somewhere. One of them being that you should always pour your silicone from one place and let it coat the piece being copied. Otherwise, there might be lines on the mold. Another tip is for DIY mold release made from petroleum jelly thinned with naphtha.
Our favorite tip has to do with the way [Eric] makes this a reusable two-part mold, which is more akin to injection molding. To pour silicone for the second part and get it to separately nicely, [Eric] uses sprues made out of resin rods that were cast inside of drinking straw molds. These he chamfers against a belt sander to minimize the contact with the cast part, which makes them a snap to break off. [Eric] says this is just the beginning, and there are more videos to come that will break down the steps.
There’s more than one way to make a mold, especially for casting in metal. We’ve seen everything from 3D-printed molds to kinetic sand.