[Carson Katri] has a fantastic solution to easily add textures to 3D scenes in Blender: have an image-generating AI create the texture on demand, and do it for you.
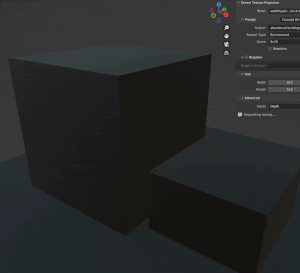
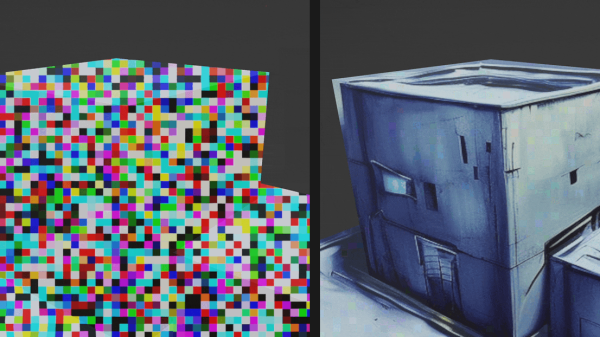
As shown here, two featureless blocks on a featureless plain become run-down buildings by wrapping the 3D objects in a suitable image. It’s all done with the help of the Dream Textures add-on for Blender.
The solution uses Stable Diffusion to generate a texture for a scene based on a text prompt (e.g. “sci-fi abandoned buildings”), and leverages an understanding of a scene’s depth for best results. The AI-generated results aren’t always entirely perfect, but the process is pretty amazing. Not to mention fantastically fast compared to creating from scratch.
AI image generation capabilities are progressing at a breakneck pace, and giving people access to tools that can be run locally is what drives interesting and useful applications like this one here.
Curious to know more about how systems like Stable Diffusion work? Here’s a pretty good technical primer, and the Washington Post recently published a less-technical (but accurate) interactive article explaining how AI image generators work, as well as the impact they are having.