Benchmarks often get criticized for their inability to perfectly model the real-world situations that we’d like them to. So take what follows in the limited scope that it’s intended, and don’t read too much into it. [Joonas Pihlajamaa]’s experiments with toggling a hardware pin as fast as possible on different single-board computers can still show us something.
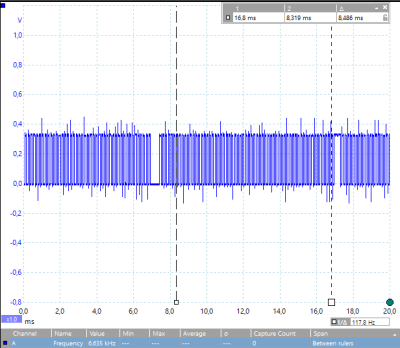
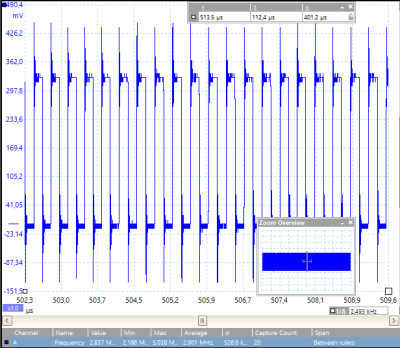
The take-home result won’t surprise anyone who’s worked with a single-board computer: the higher-level interfaces are simply slow compared to direct memory-mapped GPIO access. But really slow. We’re talking around 5 kHz from Python or any of the file-based interfaces to the pins versus 3 MHz for direct access. Worse, as you’d expect when a non-realtime operating system is in the middle, there are glitches on the order of ten milliseconds with all the file-based methods.
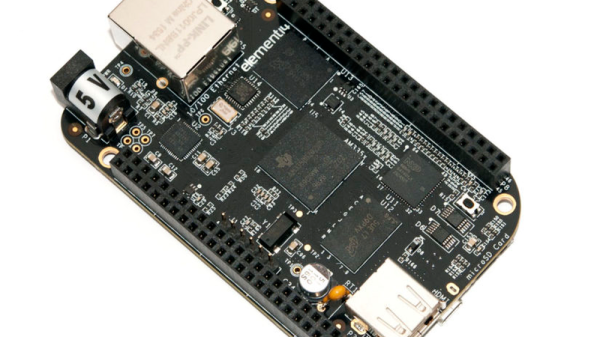
This test only tells us so much, though, and it’s not really taking advantage of the BeagleBone Black’s ace in the hole, the PRUs — onboard hardware processors that bring real-time IO capabilities to the system. We’d like to see a re-write of the code to take advantage of libpruio, for instance. A 20 MHz square wave is a piece of cake with the PRUs.
Of course, it’s not interacting, which is probably in the spirit of the benchmark as written. But if raw hardware speed on a BeagleBone is the goal, it’s likely that the PRUs are going to feature prominently in the solution.