Single-board computers, usually featuring ARM processors, have revolutionized the world of the hardware hacker over the last decade. The computing power you would have found in a desktop computer not so long ago, mounted on a small PCB and powered from a mobile phone charger.
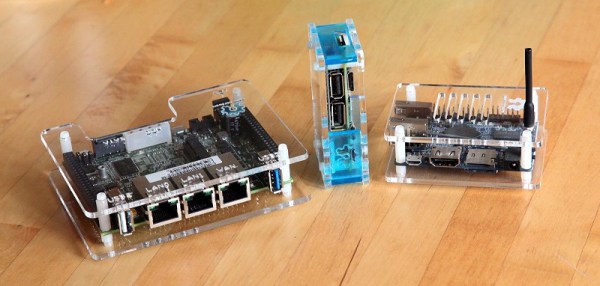
With a few notable exceptions though, these single board computers are just that, boards. No cases in the pack, which has, of course, spawned a huge aftermarket of commercial offerings and a pile of homemade ones of varying sophistication. If these homemade offerings are your fancy then today’s link may be of interest, some very well-designed laser-cut cases from [Nick Smith] for a selection of popular and less well-known boards.
The Orange Pi Lite and Raspberry Pi Zero are both familiar enough, but one of the delights of writing for Hackaday reveals itself in the discovery of the more esoteric Marvell ESPRESSObin, an SBC with multiple network ports and serial ATA.
Are cases your passion? Step back in time for our round-up of case designs for the first Raspberry Pi.
Via Hacker News.