You never forget your first time — watching someone pour several quid’s worth of 10p pieces into a Space Invader machine in 1978, upsetting for a youngster who wanted to have a turn. We’re still waiting, but [Alston] has found an interesting way to get around those arcade video game hoggers by building a replica of Computer Space, the first commercial arcade video game.
Released in 1971, the groundbreaking game was designed by gaming legends [Nolan Bushnell] and [Ted Dabney], and came in a striking curvy fiberglass case that was molded by a manufacturer of swimming pools. [Alston] hasn’t built the case yet, but he does have the electronics up and running.
The electronics of Computer Space are interesting, because there is no microprocessor in there. Instead, it is built from discrete components. [Nolan] had originally planned to use a mini computer called the Data General Nova 800. However, he realized that he could make it cheaper by building it out of discrete components. As [Nolan] described it in an oral history at the Smithsonian [PDF link], the idea came to him after a post-Thanksgiving dinner nap:
“Screw the minicomputer. Get rid of it. Do it all in hardware. Make the game out of this collection, just make it a simple state machine. And the minute that happened, it was like knife through butter. Not only did I get the cost down, but what was budgeted for $1,500 worth of minicomputer, the whole damn computer cost me less than $300 in glue parts. So, I knew that I had something.”
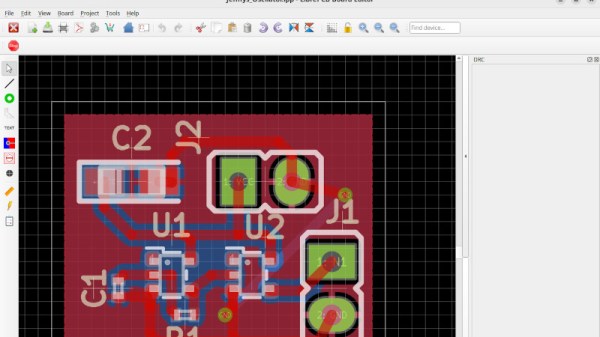
That decision makes it an interesting project to build a replica. Although you can emulate it on a modern computer easily (there is even a version that runs in CSS in the browser). [Alston] is going the hard route, building replica PCBs and using the same components where possible, helped by people who have documented it. So far, the boards are and running and displaying a grainy, pixelated image on a portable TV.
The next step is to take the replica electronics box he has built and make a cabinet to put it into. That’s a big project, and [Alston] is looking for someone with an original cabinet that he can examine and document.