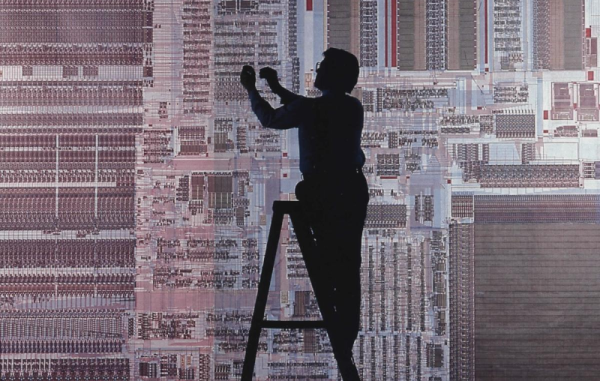
The 80386 was — arguably — Intel’s first modern CPU. The 8086 was commercially successful, but the paged memory model was stifling. The 80286 also had a protected mode, which differed from the 386’s. [Ken Shirriff] takes the 386 apart for us in a recent blog post.
The 286’s protected mode was less successful than the 386 because of several key limitations as it was a 16-bit processor with a 24-bit address bus. It still required segment changes to access larger amounts of memory, and it had no good way to call back into real mode for compatibility reasons. The 386 fixed all that. You could adopt a segment strategy if you wanted to. But you could also load the segment registers once to point to a 4 GB linear address space and then essentially forget them. You also had a virtual 86 mode that could simulate real mode with some work.
The CPU used a 1-micron process, compared to the 1.5-micron process used earlier. The chip had 285,000 transistors (although the 80386SL had many more). That was ten times the number of devices on the 8086. The cheaper 386SX did use the 1.5 micron process for a while, but with a 16-bit external bus, this was feasible. While 285,000 sounds like a lot, a Core i9 has around 4.2 billion transistors. Times have changed.
A smaller design also allowed chips like the 386SL for laptops. The CPU took up only about a fourth of the die. The rest held bus controllers and cache interfaces to cut costs on laptops. That’s why it had so many more transistors.
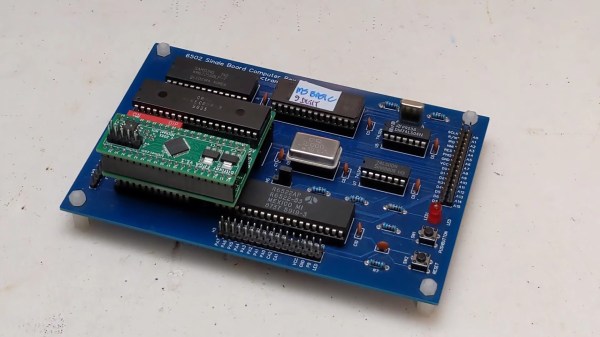
[Ken] does his usual in-depth analysis of both the die and the history behind this historic device. We spent a lot of time writing protected mode 386 code, and it was nice to see the details of a very old friend. These days, you can get a pretty capable CPU system on a solderless breadboard, but designing a working 386 system took a few extra parts. The 80286 was a stepping stone between the 8086 and 80386, but even it had some secrets to give up.

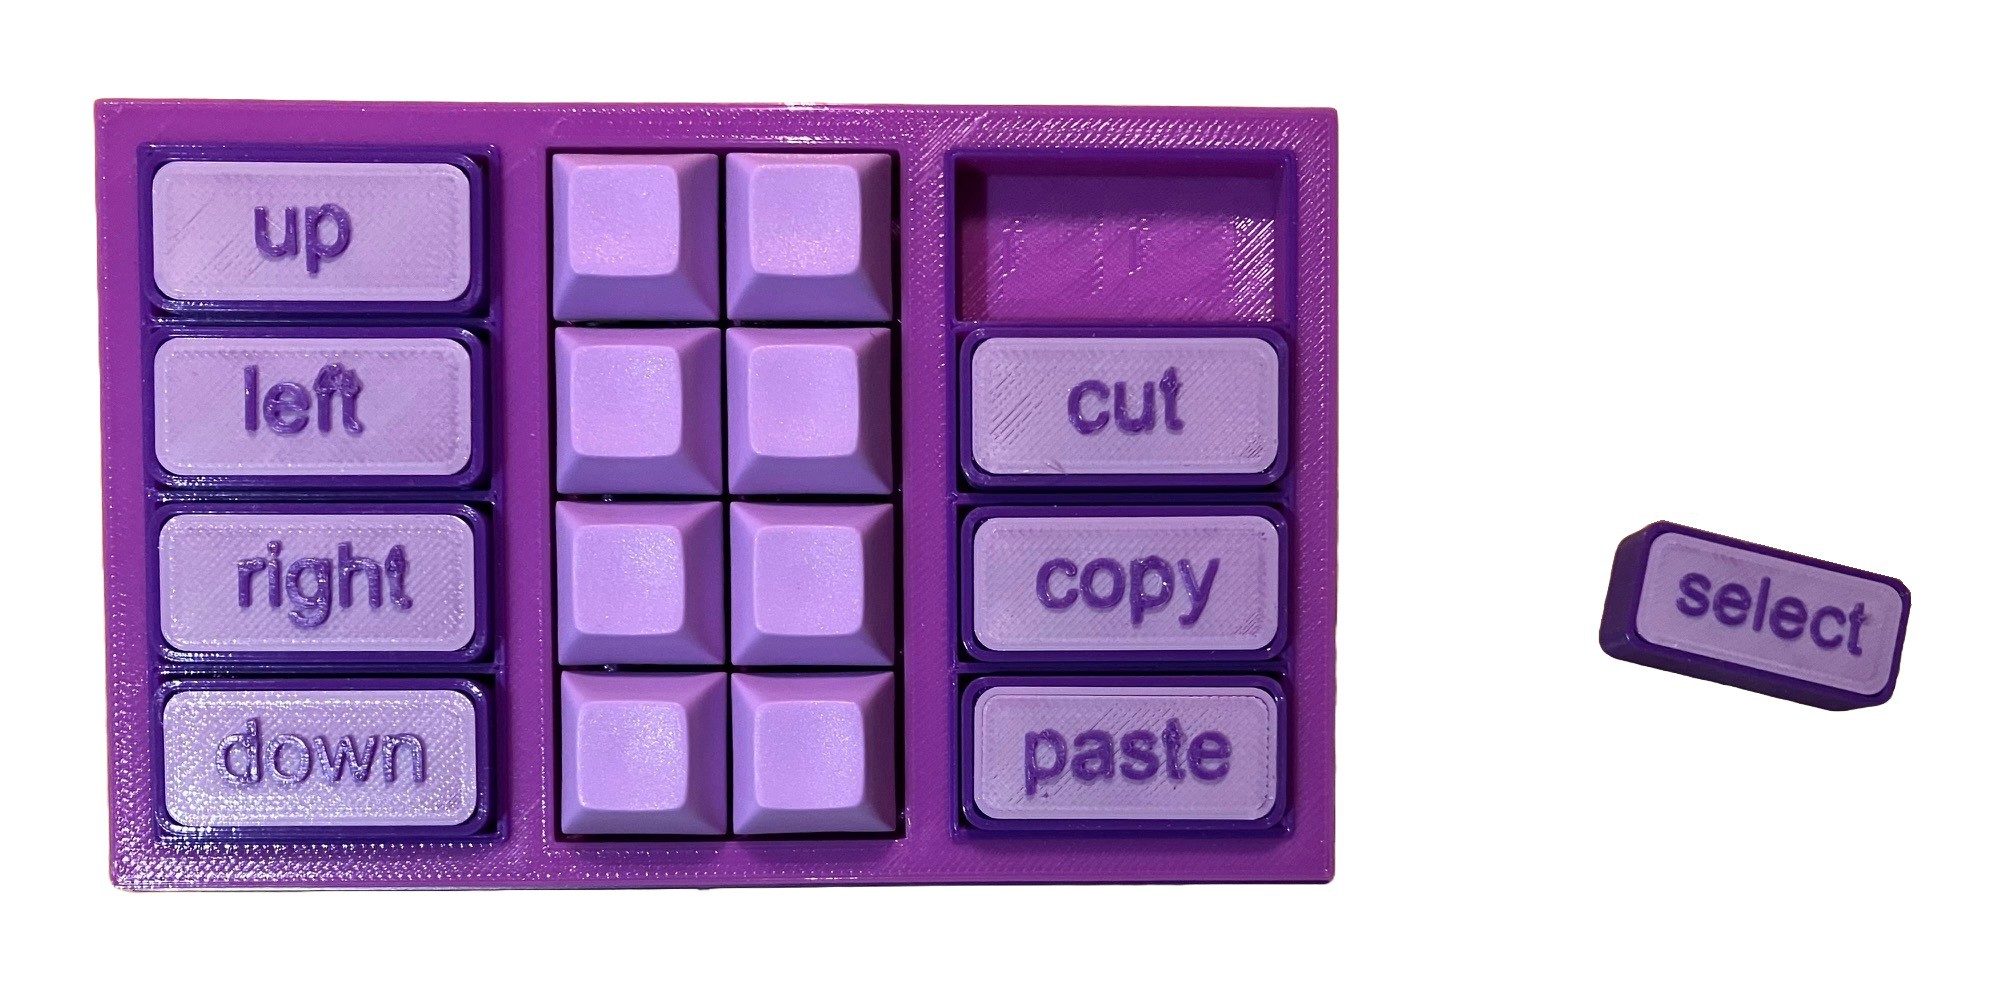 There are a couple of options: blank keycaps and memorization, re-legendable keycaps, and little screens instead of keycaps. Surely there has to be another way, and [Michael] has discovered one: a tile-based system of descriptors.