When you think of NASA, you think of high-stakes, high-cost, high-pressure engineering, and maybe the accompanying red tape. In comparison, the hobby hacker has a tremendous latitude to mess up, dream big, and generally follow one’s bliss. Hopefully you’ll take some notes. And as always with polar extremes, the really fertile ground lies in the middle.
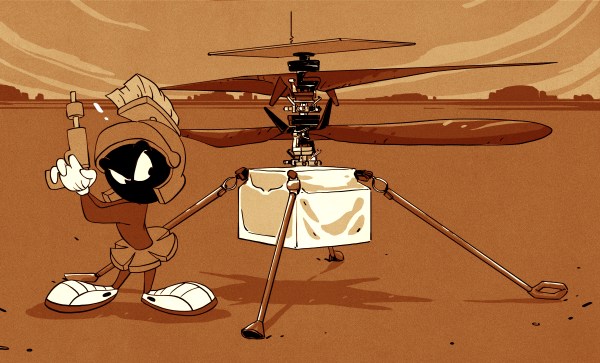
[Dan Maloney] and I were thinking about this yesterday while discussing the 50th flight of Ingenuity, the Mars helicopter. Ingenuity is a tech demo, carrying nothing mission critical, but just trying to figure out if you could fly around on Mars. It was planned to run for five flights, and now it’s done 50.
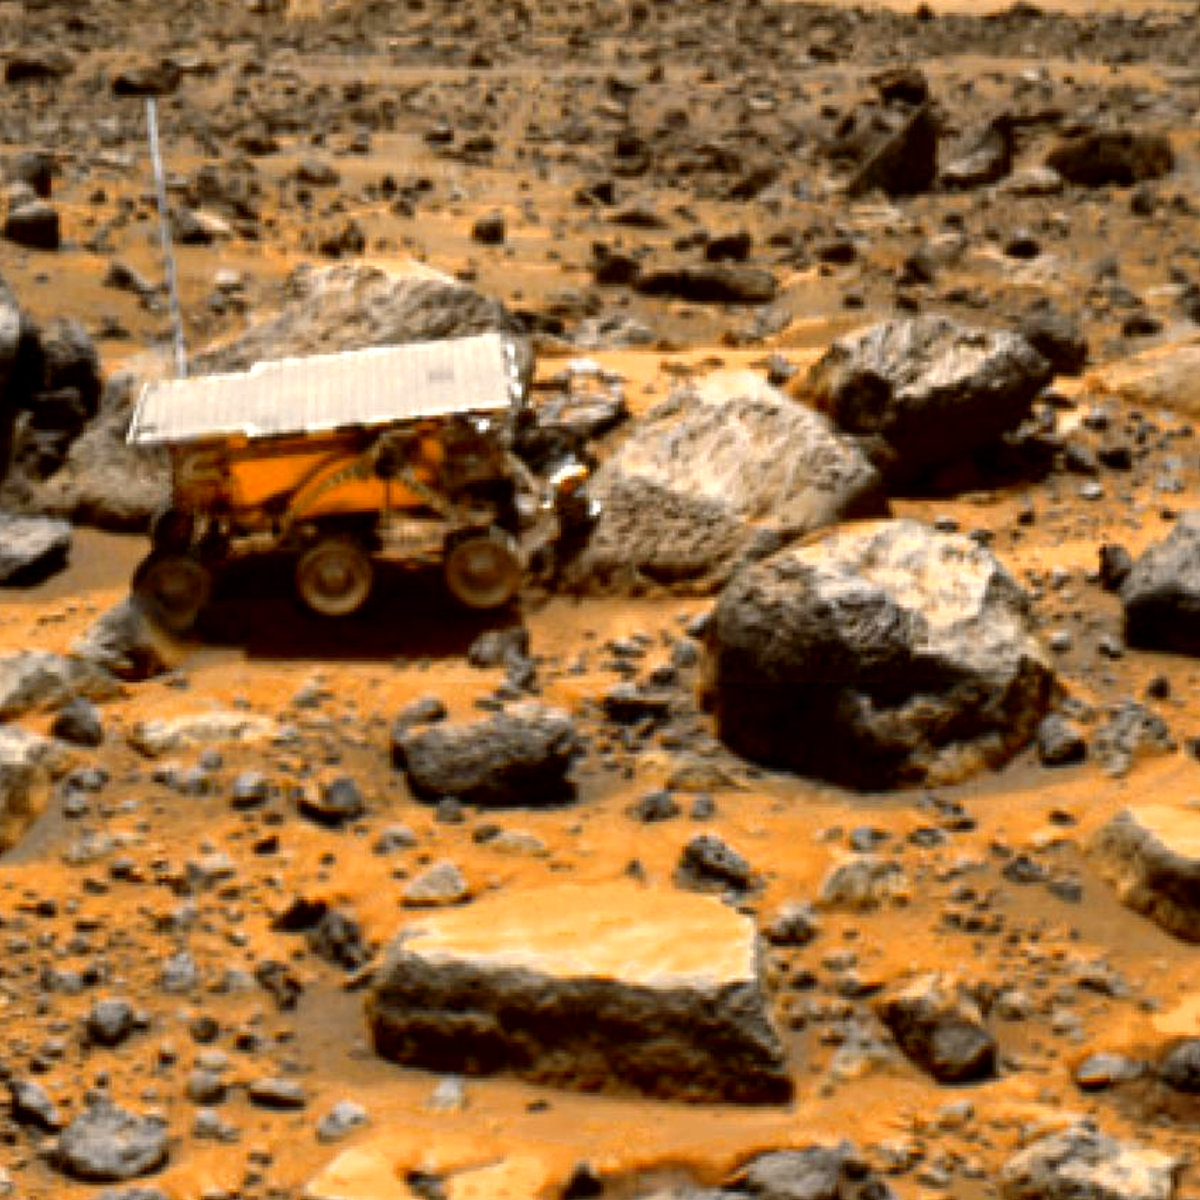 The last big tech demo was the Sojourner Rover. It was a small robotic vehicle the size of a microwave oven that they hoped would last seven days. It went for 85, and it gave NASA the first taste of success it needed to follow on with 20 years of Martian rovers.
Both of these projects were cheap, by NASA standards, and because they were technical demonstrators, the development teams were allowed significantly more design freedom, again by NASA standards.
None of this compares to the “heck I’ll just hot-air an op-amp off an old project” of weekend hacking around here, but I absolutely believe that a part of the tremendous success of both Sojourner and Ingenuity were due to the risks that the development teams were allowed to take. Creativity and successful design thrives on the right blend of constraint and freedom.
Will Ingenuity give birth to a long series of flying planetary rovers as Sojourner did for her rocker-bogie based descendants? Too early to tell. But I certainly hope that someone within NASA is noticing the high impact that these technical demonstrator projects have, and also noting why. The addition of a little bit of hacker spirit to match NASA’s professionalism probably goes a long way.