Many devices use infrared (IR) as a signalling medium like, for example, RGB LED strip controllers
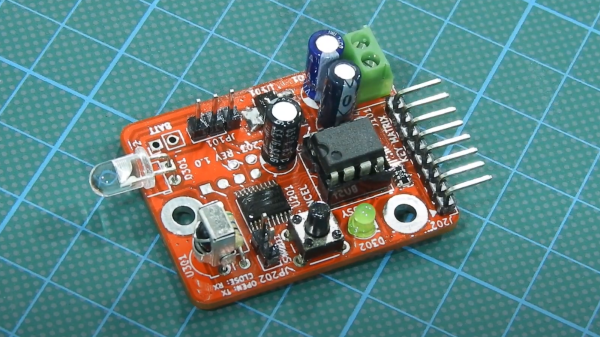
modules and some TV controllers. Often times these signals aren’t meant for secure applications which means the functionality can be reproduced by simply replaying back the received signal verbatim. Sometimes, enterprising hackers want to reverse engineer the IR signals, perhaps to automate some tasks or just to get a better understanding of the electronics we use in our everyday life. To help in this effort, [dilshan] creates an open source hardware IR cloner device, capable of snooping IR signals and retransmitting them.
The IR cloner is a sweet little IR tool that can be used to investigate all sorts of IR signals.
In addition to the source code and design files, [dilshan] has also taken care to create detailed documentation as an addendum to the video on assembly and usage. Continue reading “Your Own Home IR Cloner”
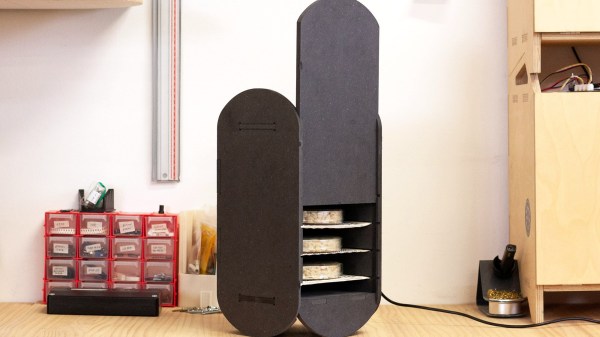
 This fermenter’s controller drives a heating element, which adheres to a pre-programmed fermentation cycle. It also has a fan for airflow and keeping the heat uniform.