Lucid dreaming fascinates hackers. Every few years for over a decade now, we’ve seen a serious project dedicated to studying or taking advantage of this phenomenon, and the interest in this topic hasn’t faded still. [Michael] has contacted us to tell about a small and unconventional breakthrough that a few lucid dream hackers have accomplished — communicating in Morse code from their dream using eye movements.
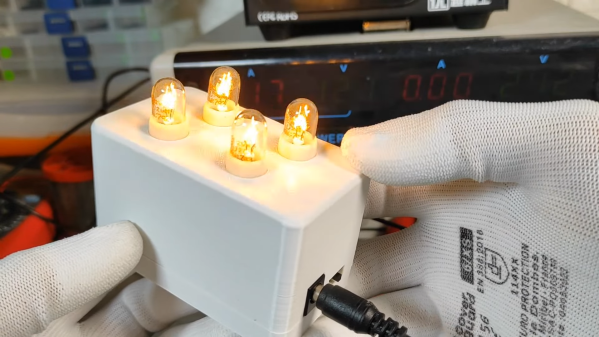
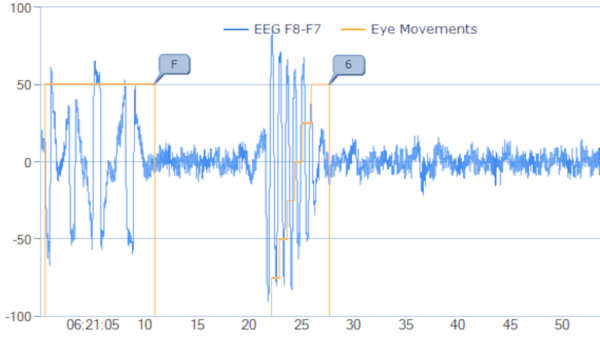
These hackers are using Dreem 2 and 3 headbands, which include clinical-grade polysomnography features like EEG measurements, which is instrumental for decoding eye movements. [Michael] tells us that one of the participants, [Sebastiii], was able to transfer the letter F by looking twice to the left, then right and left again – ..-. in Morse. With an off-the-shelf headband, this information transmission method is quite accessible to anyone willing to learn Morse, and [Michael] himself is now working on an automated decoding solution. We might forget what happens in our dreams fairly quickly, but this unexpected side channel could be a good counter.
[Michael] has tipped us off to many of the projects we’ve covered, and himself has quite a history in the field. His own research into using Morse to communicate out of lucid dreams dates back as far as 2012. If your ham exam preparations have you dream in Morse, perhaps this is the perfect project to join. A lot of projects we’ve seen focus on gaining enough awareness to achieve lucidity first, like the variety of lucid dream-invoking masks we’ve covered over the years. This part being thoroughly explored, it makes sense that communication is the next frontier to be tackled.