Whilst the Raspberry Pi RP2040 is quite a capable little chip, on the whole it’s nothing really special compared to the big brand offerings. But, the PIO peripheral is a bit special, and its inclusion was clearly a masterstroke of foresight, because it has bestowed the platform all kinds of capabilities that would be really hard to do any other way, especially for the price.
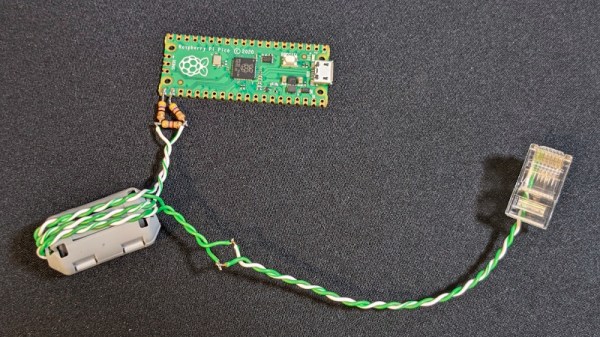
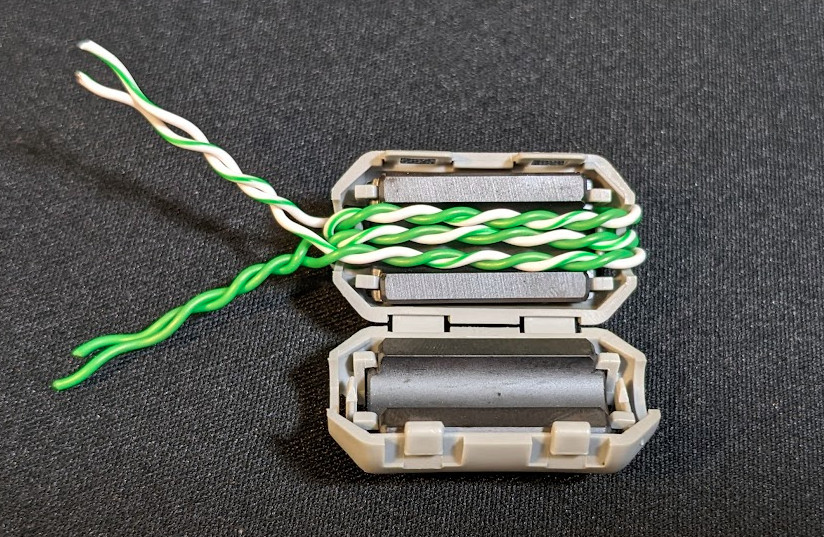
Our focus this time is on Ethernet, utilizing the PIO as a simple serialiser to push out a pre-formatted bitstream. [kingyo] so far has managed to implement the Pico-10BASE-T providing the bare minimum of UDP transmission (GitHub project) using only a handful of resistors as a proof of concept. For a safer implementation it is more usual to couple such a thing magnetically, and [kingyo] does show construction of a rudimentary pulse transformer, although off the shelf parts are obviously available for this. For the sake of completeness, it is also possible to capacitively couple Ethernet hardware (checkout this Micrel app note for starters) but it isn’t done all that much in practice.
UDP is a simple Ethernet protocol for transferring application data. Being connection-less, payload data are simply formatted into a packet buffer up front. This is all fine, until you realize that the packets are pretty long and the bitrate can be quite high for a low-cost uC, which is why devices with dedicated Ethernet MAC functionality have a specific hardware serialiser-deserialiser (SERDES) block just for this function.
Like many small uC devices, the RP2040 does not have a MAC function built in, but it does have the PIO, and that can easily be programmed to perform the SERDES function in only a handful of lines of code, albeit only currently operating at 10 MBit/sec. This will cause some connectivity problems for modern switch hardware, as they will likely no longer support this low speed, but that’s easily solved by snagging some older switch hardware off eBay.
As for the UDP receive, that is promised for the future, but for getting data out of a remote device over a wired network, Pico-10BASE-T is a pretty good starting point. We’ve seen a few projects before that utilize the PIO to generate high speed signals, such as DVI, albeit with a heavy dose of overclocking needed. If you want a bit more of an intro to all things Pico, you could do worse than check out this video series we highlighted a while back.