If you’ve been following the latest advancements in computing for a while, you already know that there’s a big problem with laptops: When they’re no longer useful as a daily driver, it can be a struggle to find a good use for all its parts. Everything is proprietary, and serious amounts of reverse engineering are required if you decide to forge ahead. This is where Framework, a laptop company building modular laptops comes in. They’ve made it clear that when you upgrade your Framework laptop with a new mainboard they want you to be able to continue to use the old mainboard outside of the laptop.
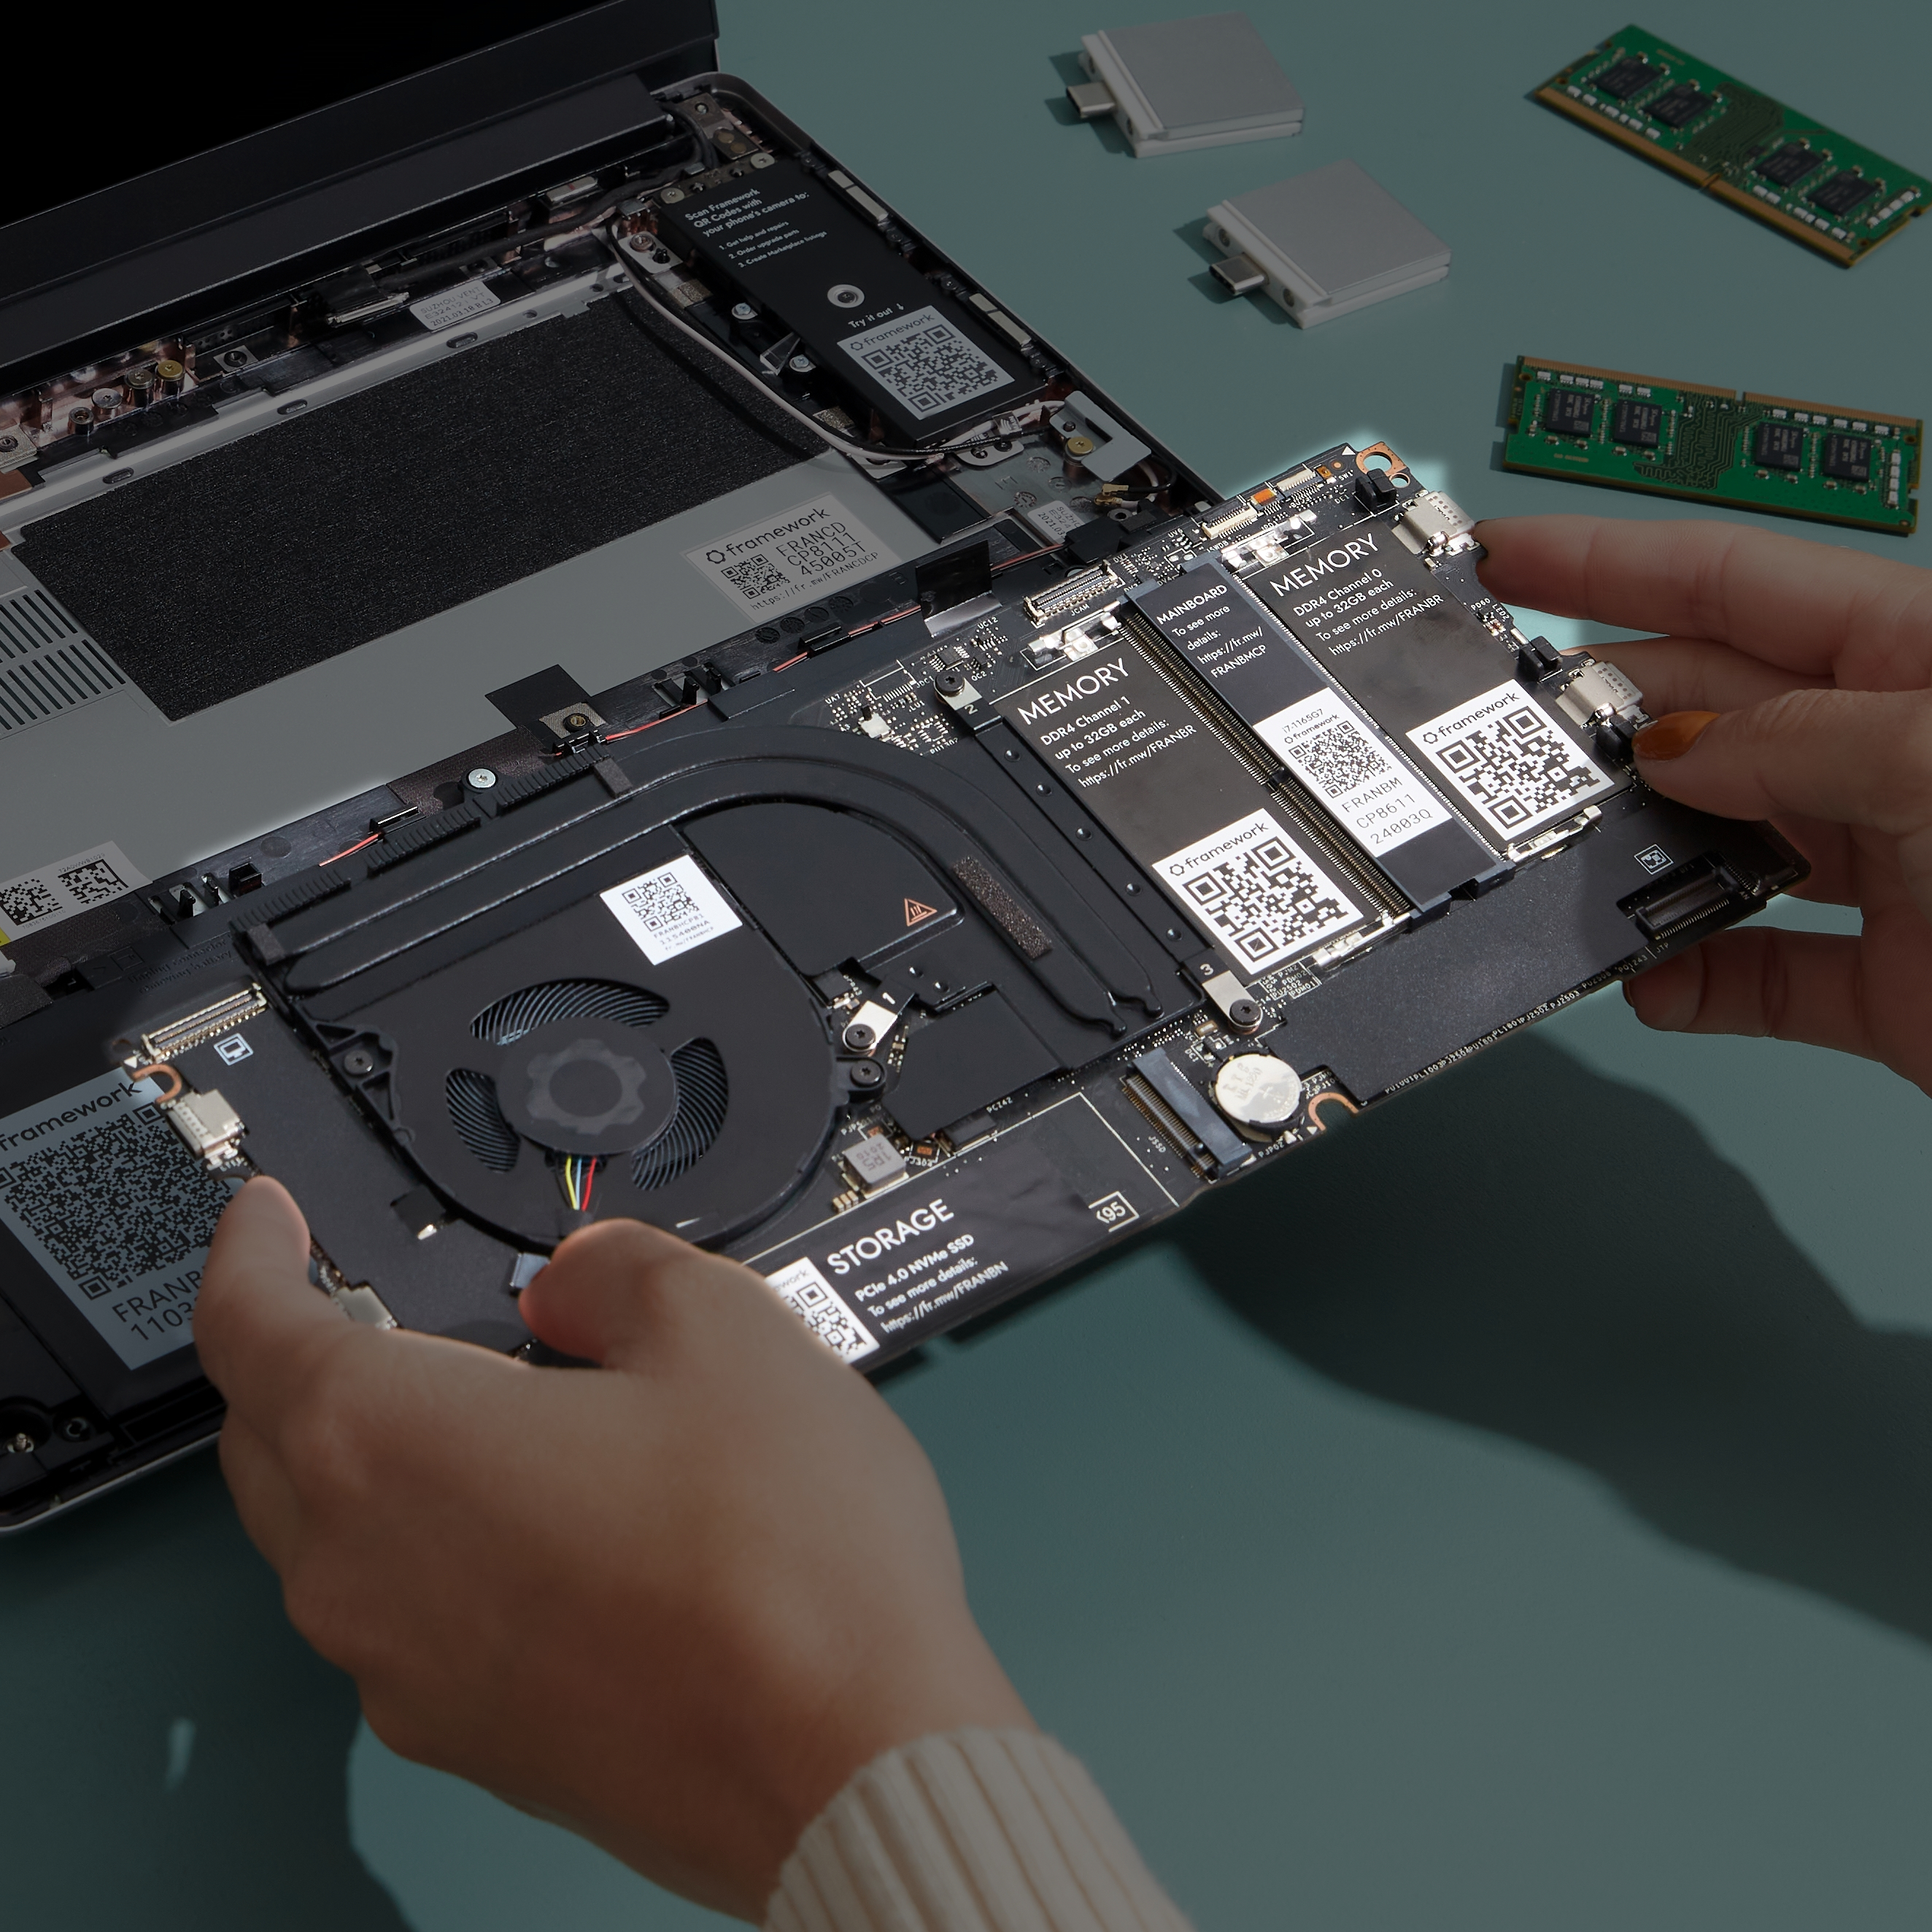
To that end, Framework have provided 2D mechanical drawings of their mainboard and 3D printable cases that can of course be modified as needed. “But what about peripherals?” you might ask. Framework has provided pinouts for all of the connectors on the board along with information on which connectors to use to interface with them. No reverse engineering needed!
While it’s possible to buy a mainboard now and use it, their stated goal is to help people make use of used mainboards leftover from upgrades down the line. With just a stick of memory and a USB-C power adapter, the board will spring to life and even has i2c and USB immediately available.
What would you do with a powerful Intel i5-1135G7 mainboard? Framework wants to know, and to that end, they are actually giving away 100 mainboards to makers and developers. Mind you this is a program created and ran by Framework — and is not associated in any way Hackaday or our overlords at Supplyframe.
If you’ve read this far and still don’t know what the Framework laptop is, go check out this introduction by our own [Jenny List].

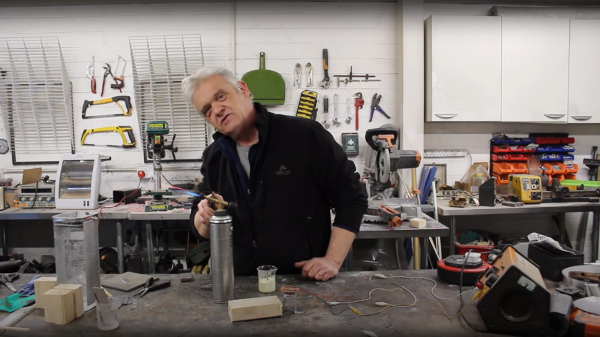
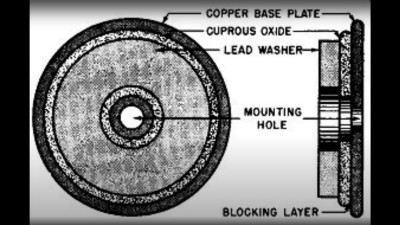 based not upon silicon or germanium, but copper. Copper (I) Oxide is a naturally occurring P-type semiconductor, which can be easily constructed by heating a copper sheet in a flame, and scraping off the outer layer of Copper (II) Oxide leaving the active layer below. Simply making contact to a piece of steel is sufficient to complete the device.
 as the Selenium rectifier, based on the properties of a Cadmium Selenide – Selenium interface, which forms an NP junction, albeit one that can’t handle as much power as good old copper. One final device, which was a bit of an improvement upon the original CuO rectifiers, was based upon a stack of Copper Sulphide/Magnesium metal plates, but they came along too late. Once we discovered the wonders of germanium and silicon, it was consigned to the history books before it really saw wide adoption.