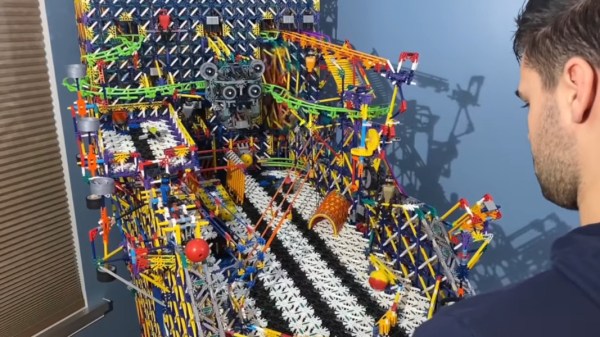
It’s really a wonder that we missed this one, what with all the extra time in front of a computer we’ve had over the last year or so. But better late than never, we always say, so behold, (a little at a time, because there’s quite a lot to look at), [Tyler Bower]’s pinball machine built entirely from K’nex.
Where do we even start? This is a full-size pinball machine, as in 7′ tall, 5′ long, and 3′ wide. [Tyler] estimates that it’s made from about 16,000 pieces, or around 73 pounds of plastic, much of which was obtained locally and is secondhand. Many of those pieces make up the ten drill motor-driven chain lifts in the back — these move the ball through the machine after it goes through one of the track triggers and return it to the playfield in various delightful ways.
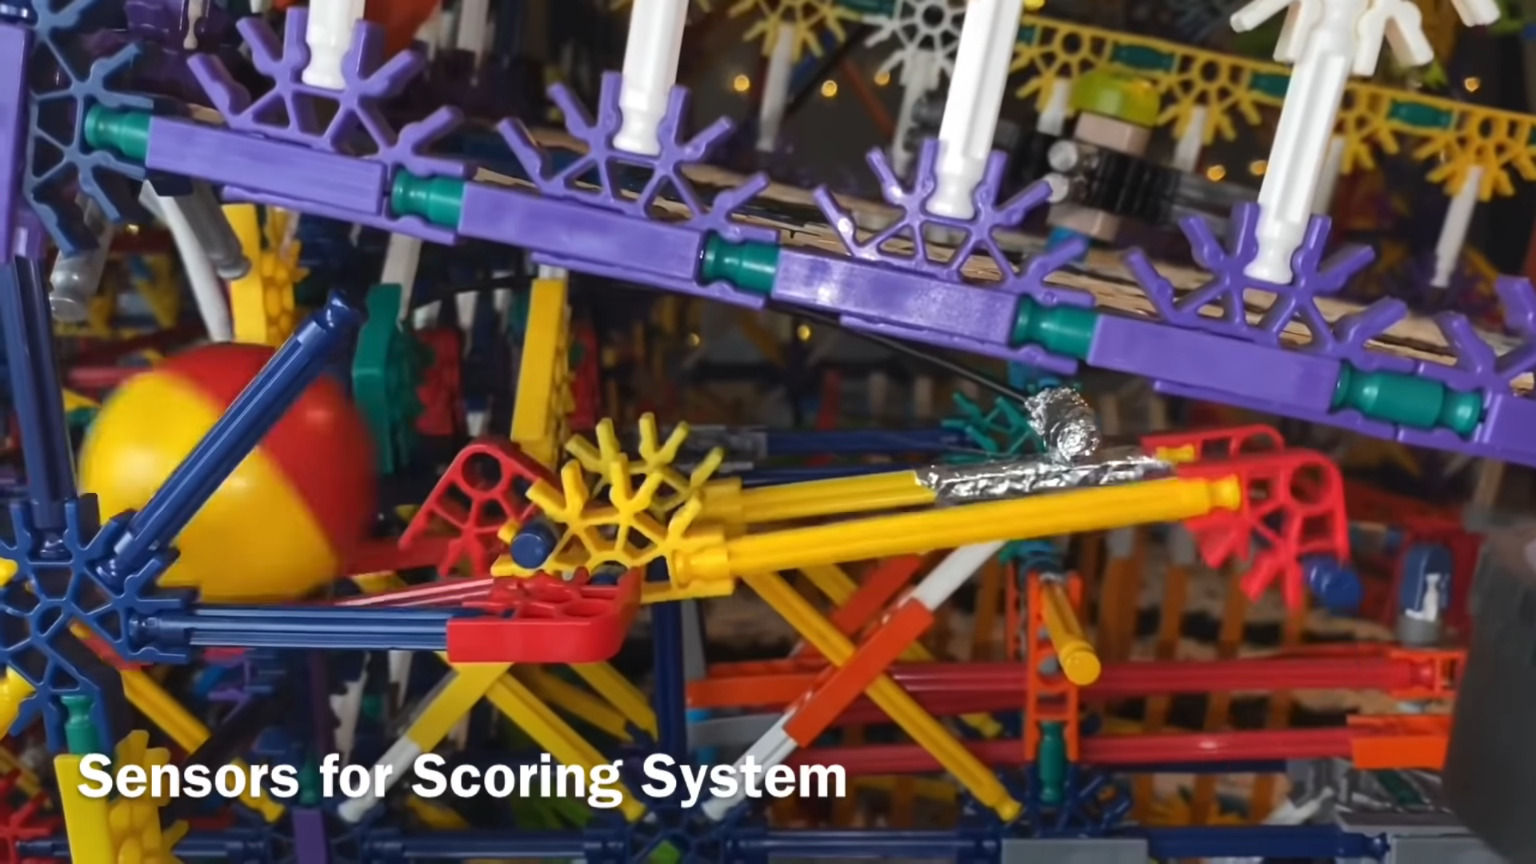 Speaking of ways to score, there are nine of them total, and some are harder to get to than others. They all involve some really amazing K’nex movement, and each one uses aluminum foil switches to trigger scoring through a MaKey MaKey.
Of course there’s a multi-ball mode, but our favorite has to be the trap door in the playfield that gets you to the mini pinball game in the upper left, because only the best pinball games have some kind of mini game. Either that, or our favorite is the rotating arm that swings around gracefully and drops the ball on a track. Anyway, all nine elements are explored in the video after the break, which frankly we could watch on repeat. If you’re hungry for more details, there’s quite a bit of info in the description.
The only thing this machine is missing is a tilt switch, but as you’ll see in the video, it would probably get triggered quite often. Is this somehow not cool enough for you? Here’s a slightly bigger K’nex ball machine that doesn’t seem to move as much, but also isn’t a full freaking pinball machine complete with meta game.
Continue reading “K’nex Pinball Machine Is A Playable Work Of Art”